CTE Curriculum
Prepare learners with CTE curriculum aligned to industry standards.


Adding Questions to an Assessment
First, we'll take a look at how to add questions to a custom assessment.
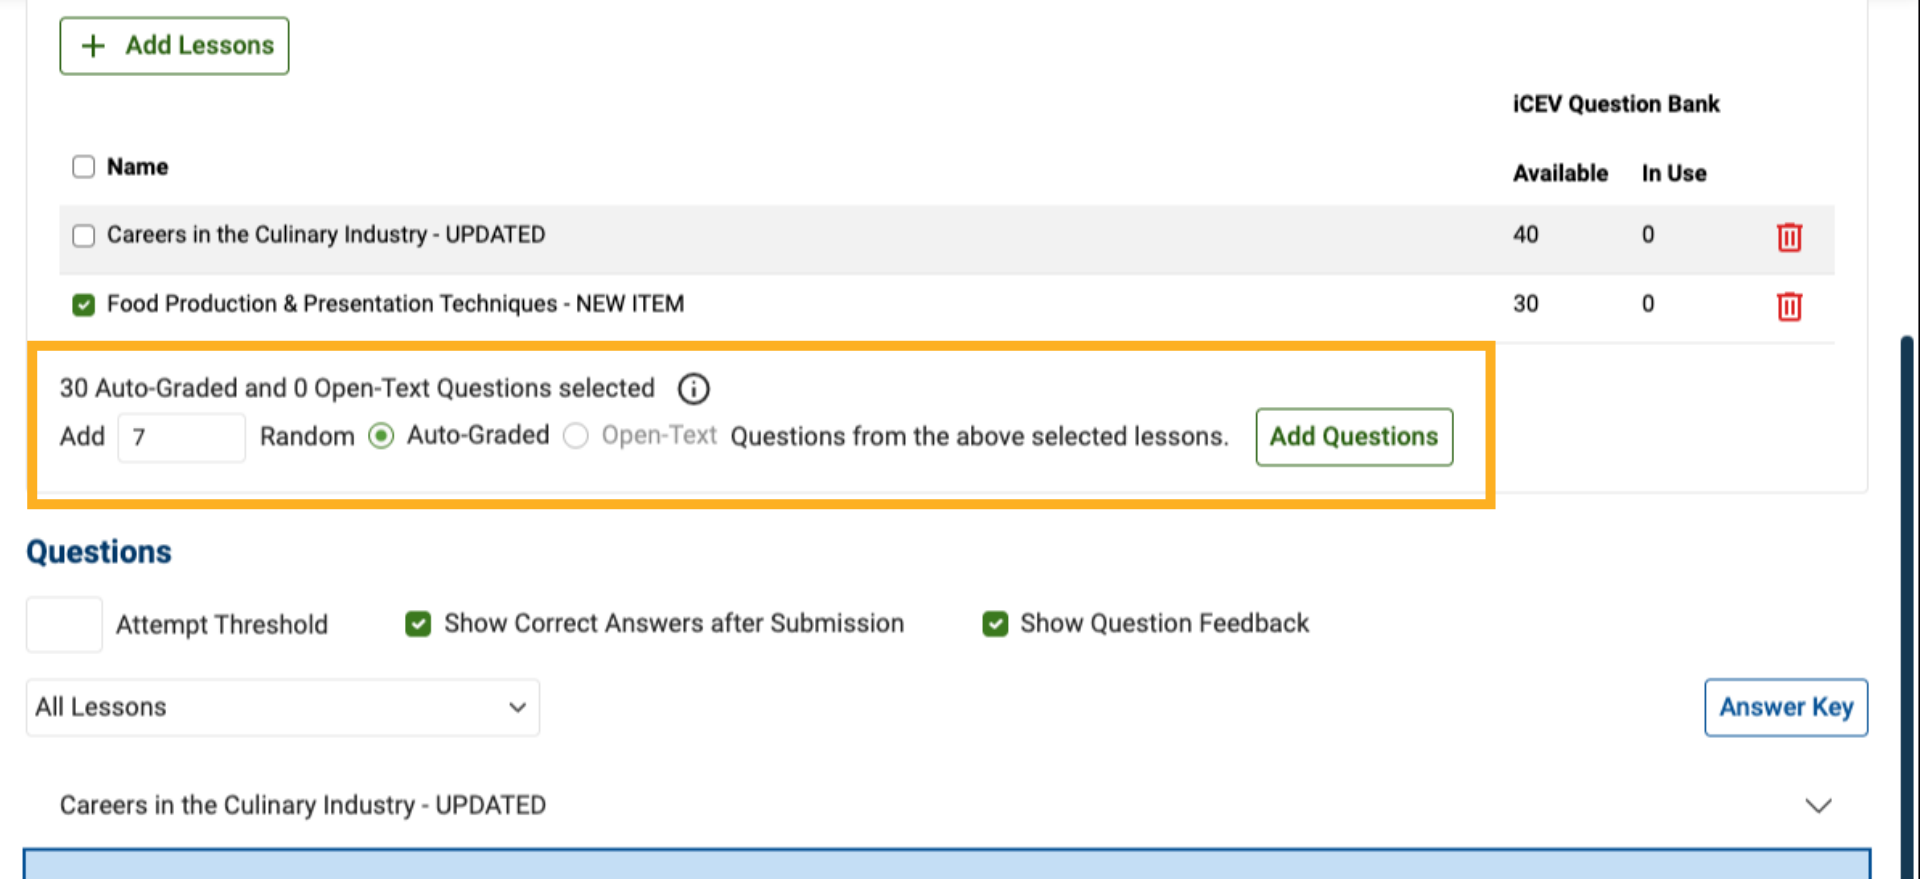
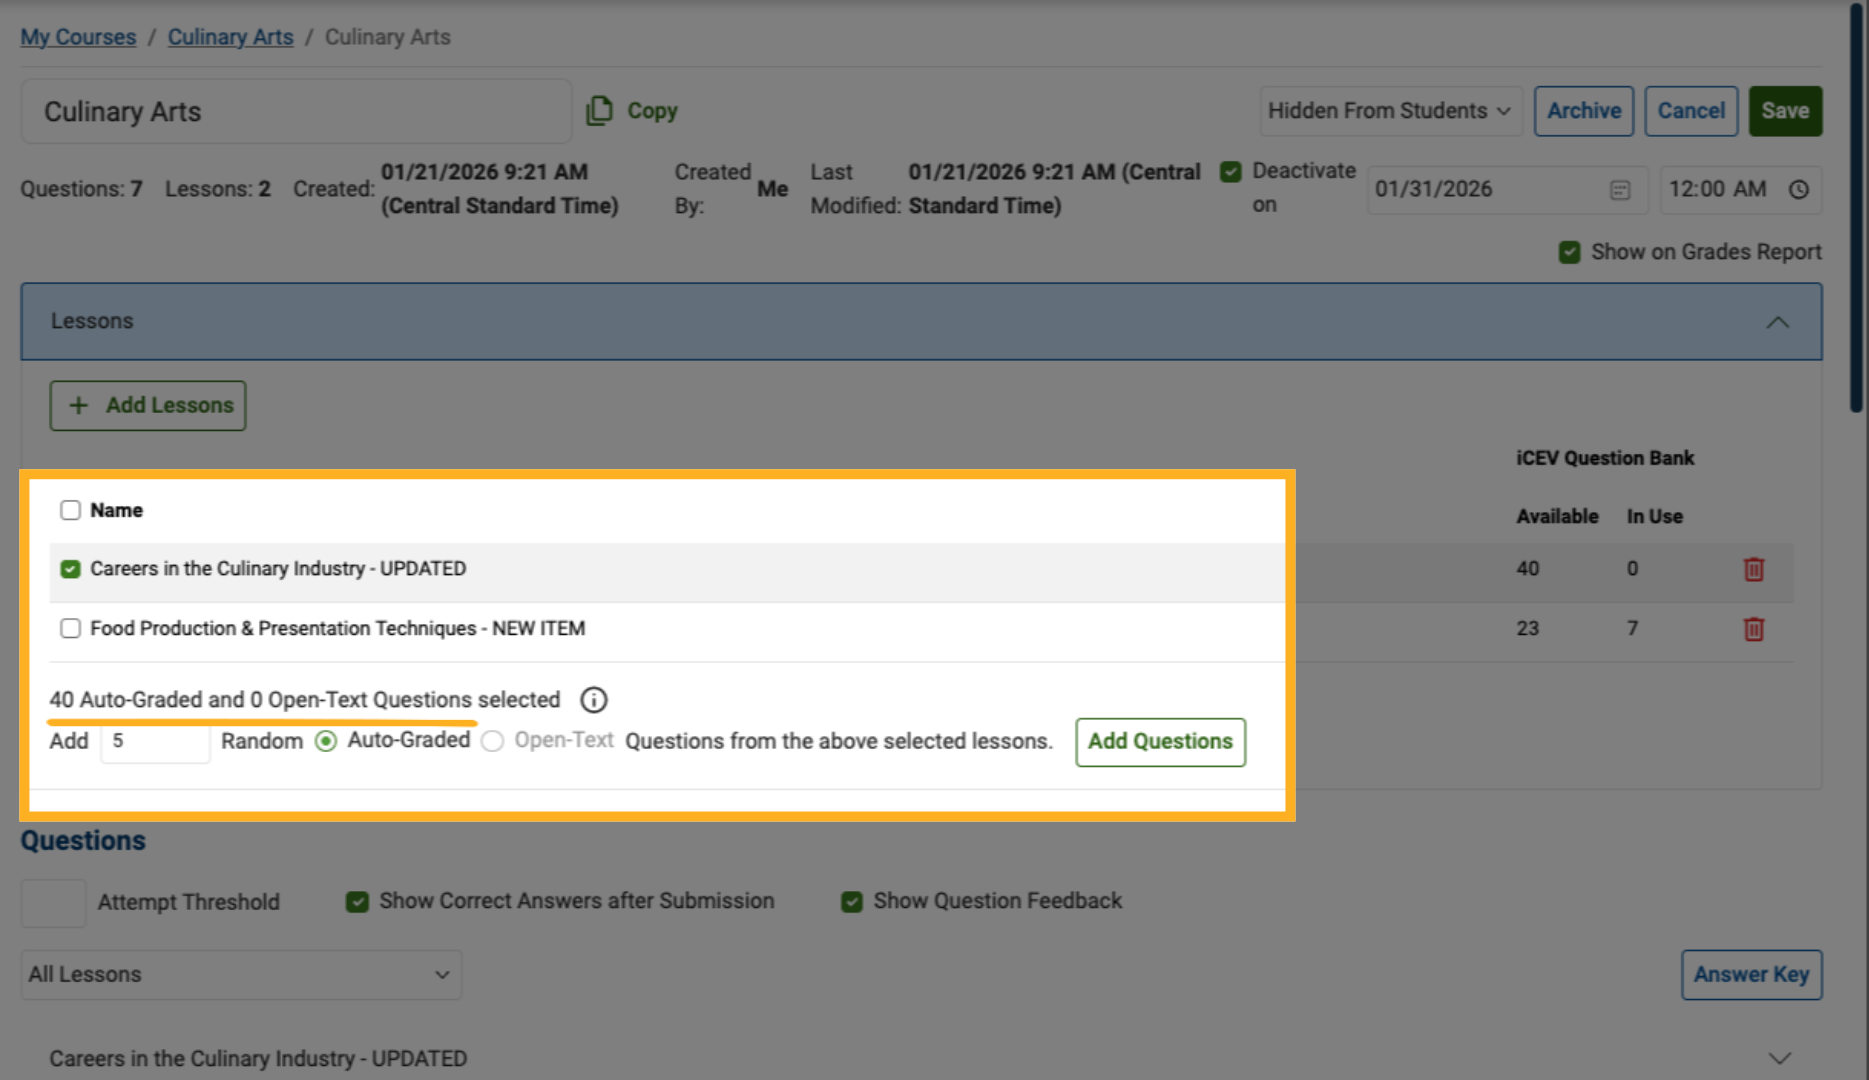
1. Select a Lesson to Add Questions
To begin, select one or more lessons that you want to pull questions from for your assessment.
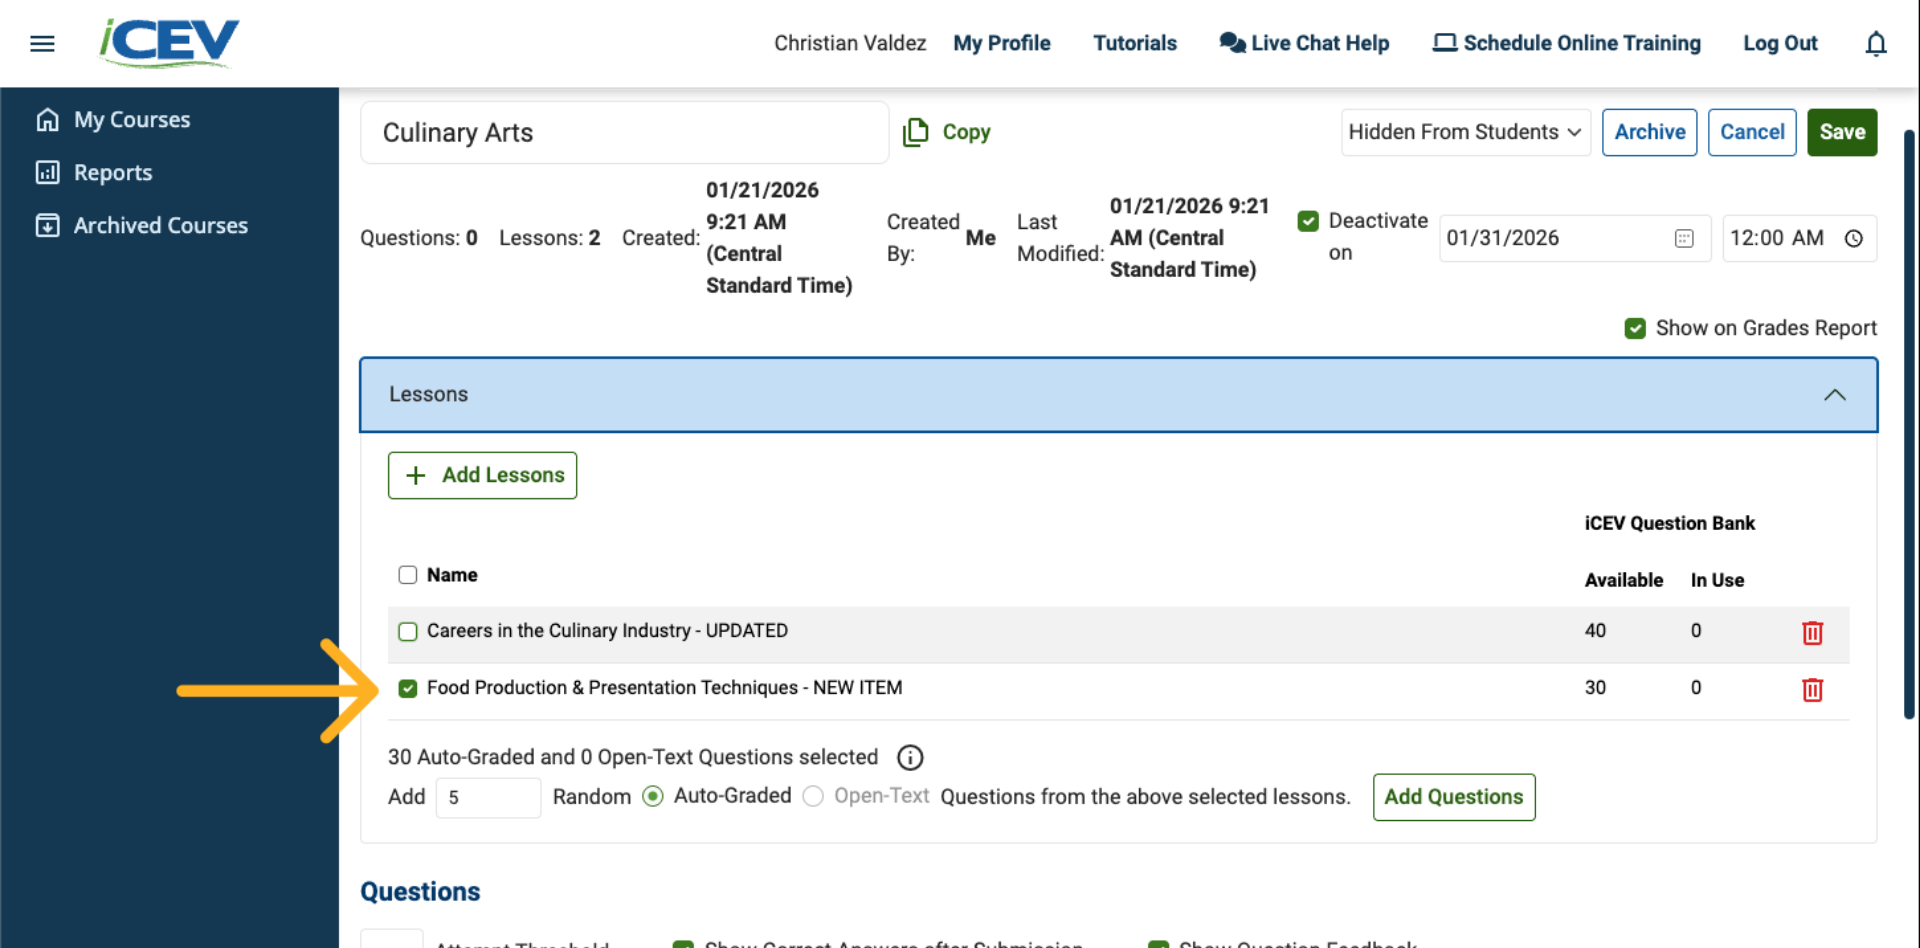
2. Review Available Questions
Once a lesson is selected, its questions appear in the available questions section.
For example, Food Production & Presentation Techniques shows:
-
30 total questions available
-
All questions are auto‑graded
-
No open‑text questions are included
3. Confirm No Questions Are Yet In Use
At this stage, no questions have been added yet. This is indicated:
-
Below the lesson title
-
In the assessment totals area
Both will reflect zero questions in use.
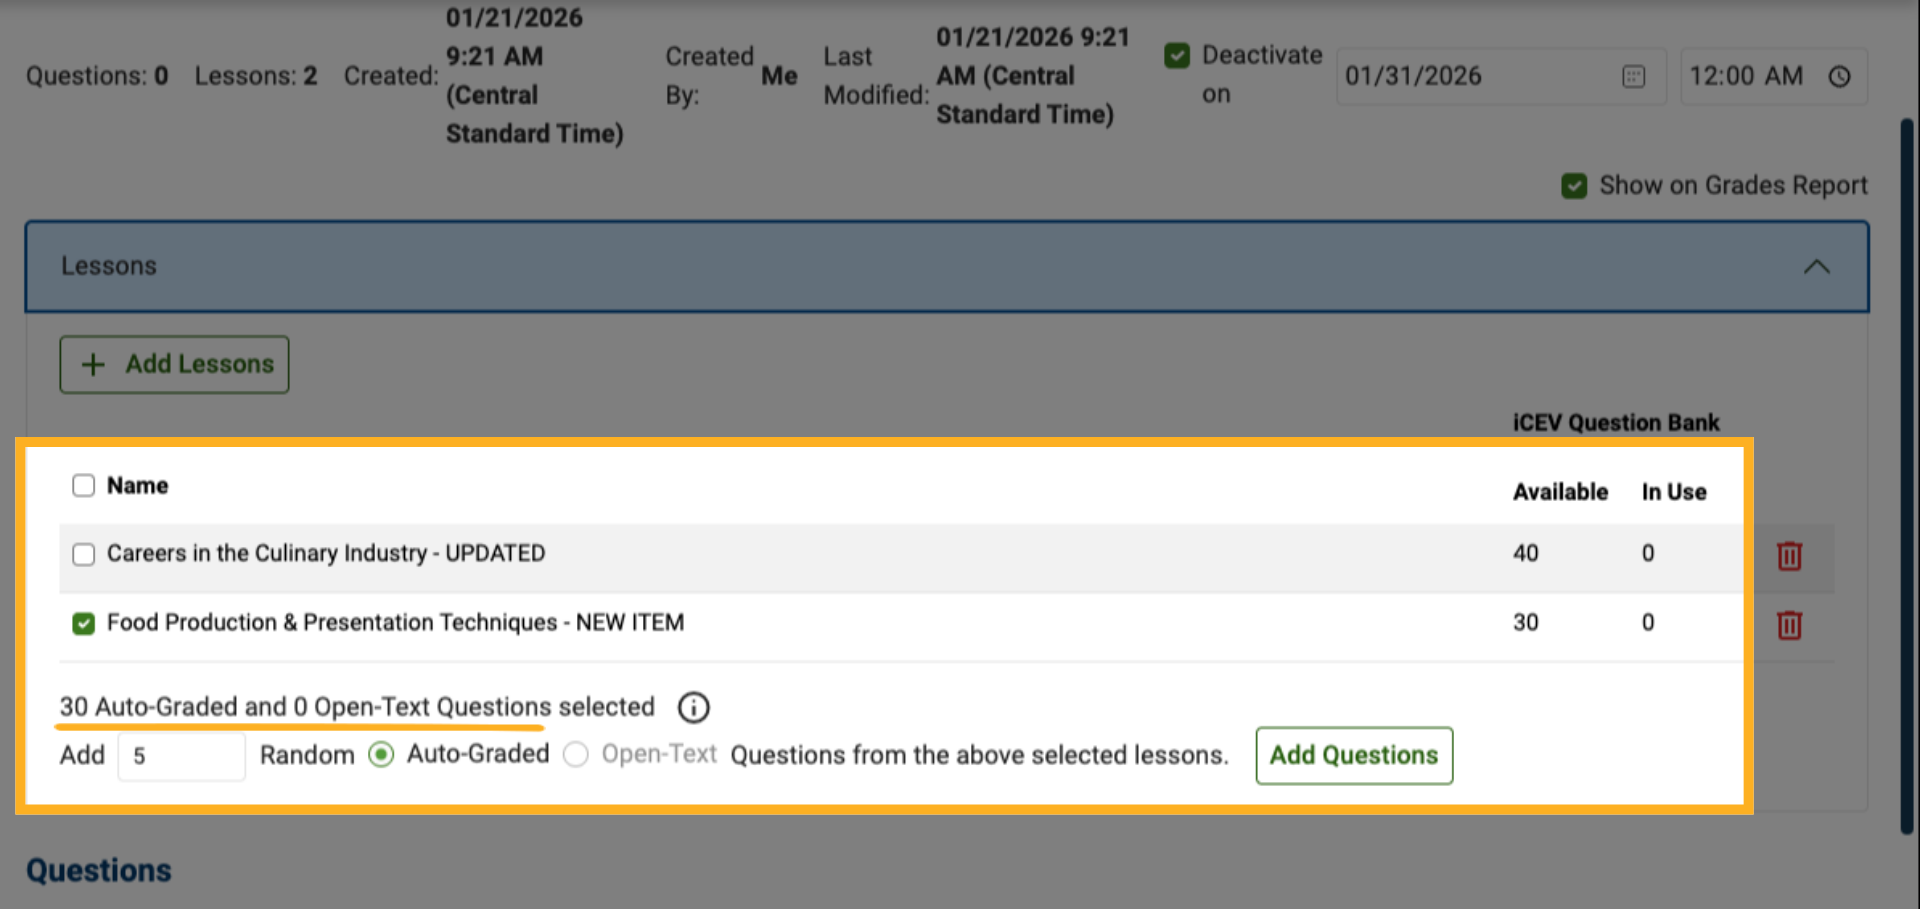
4. Choose the Number of Questions
Use the question selector to choose how many questions you want to include from the lesson.
In this example, we'll select seven auto‑graded questions, then click Add Questions.
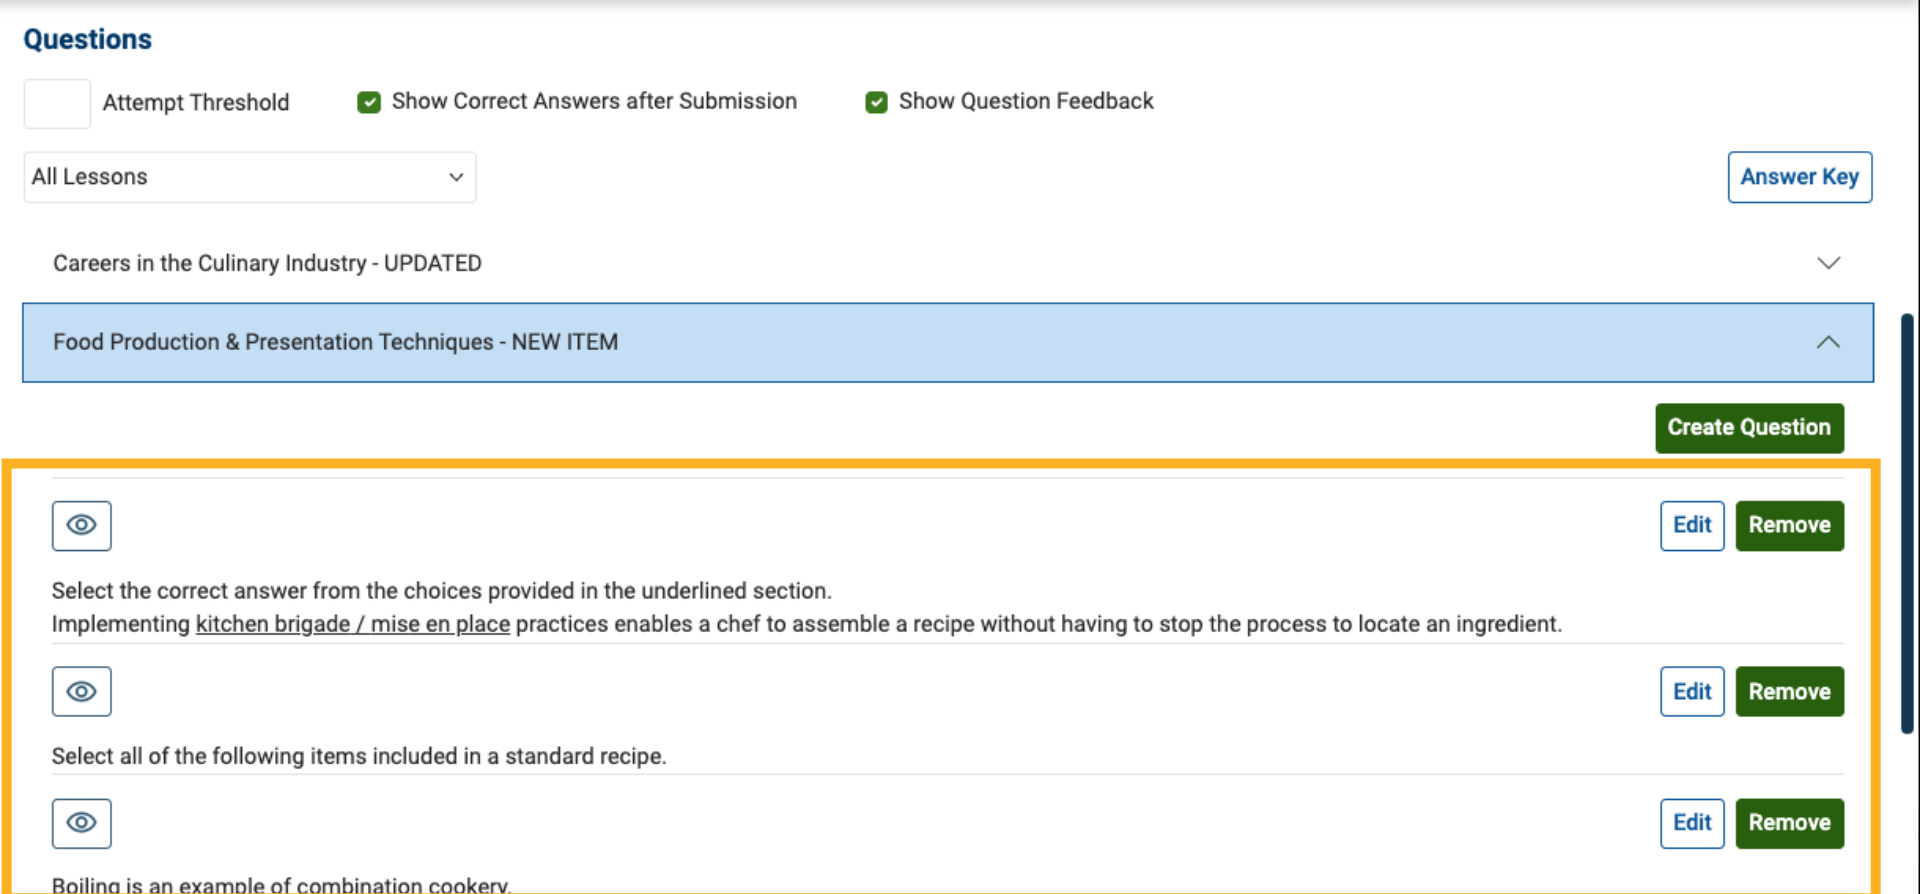
5. Add Questions
The selected questions are now added to the assessment and associated with the chosen lesson.
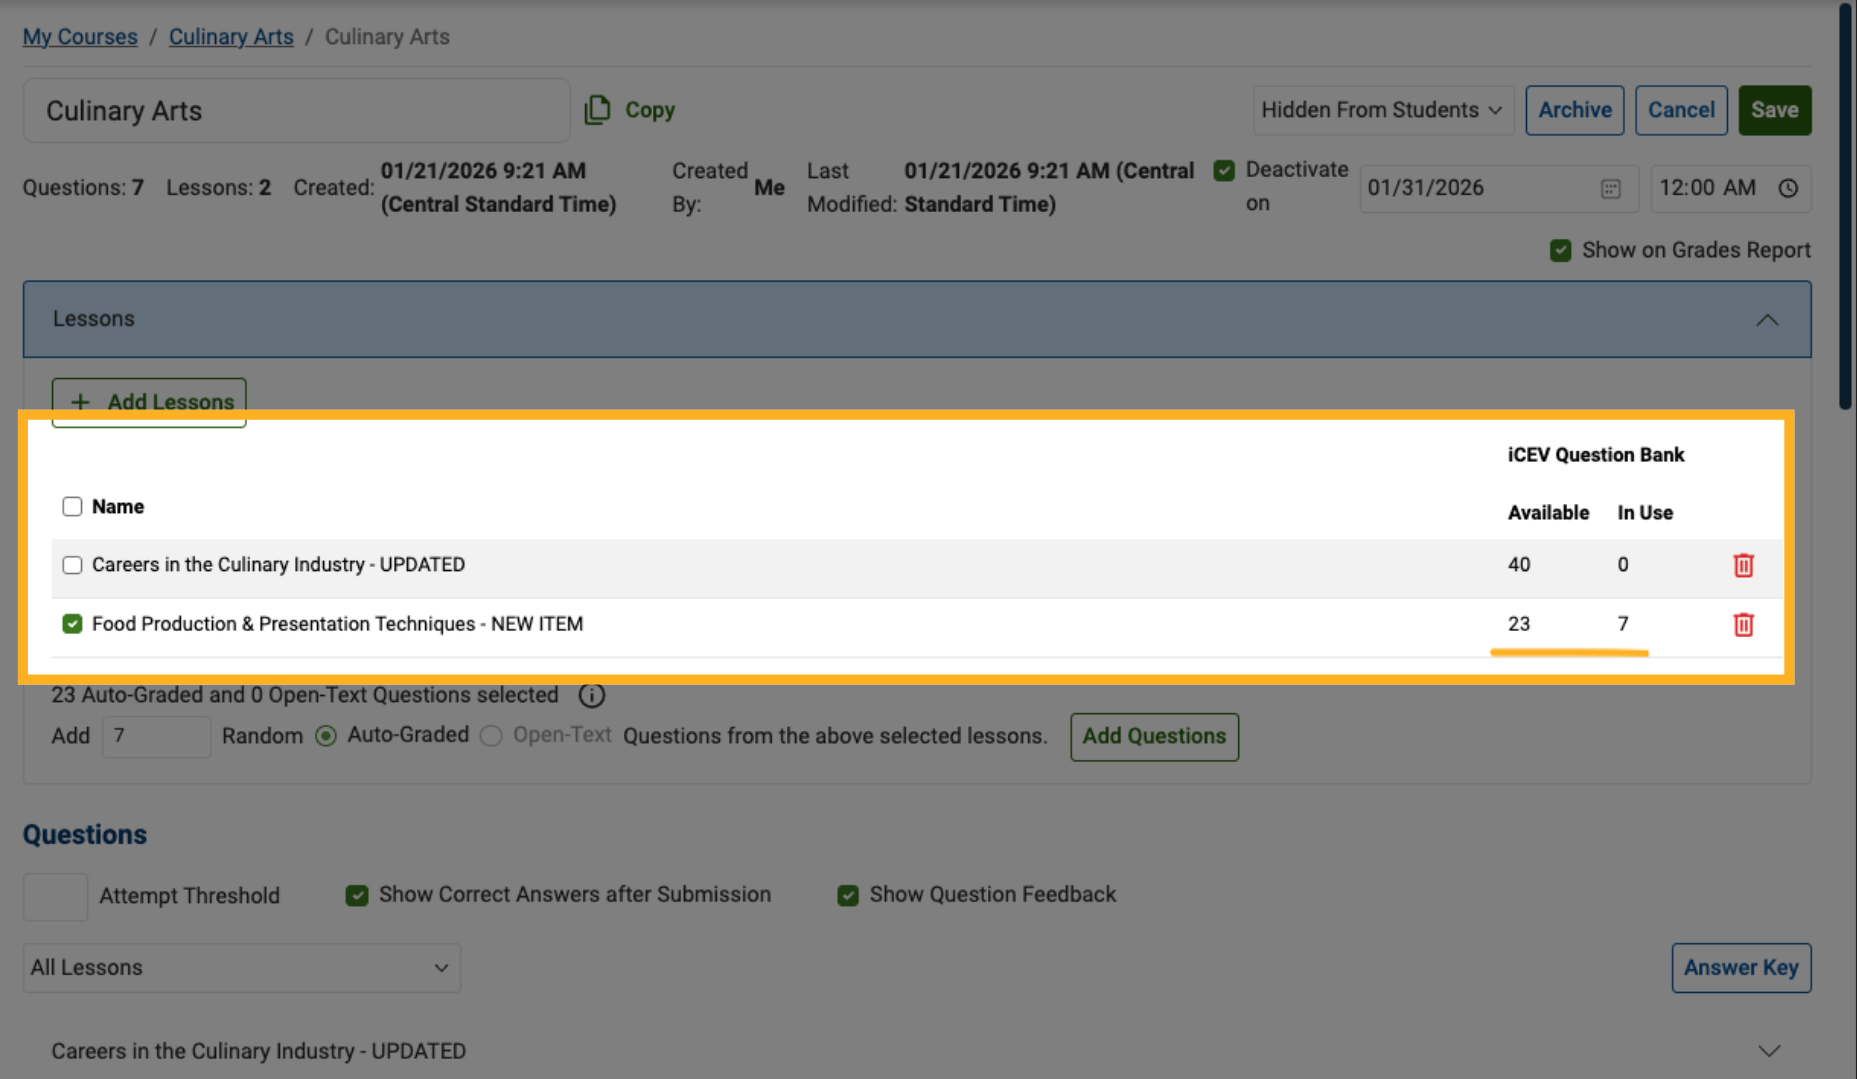
6. Review Updated Counts
The assessment totals update immediately:
-
The In‑Use question count increases
-
The Available question count decreases
7. Add Questions from Another Lesson (Optional)
At any point, you can add questions from additional lessons by:
-
Selecting another lesson from the list, or
-
Clicking Add Lessons to include new lessons in the assessment
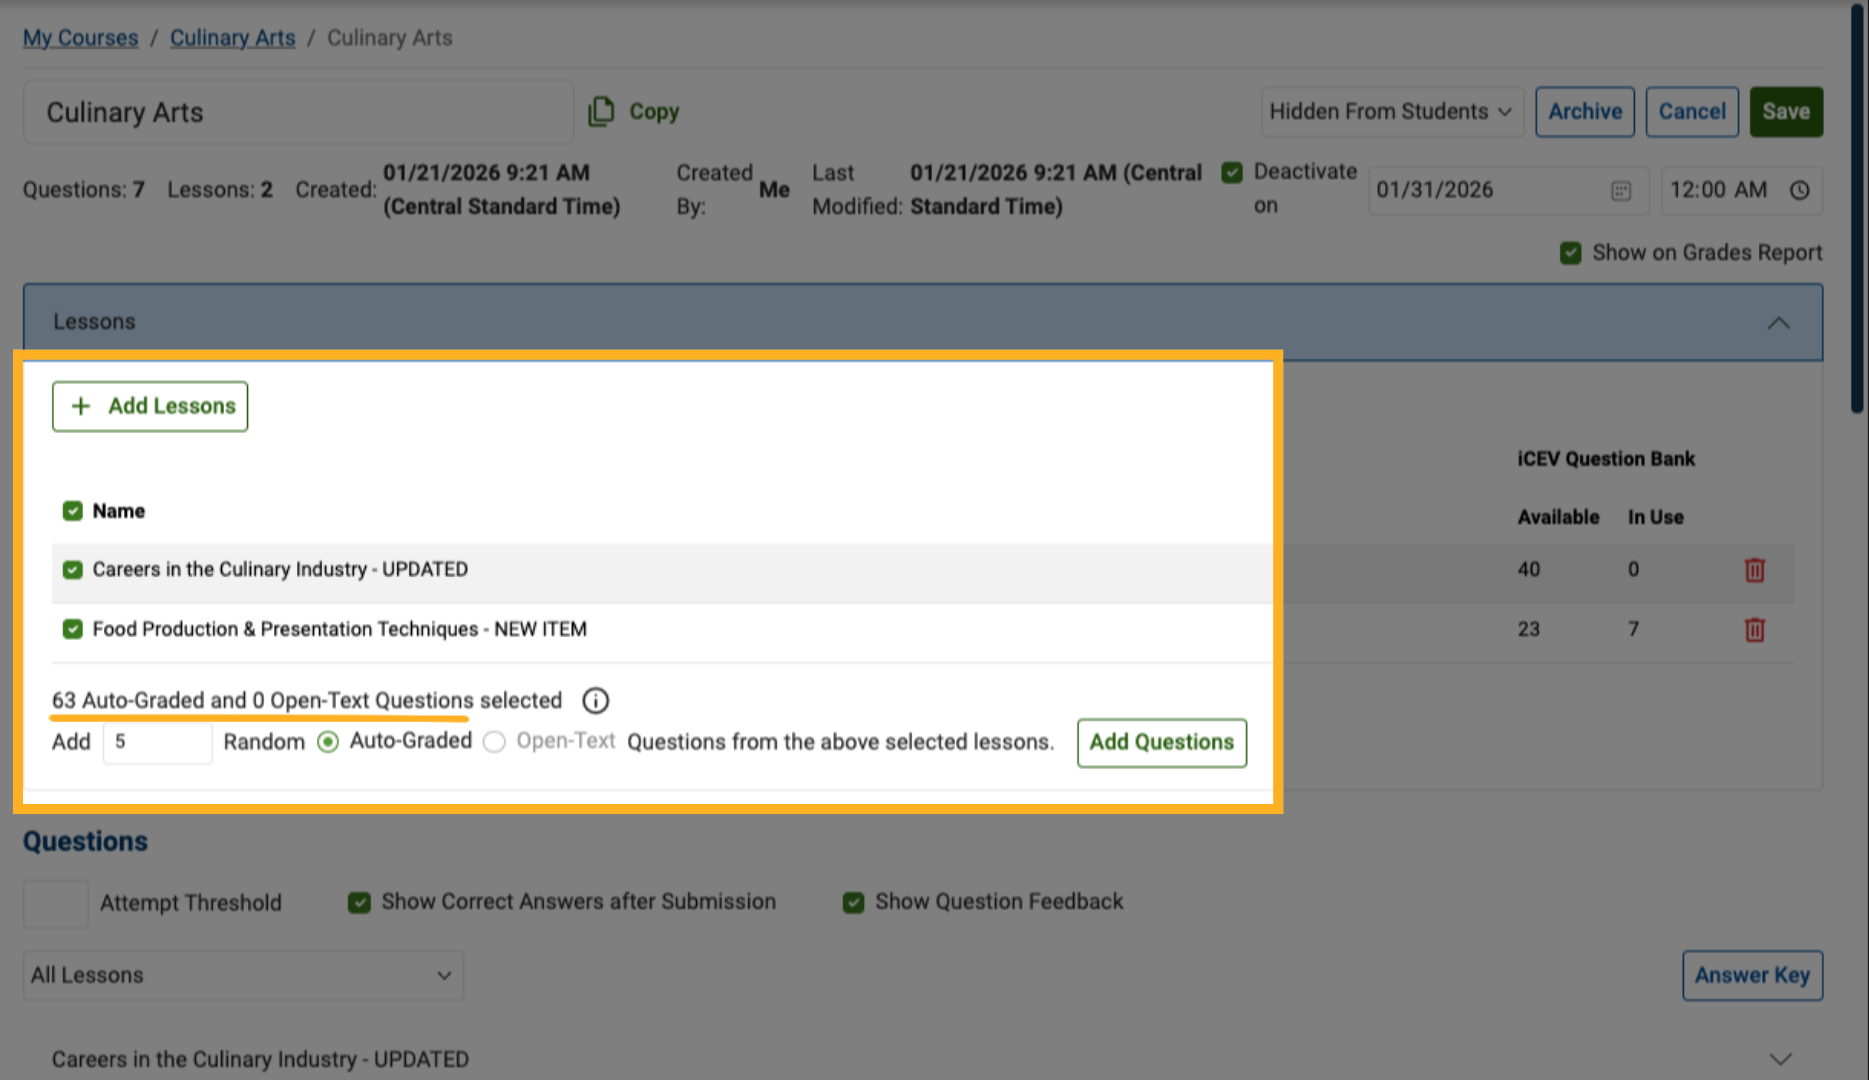
8. Switch Between Lessons
If you no longer want to add questions from a specific lesson, simply unselect it.
The available questions update automatically to reflect the currently selected lesson.
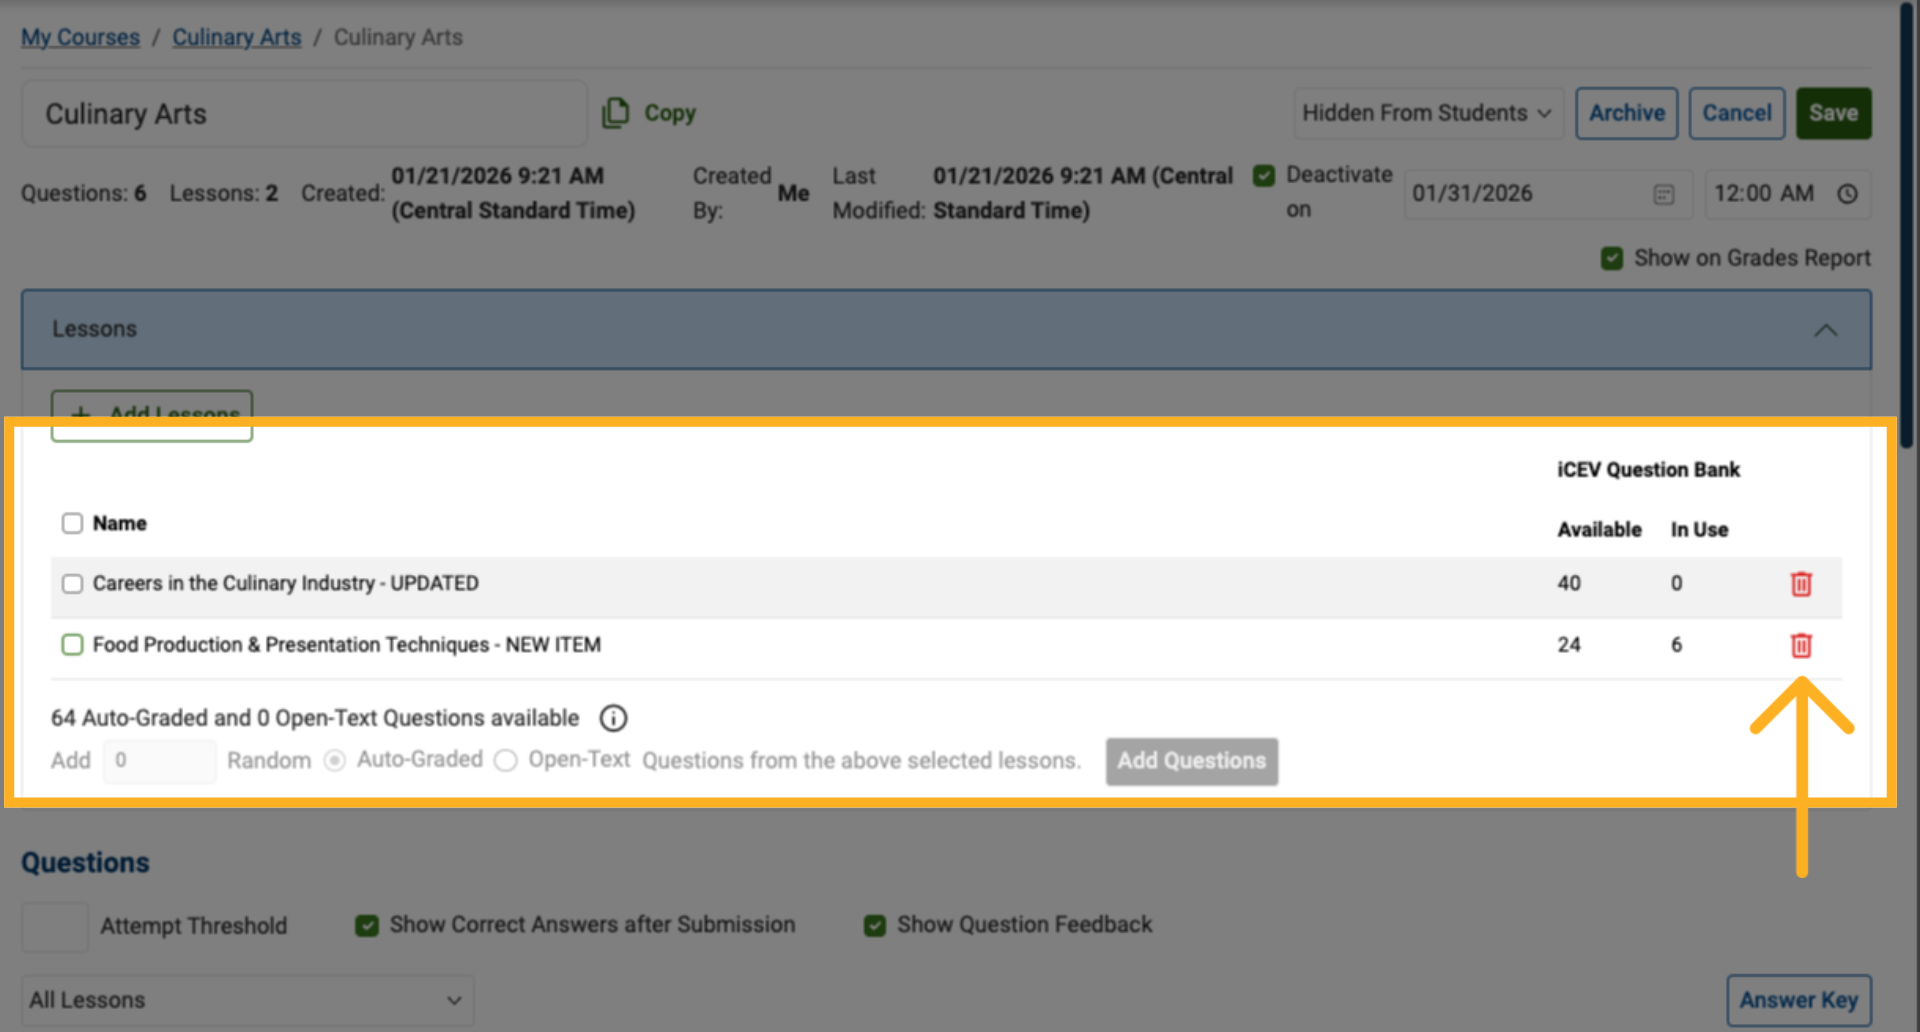
Removing Questions from an Assessment
Next, we’ll show how to remove questions that have already been added.
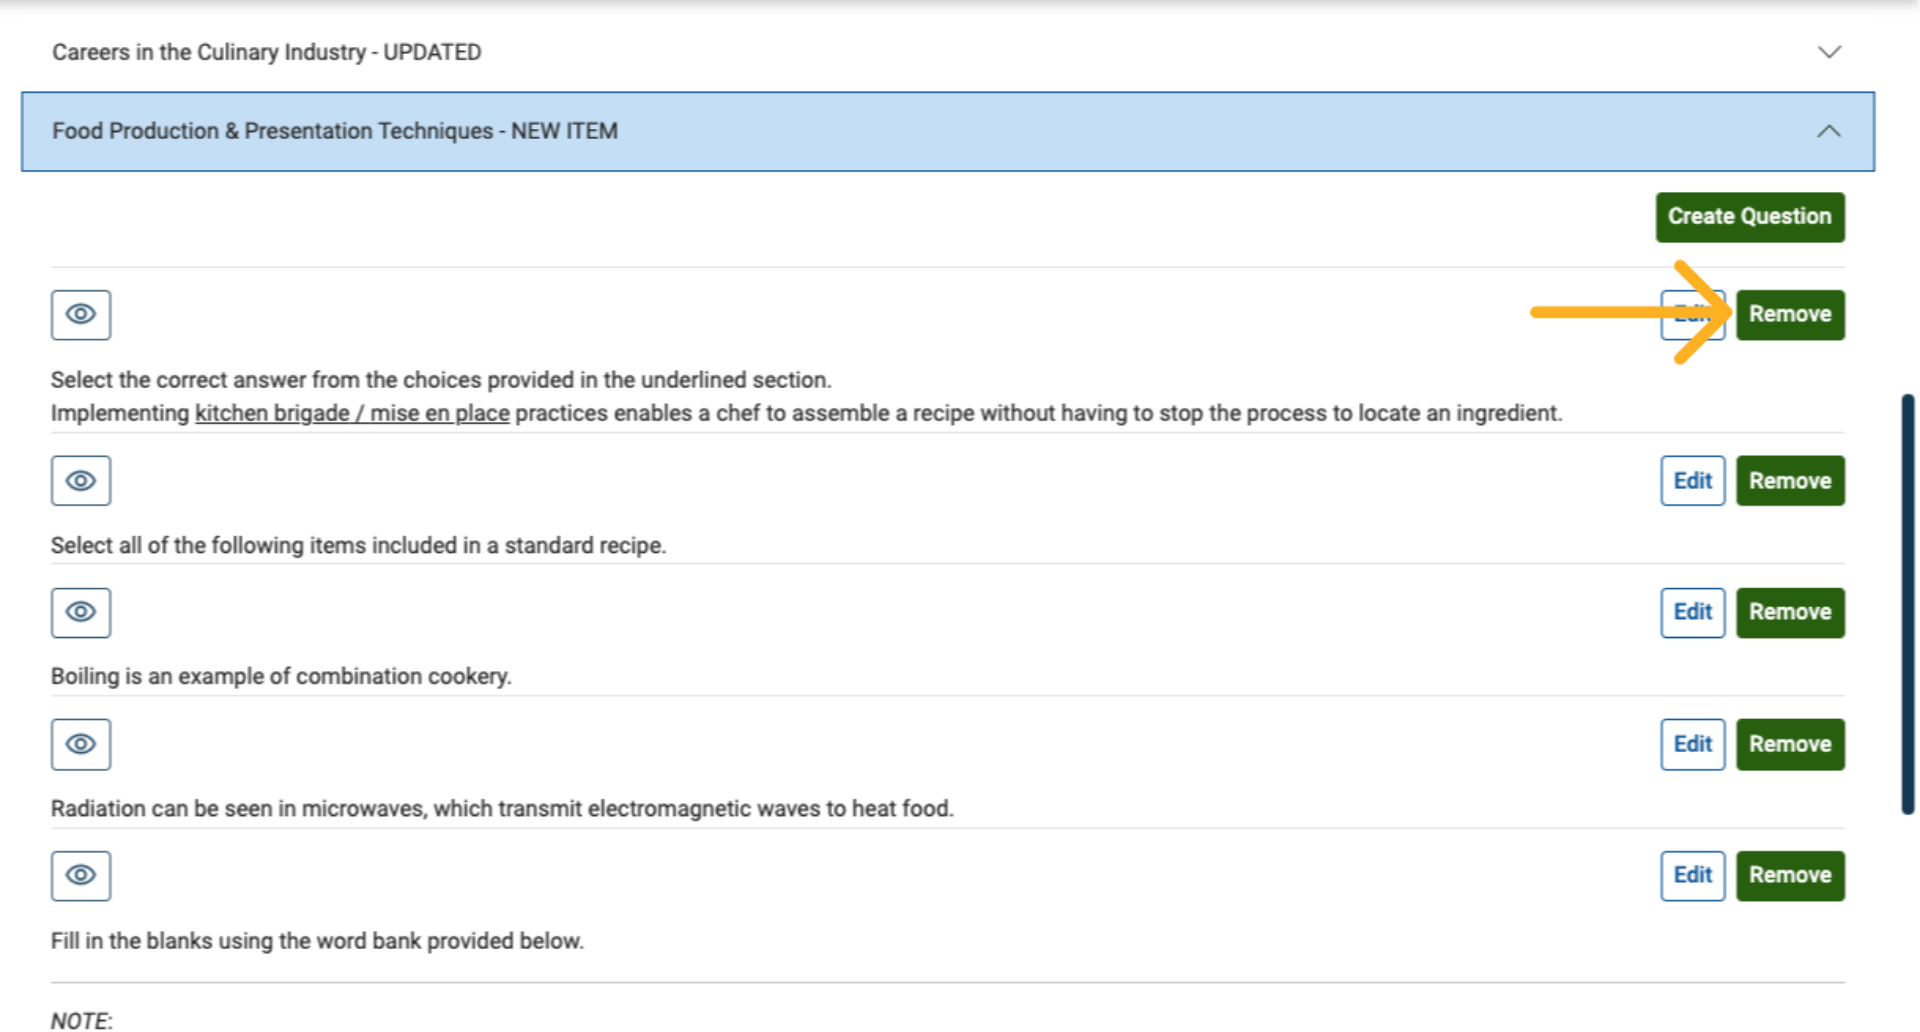
1. Remove Individual Questions
After questions are added, you can remove individual questions directly from the assessment.
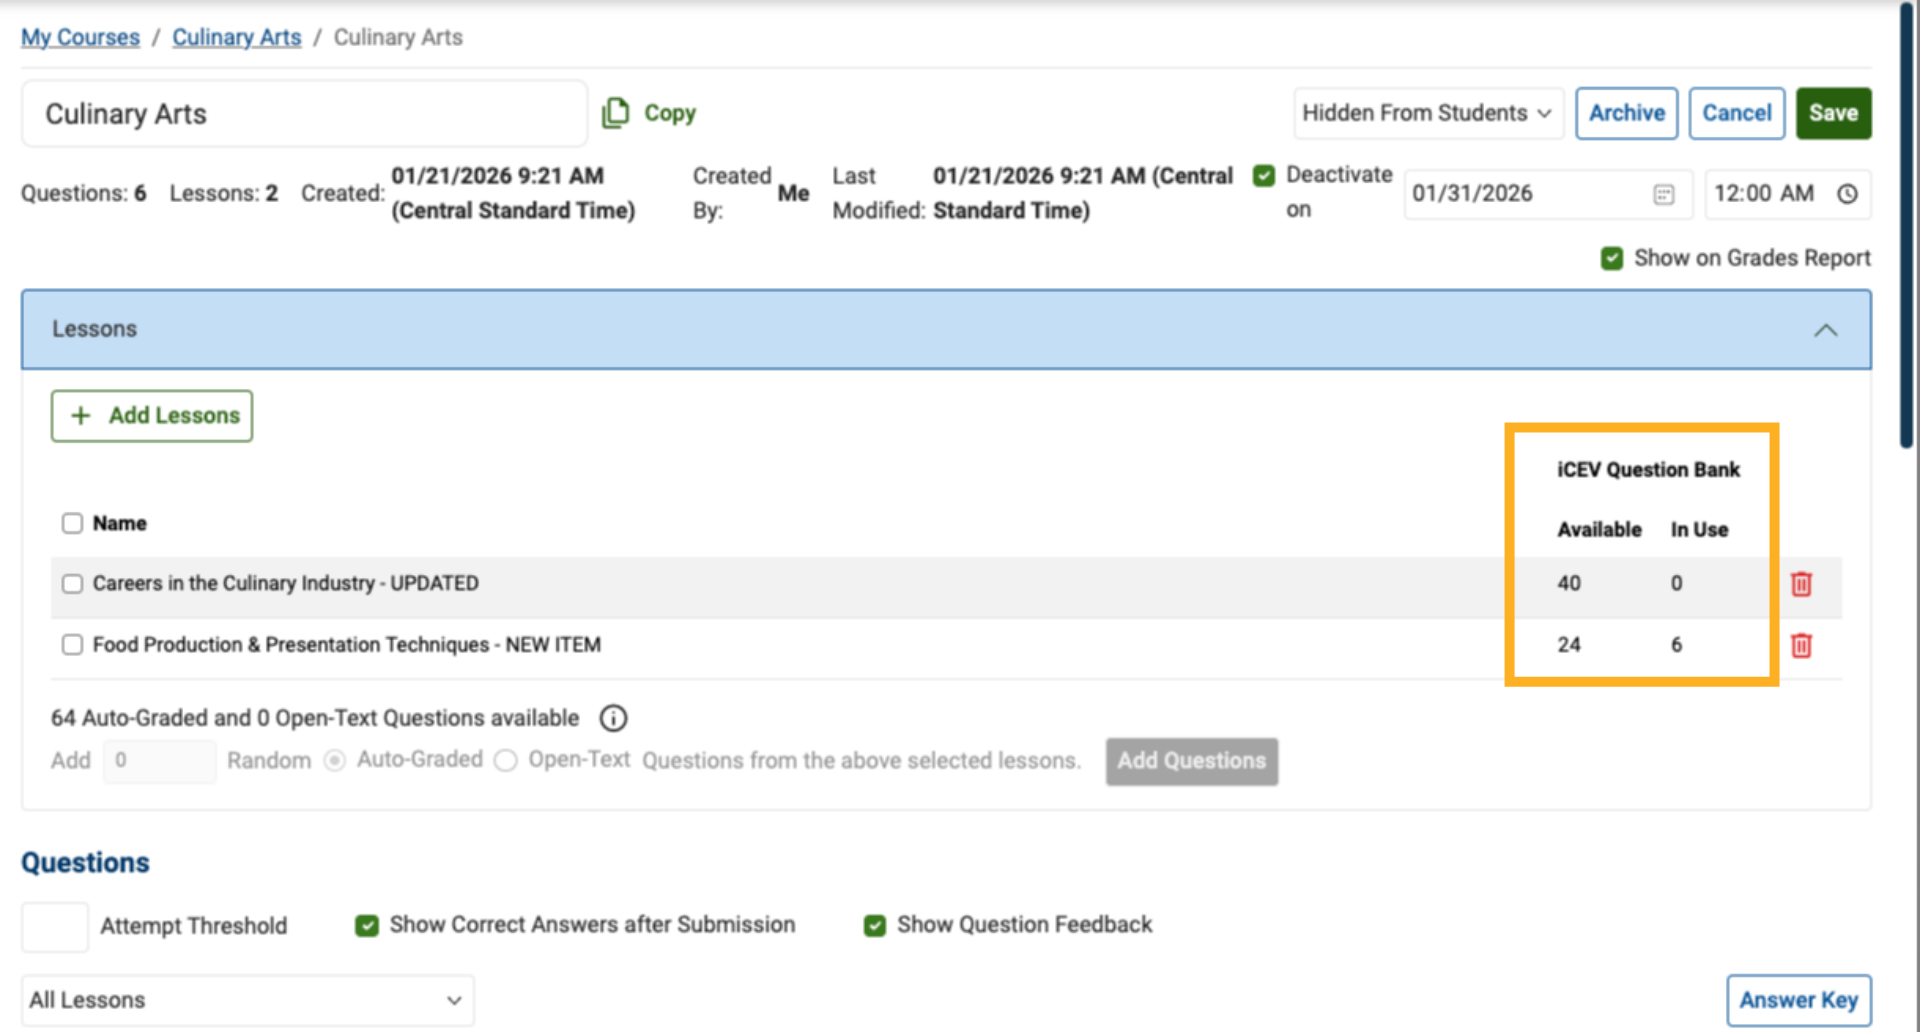
2. Review Updated Totals After Removal
When a question is removed, the totals update automatically.
For example:
-
Previously: 23 available / 7 in use
-
After removal: 24 available / 6 in use
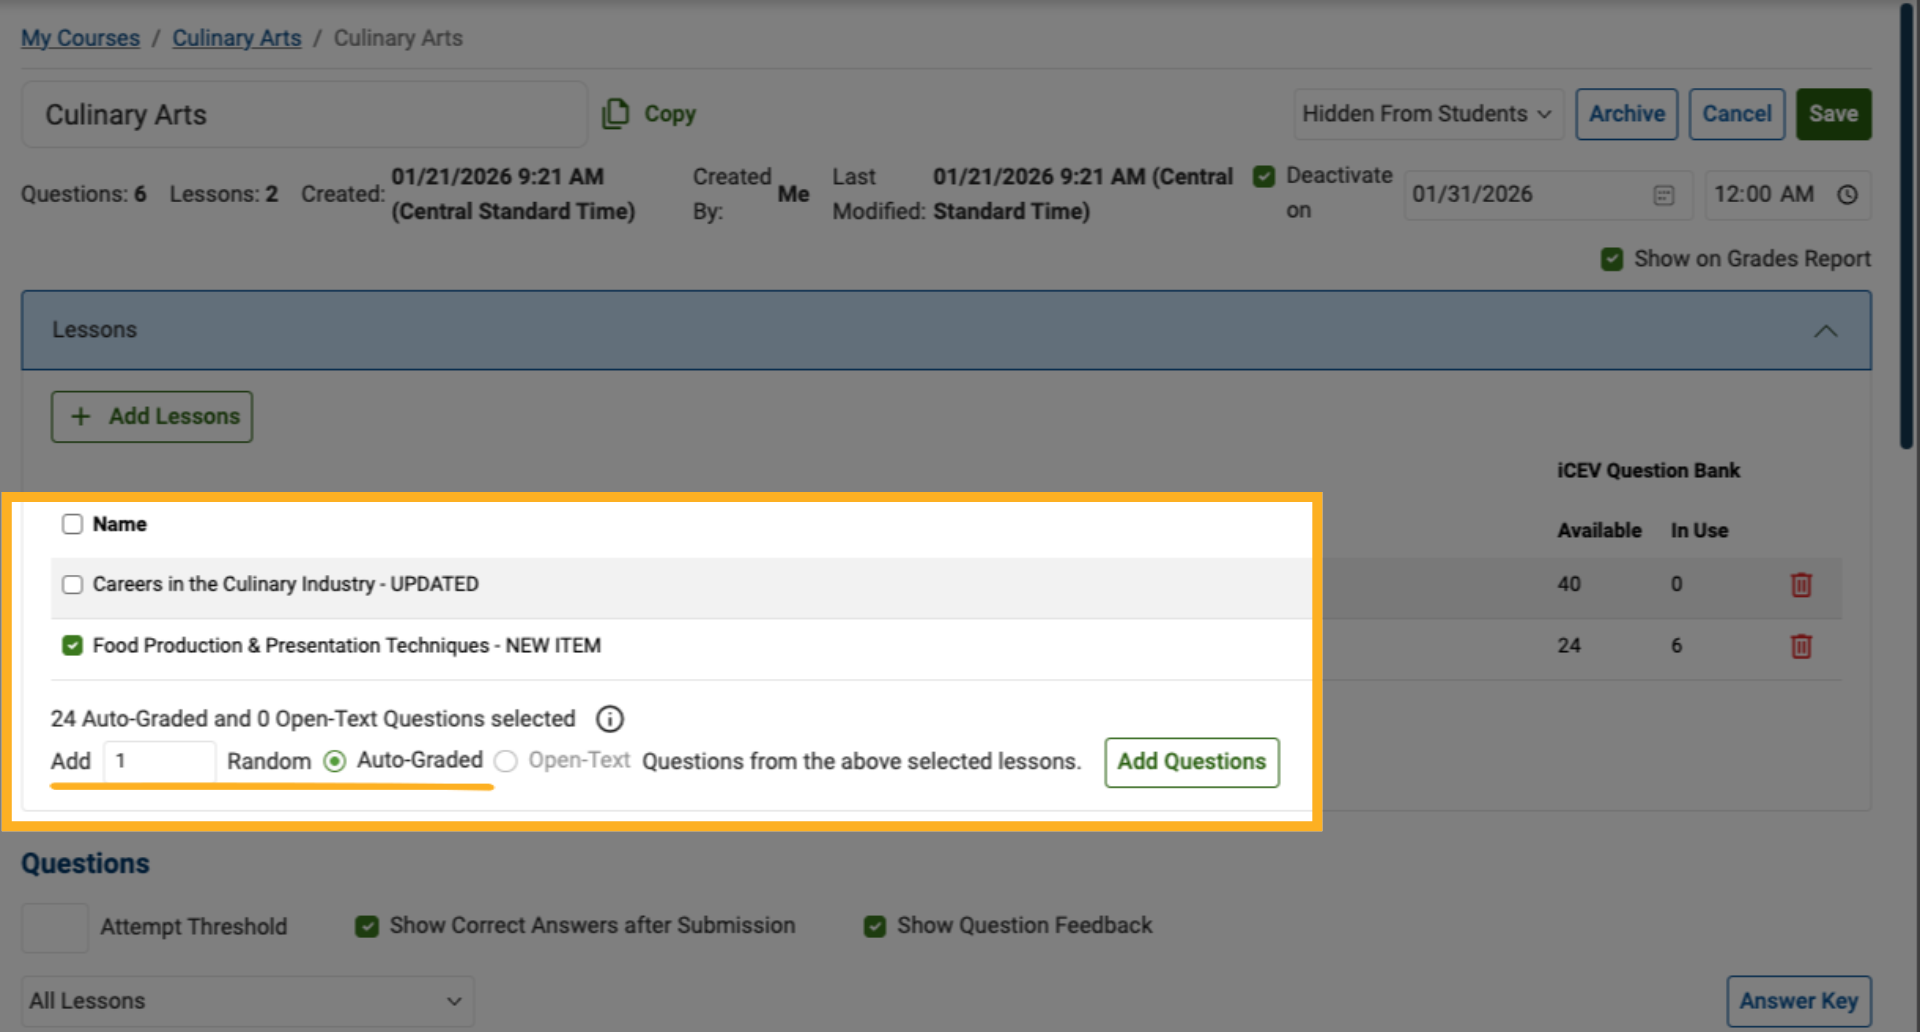
3. Re‑Add Questions if Needed
If you change your mind, you may re‑add questions at any time from the available question pool.
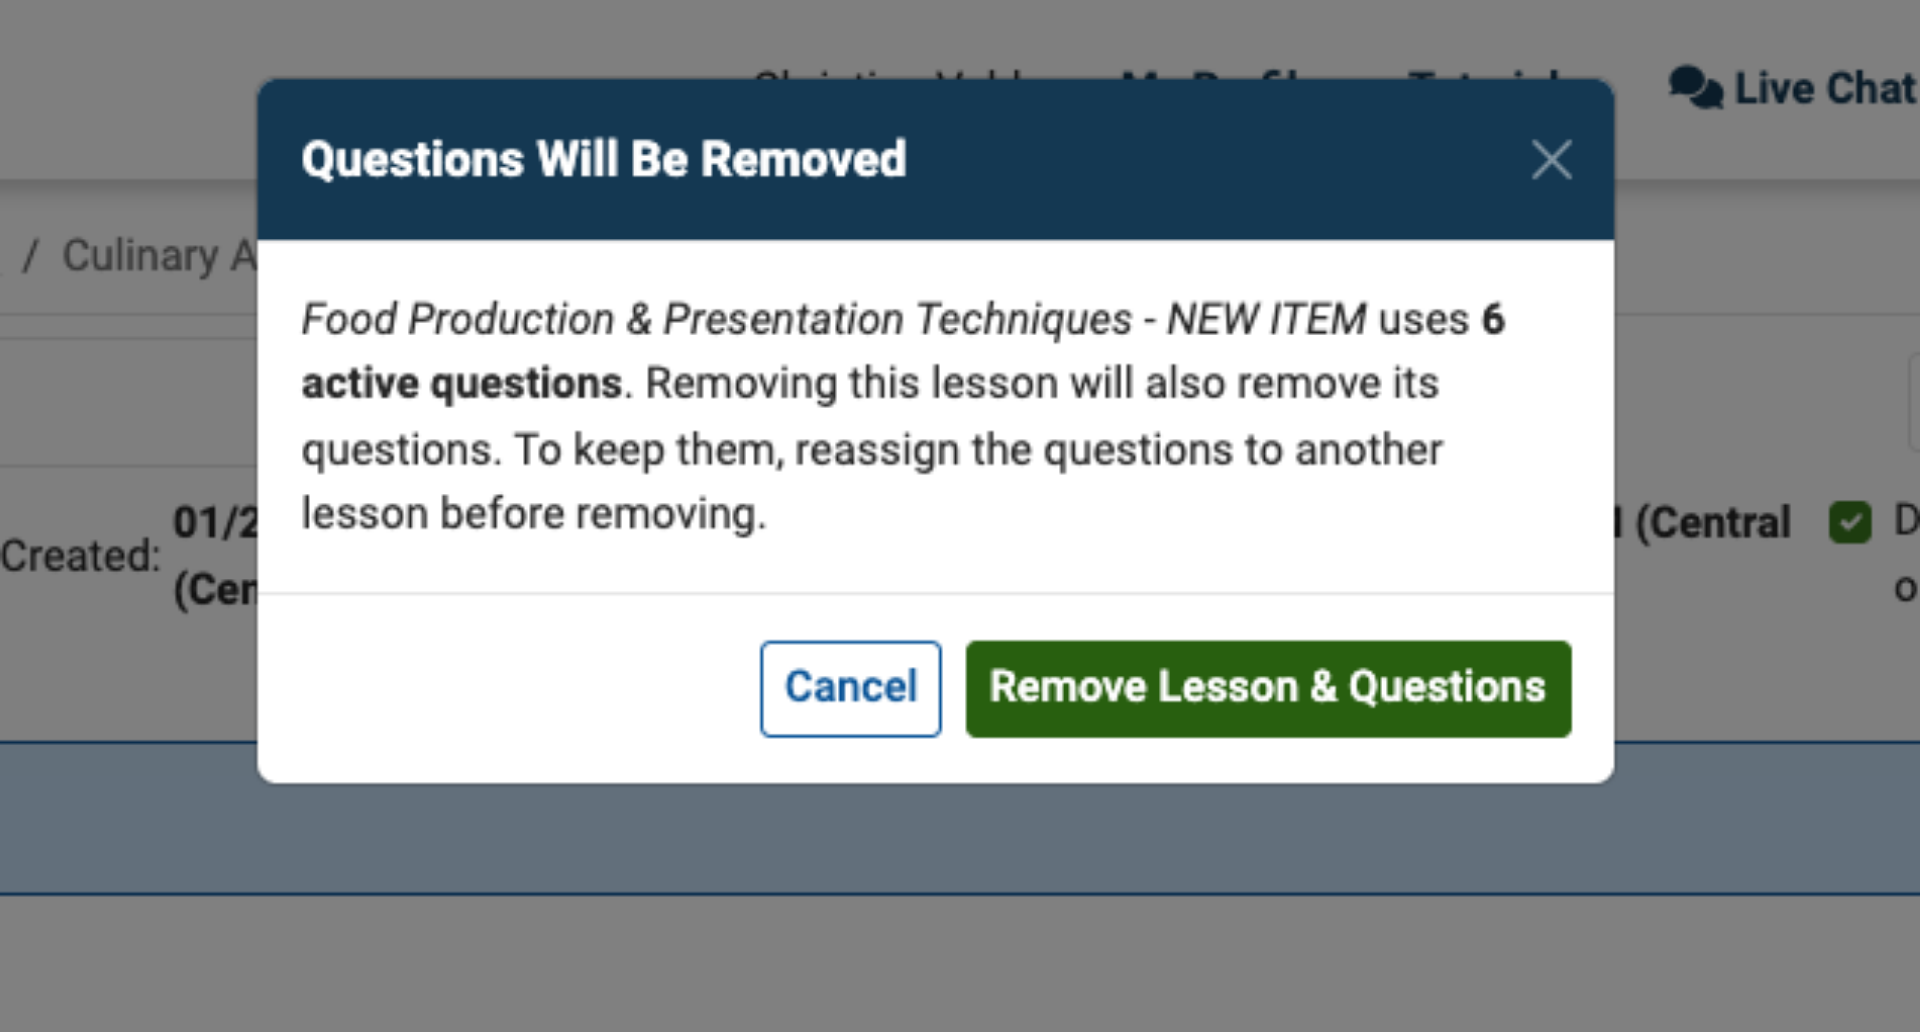
4. Remove All Questions from a Lesson
To remove all questions from a specific lesson at once, remove the lesson itself from the assessment.
5. Confirm Lesson Removal
When removing a lesson, a warning message appears indicating that all associated questions will also be removed.
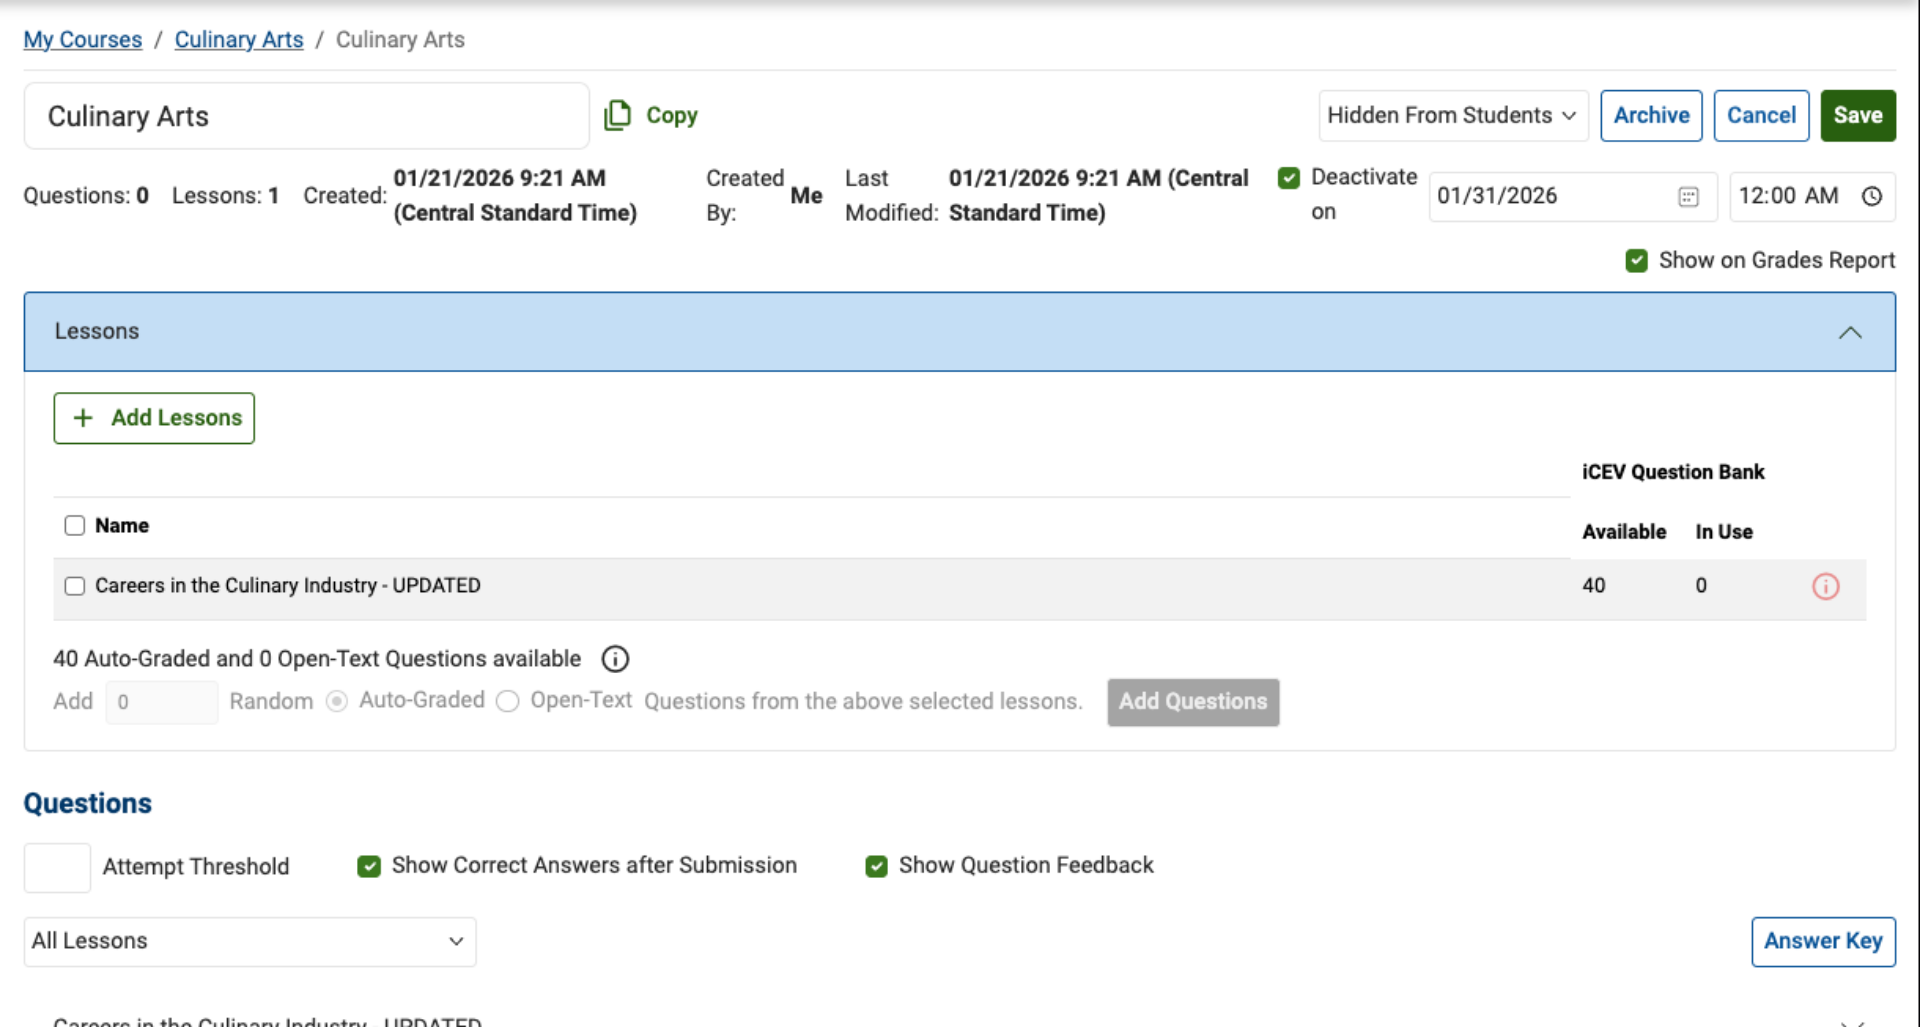
6. Lesson and Questions Removed
Once confirmed, the lesson and all its associated questions are removed from the assessment.
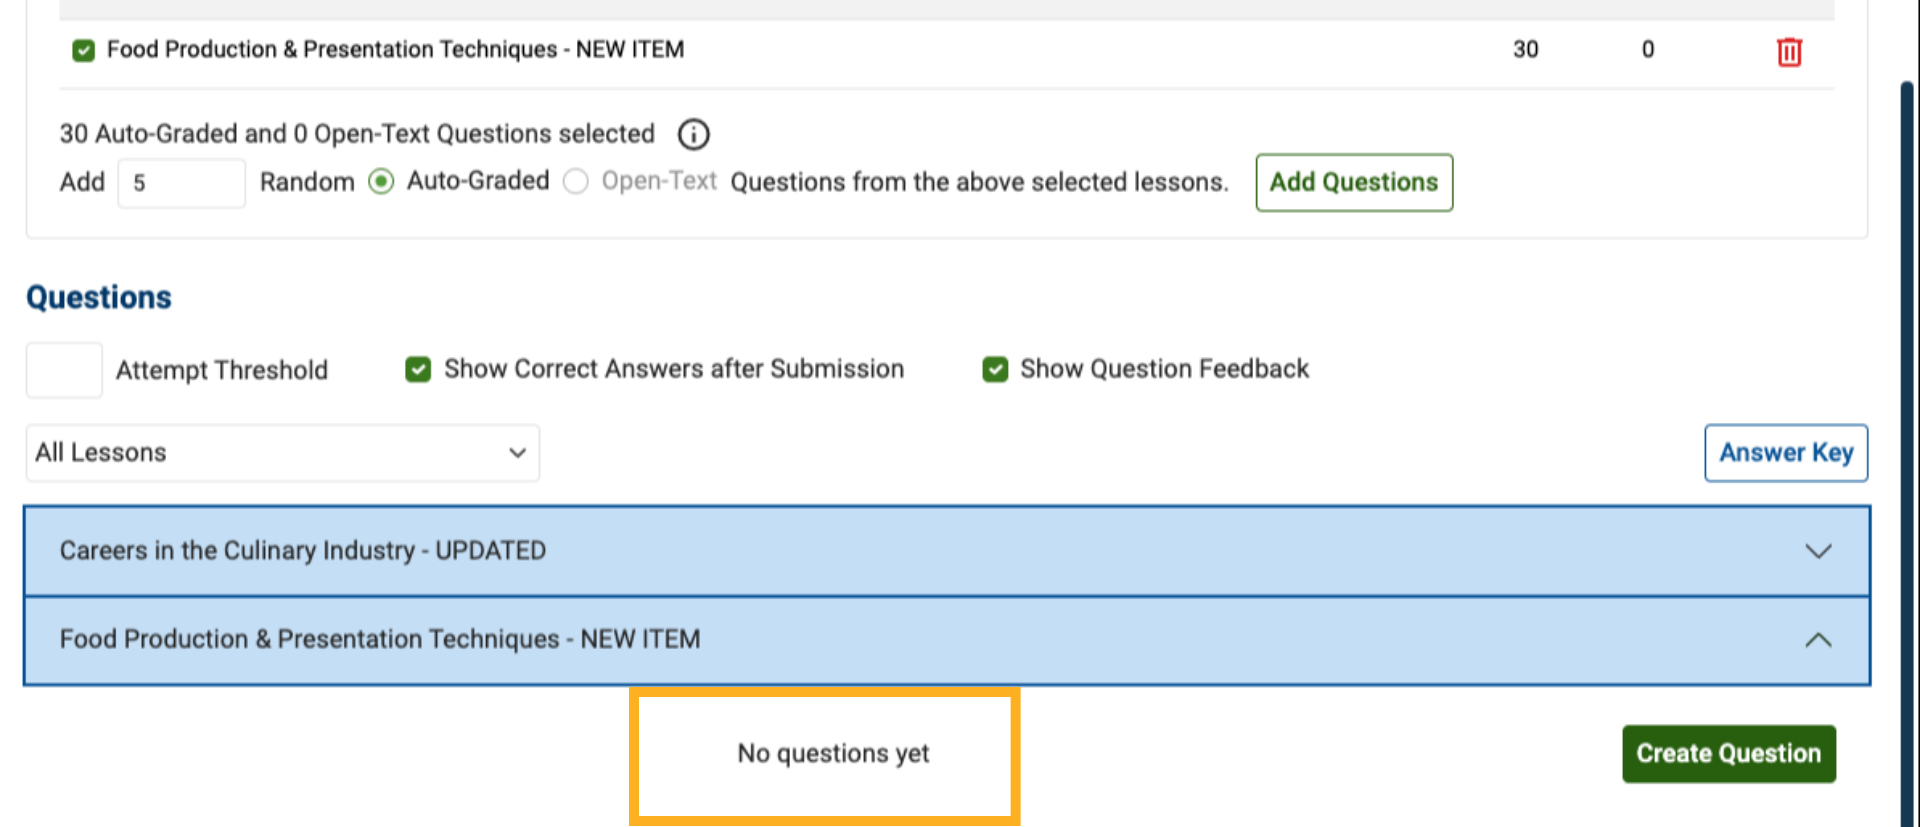
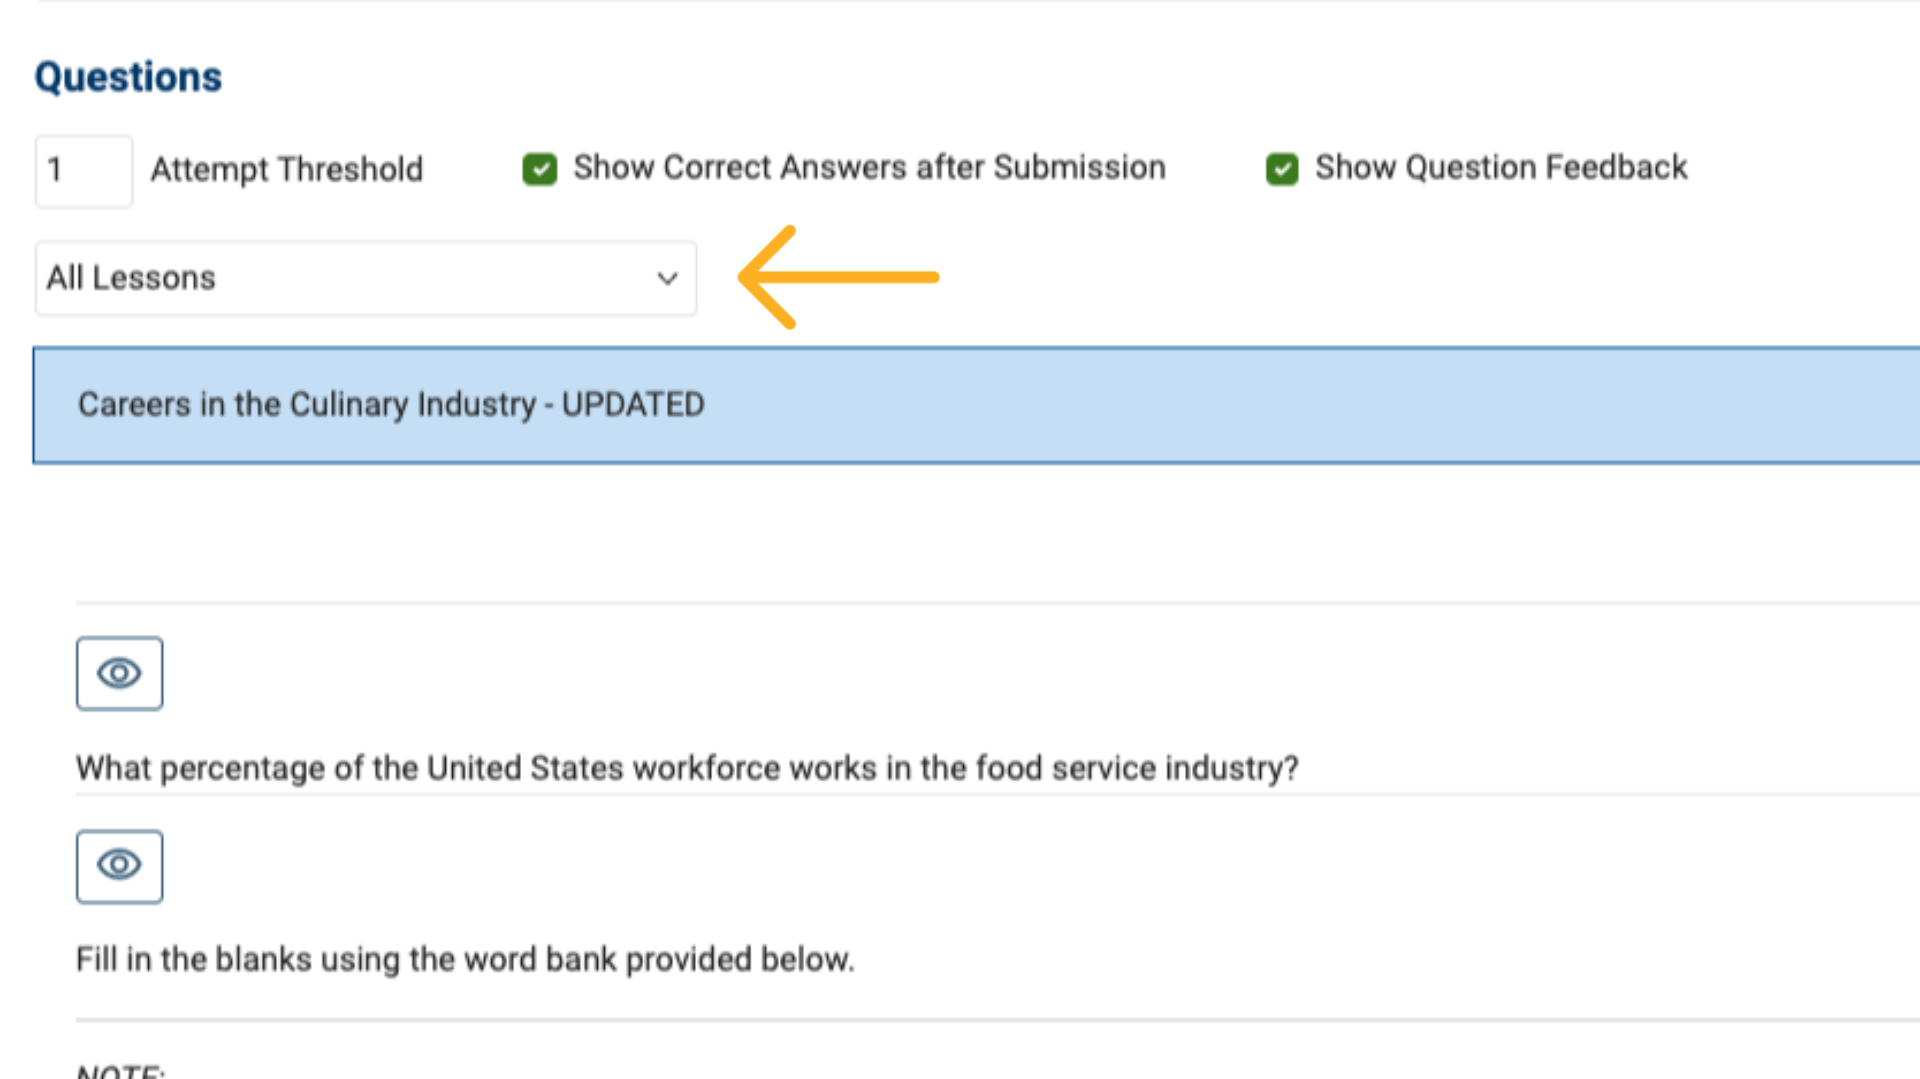
Managing Question Settings
Next, we’ll review how to manage settings for the questions included in your custom assessment.
1. Locate Question Settings
All question‑related settings are managed within the Questions section of the Custom Assessment Editor.
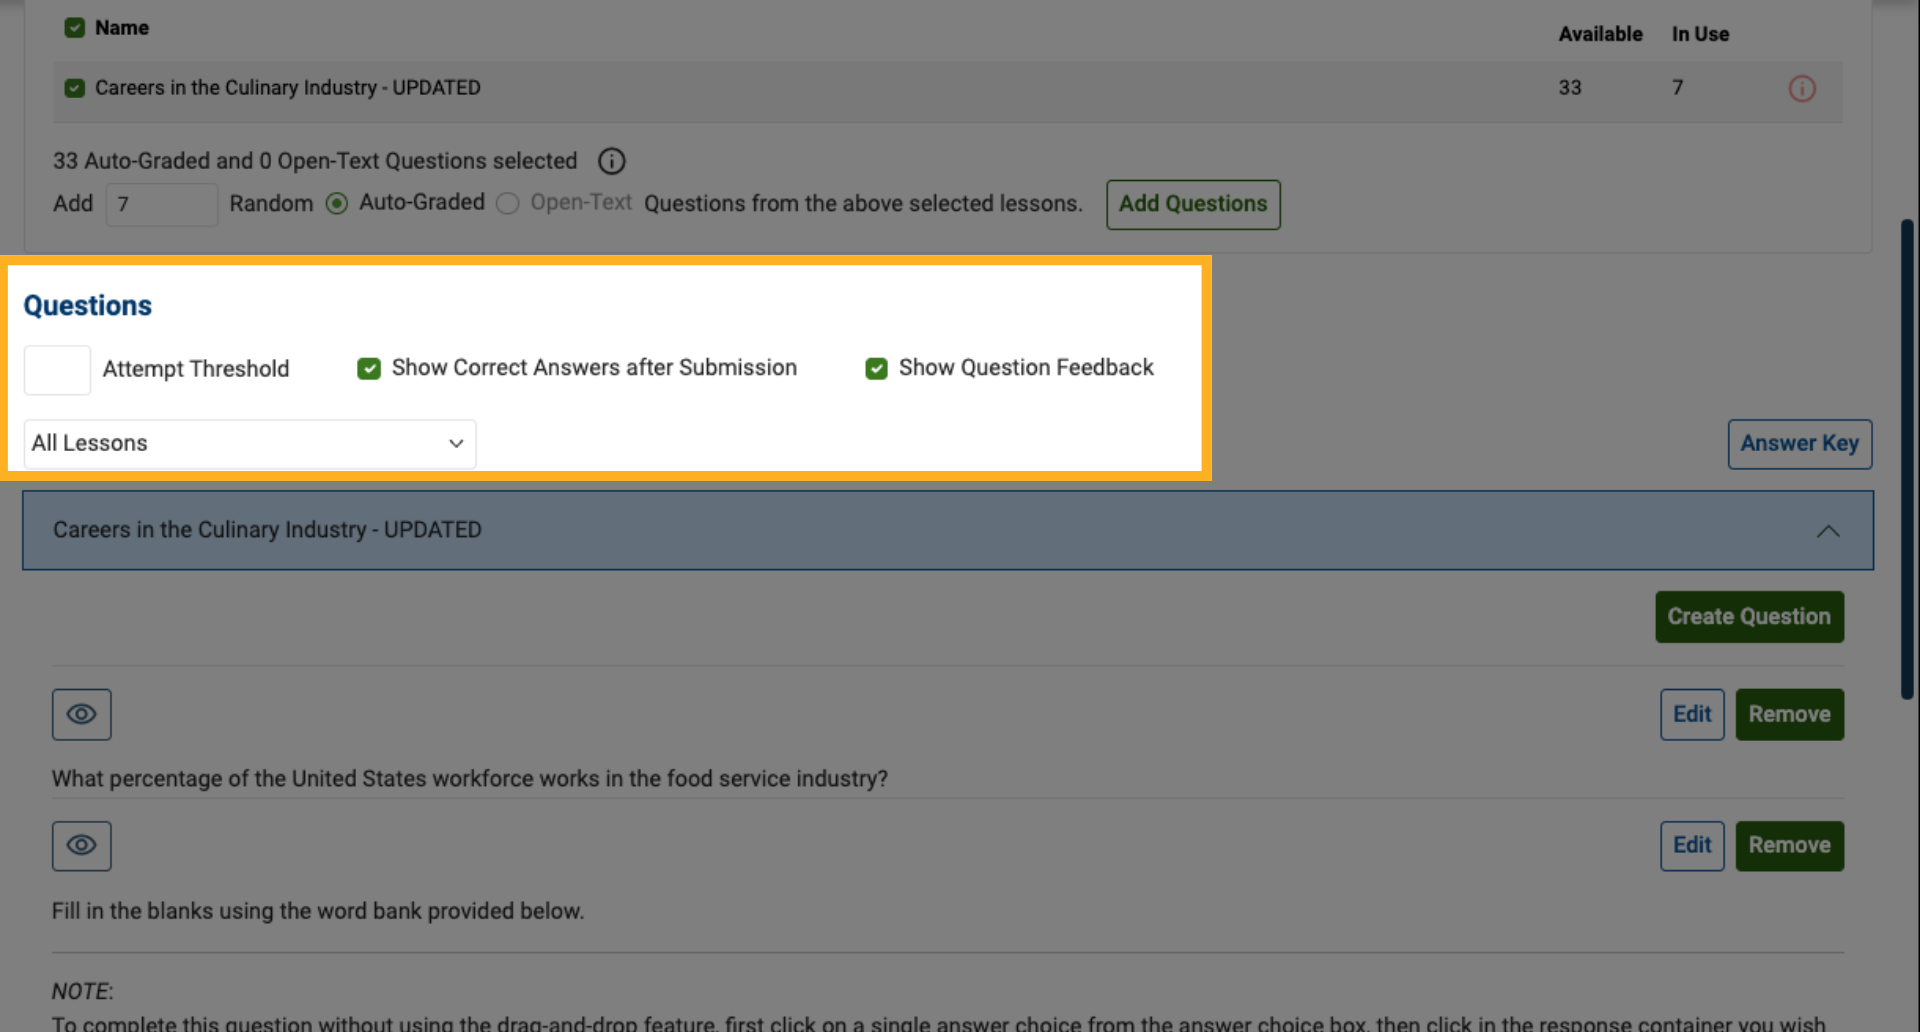
2. Set the Number of Attempts
Choose how many attempts students are allowed:
-
By default, students have unlimited attempts.
-
If needed, you can set a limit on attempts (for example, allow only one attempt).
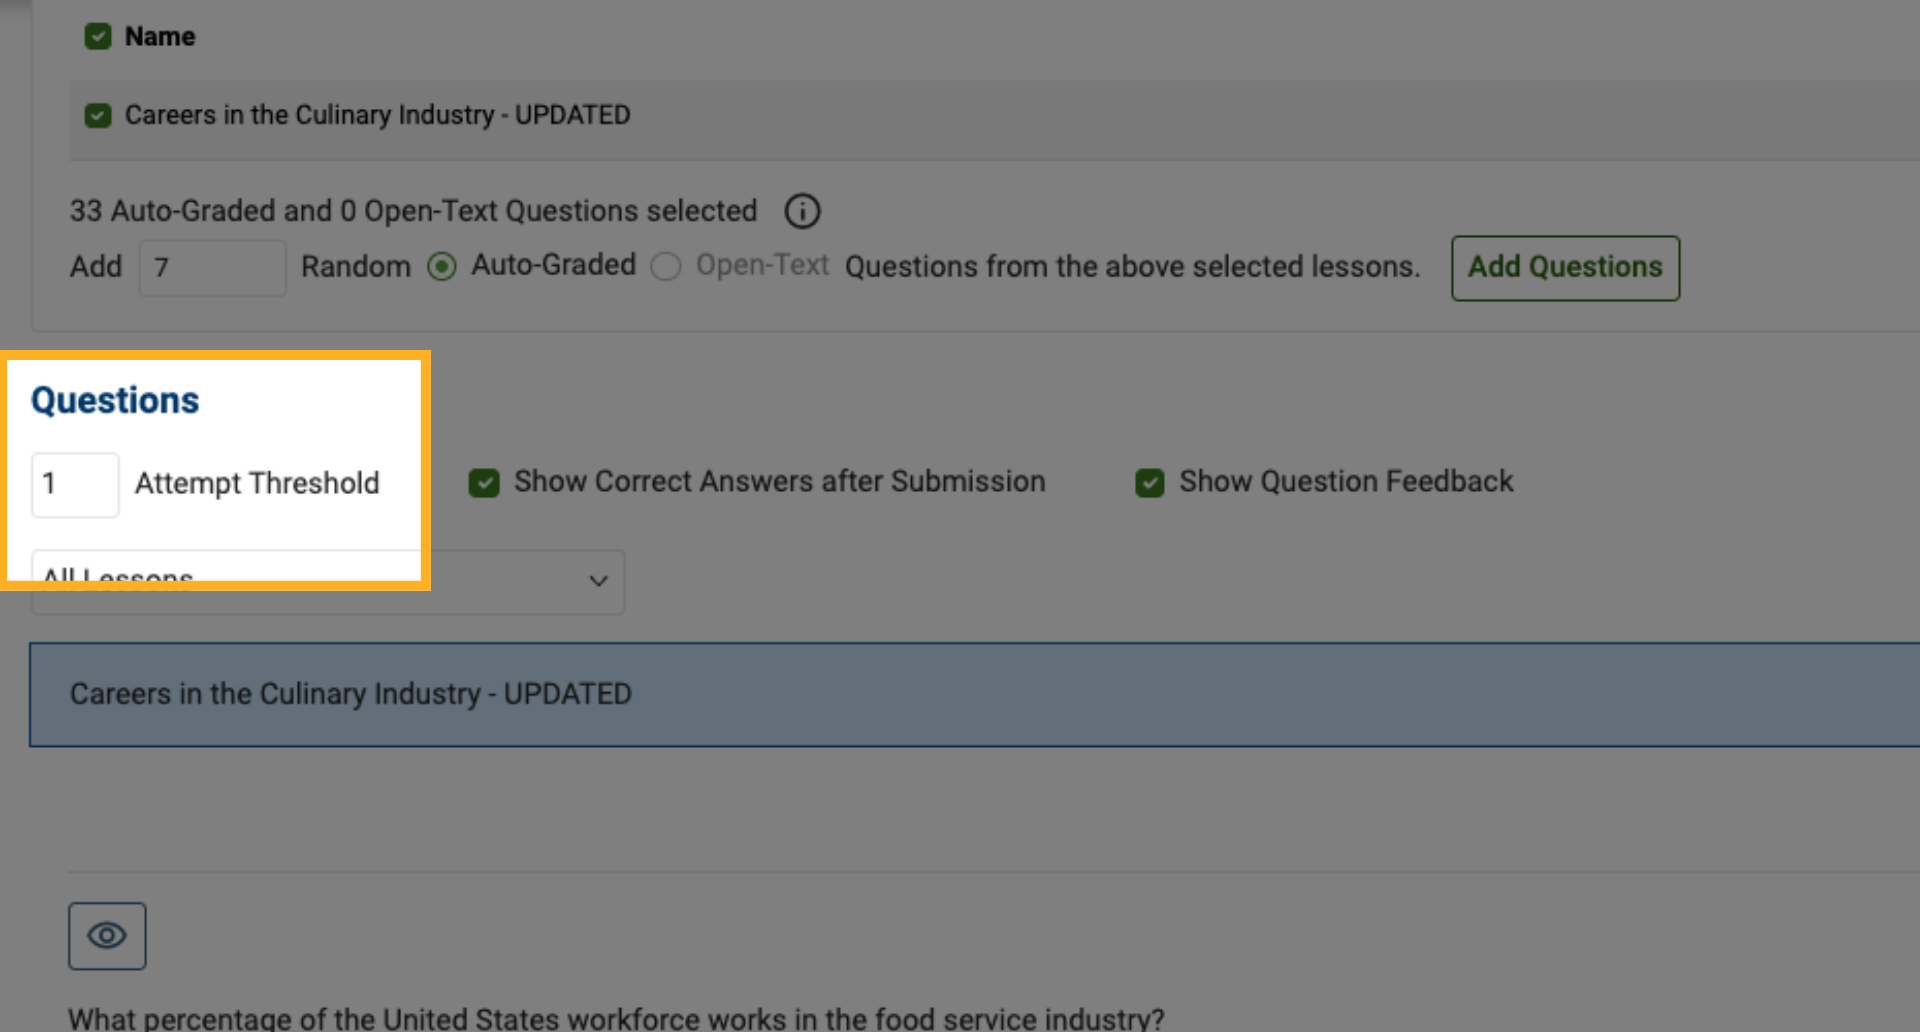
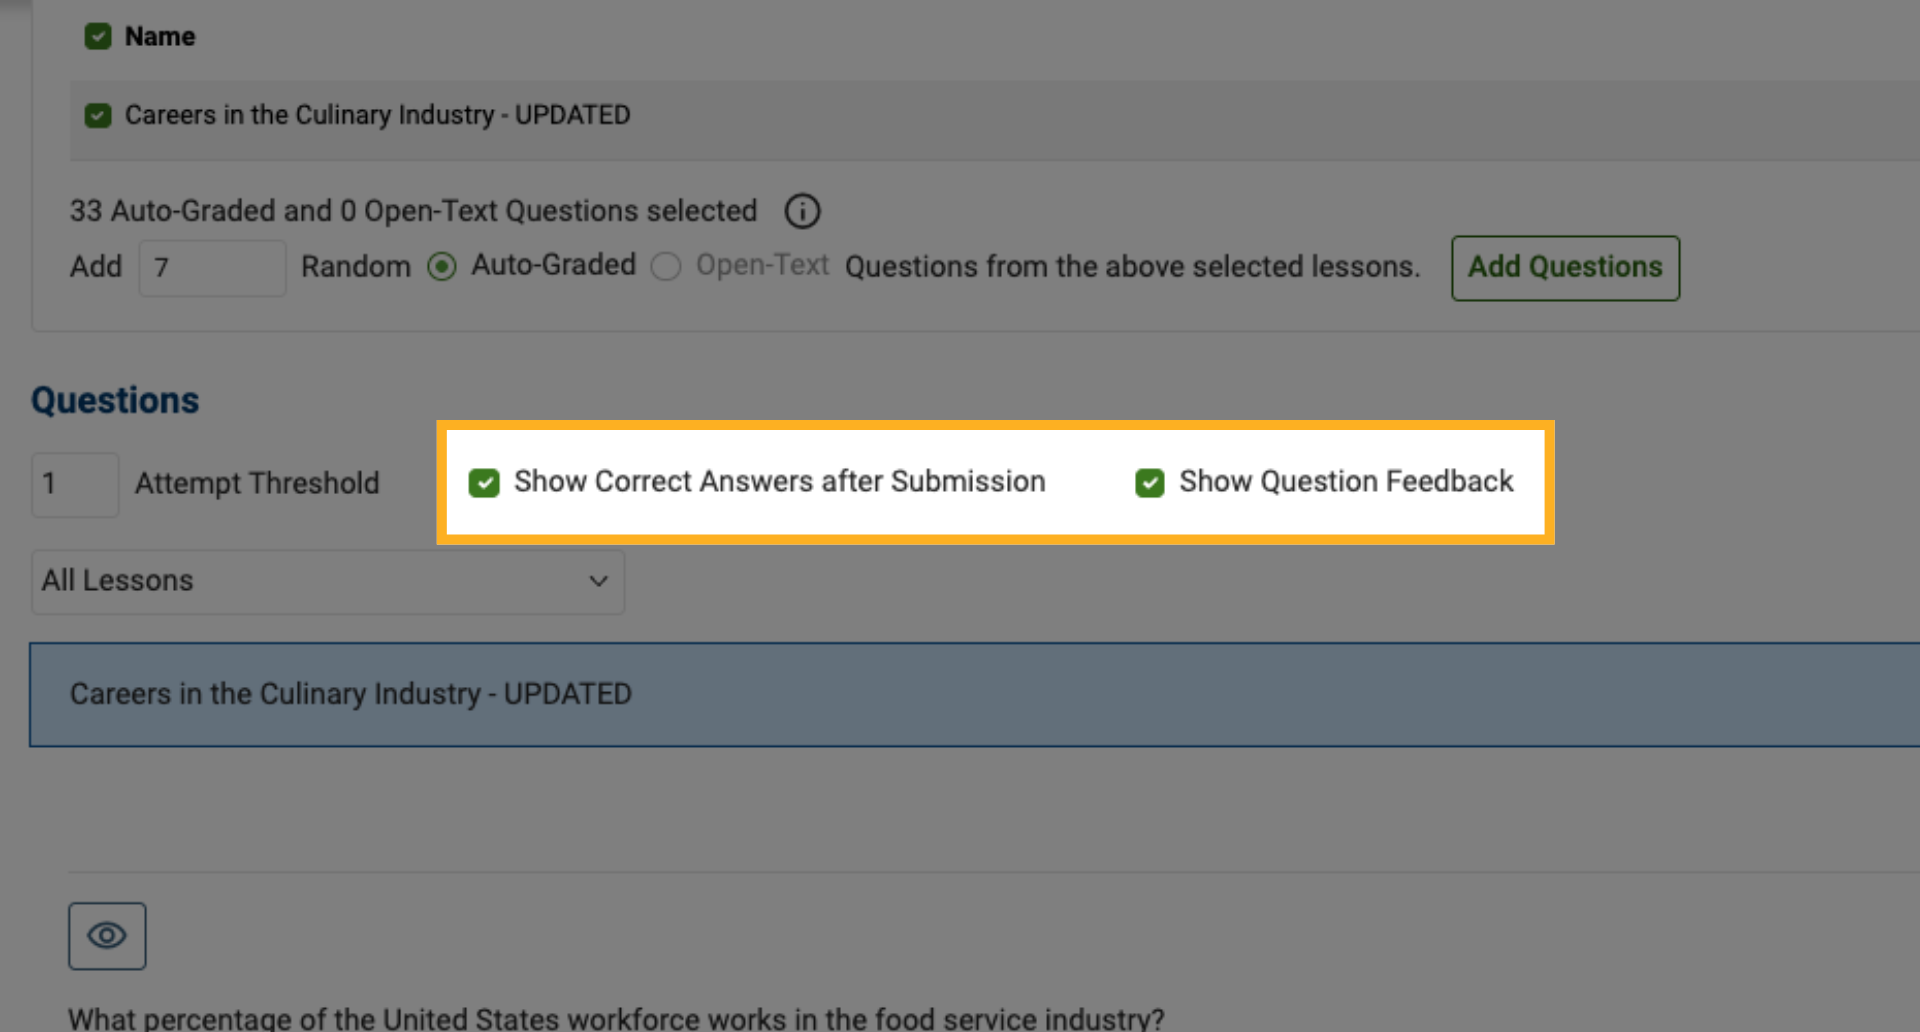
3. Control Answer Visibility
Decide whether students should:
-
View correct answers after submission
-
Receive feedback on questions
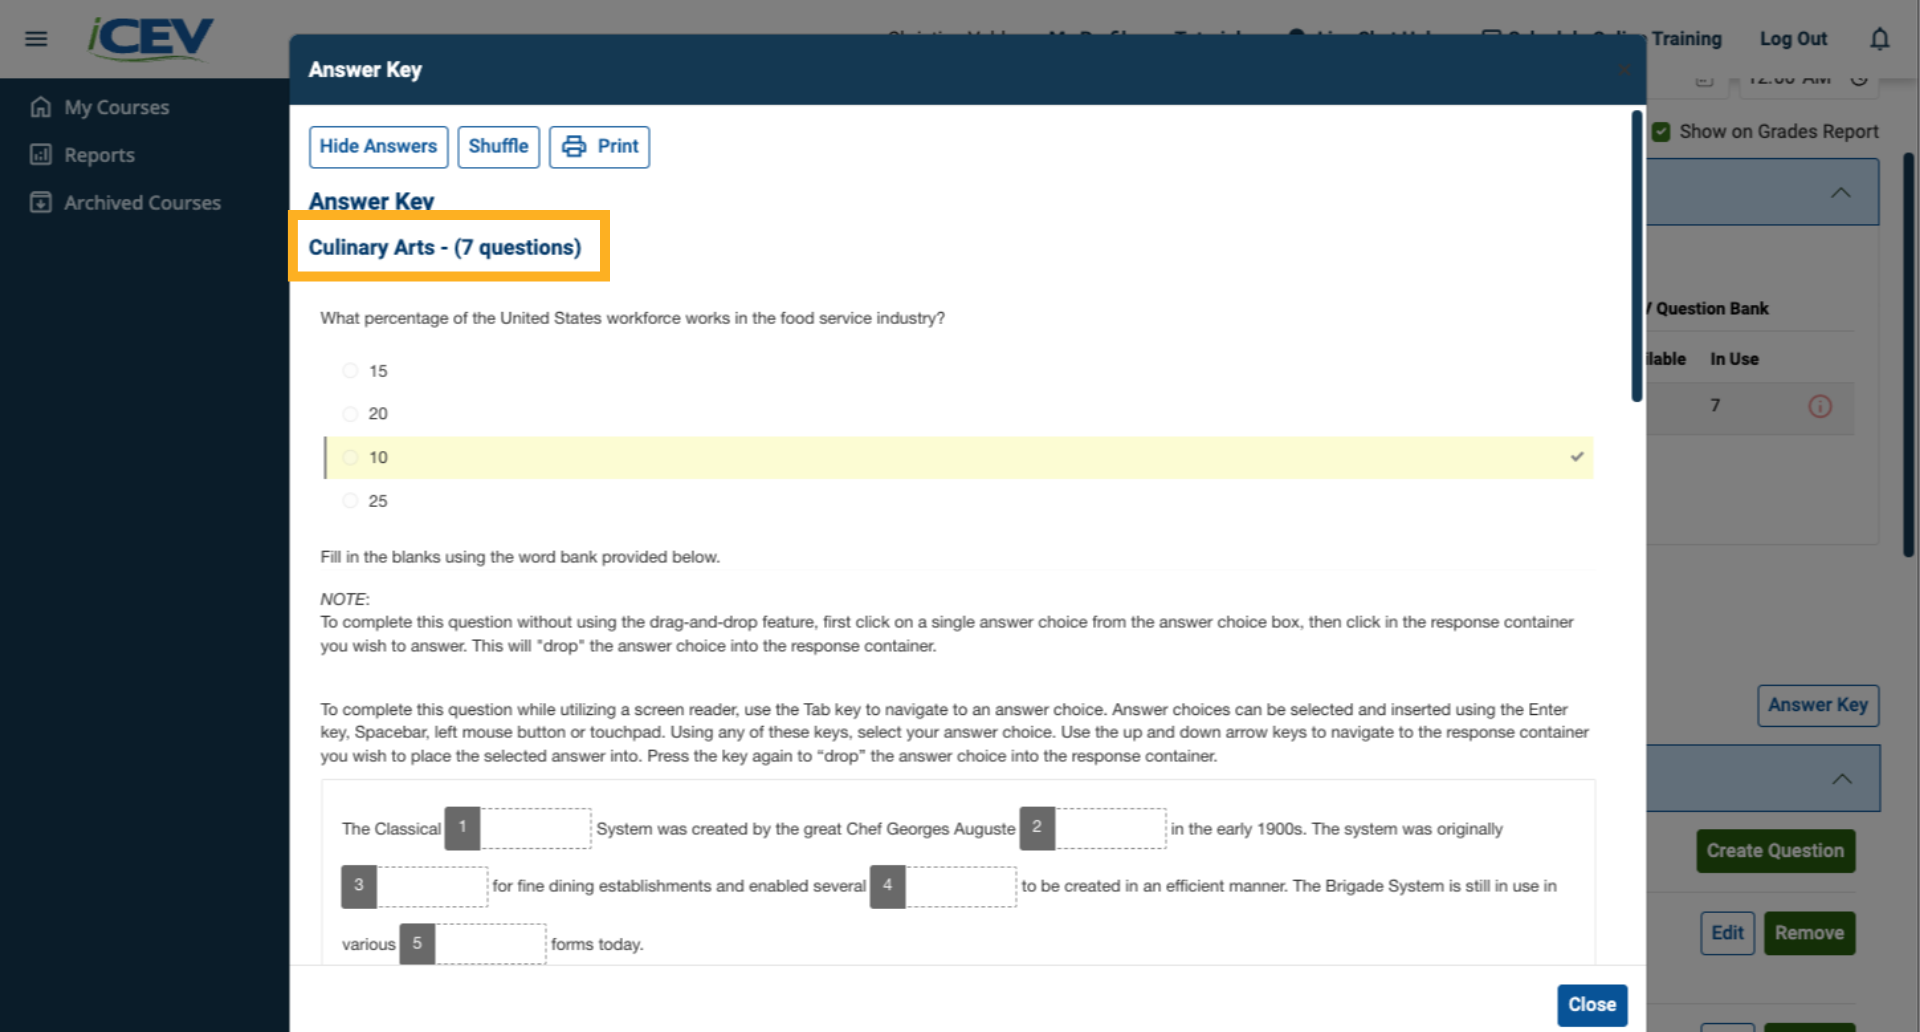
4. View the Answer Key
You can open the Answer Key to review the correct answers for the questions currently included in your assessment.
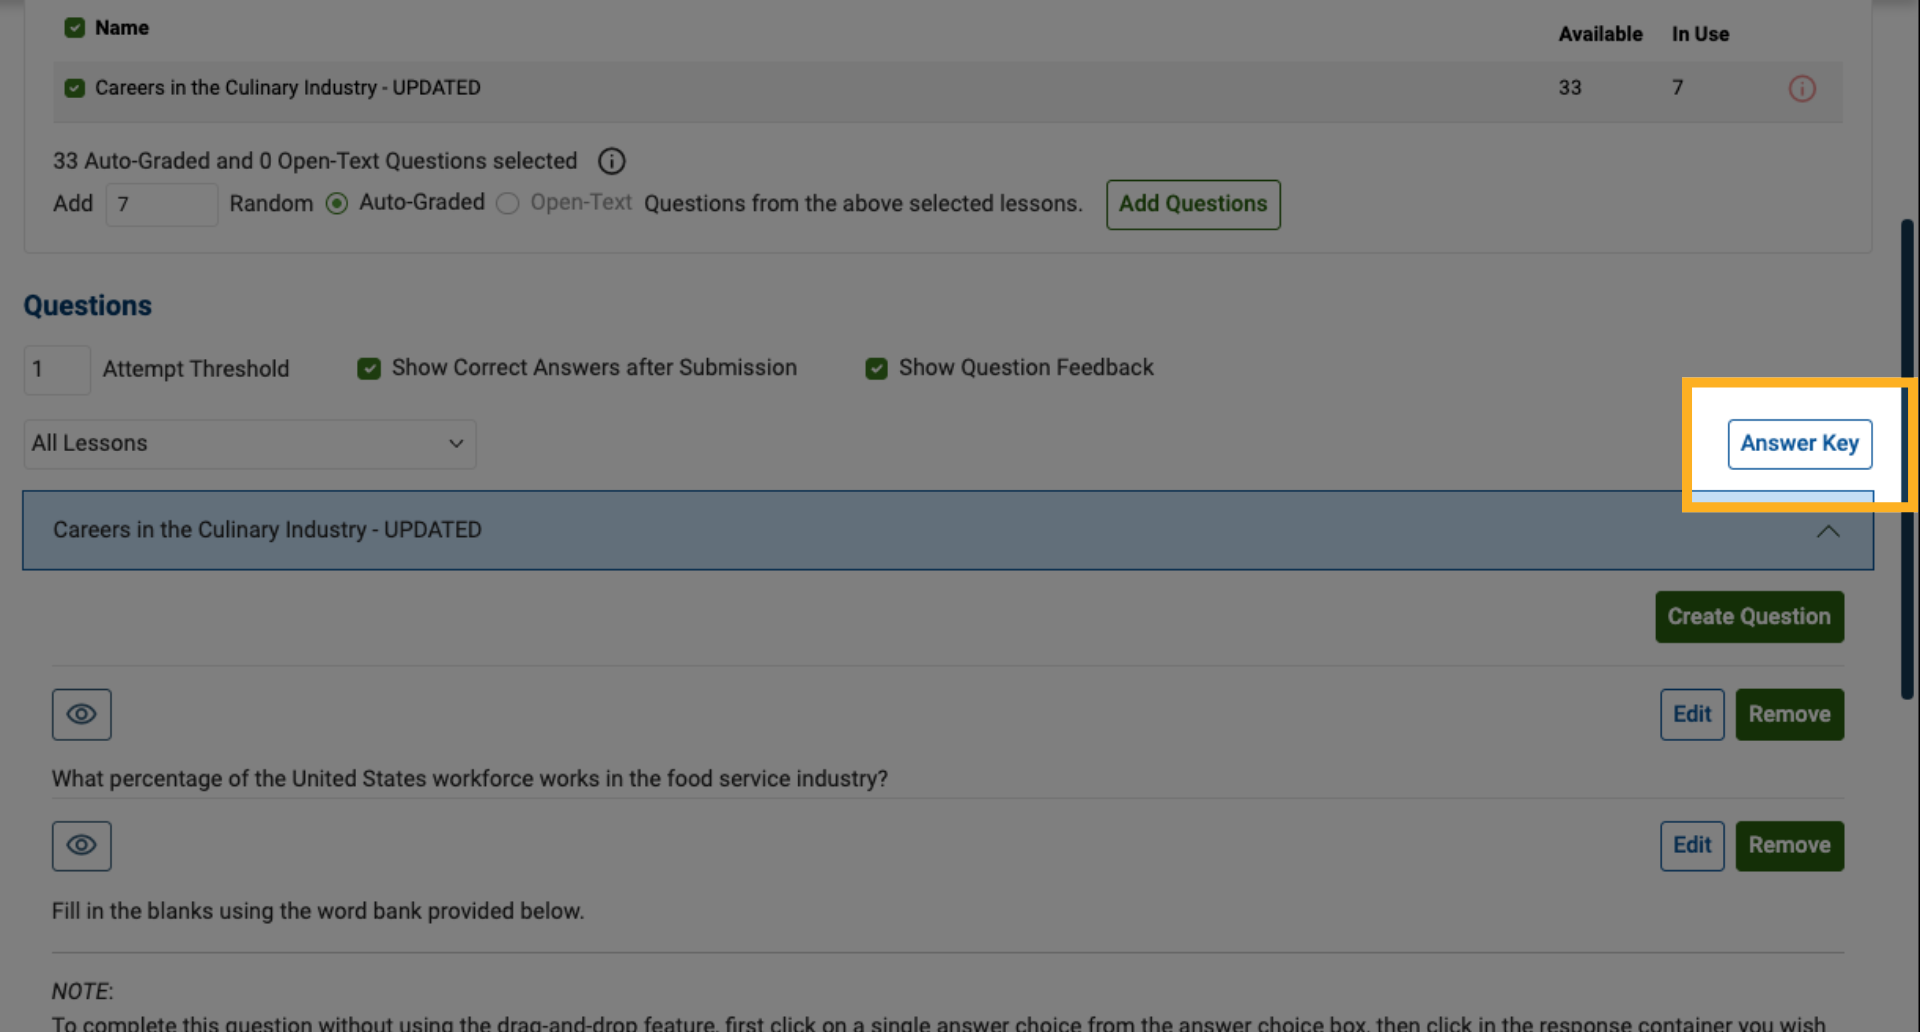
5. Review the Answer Key
The Answer Key displays only the questions from lessons that are actively included in the assessment.
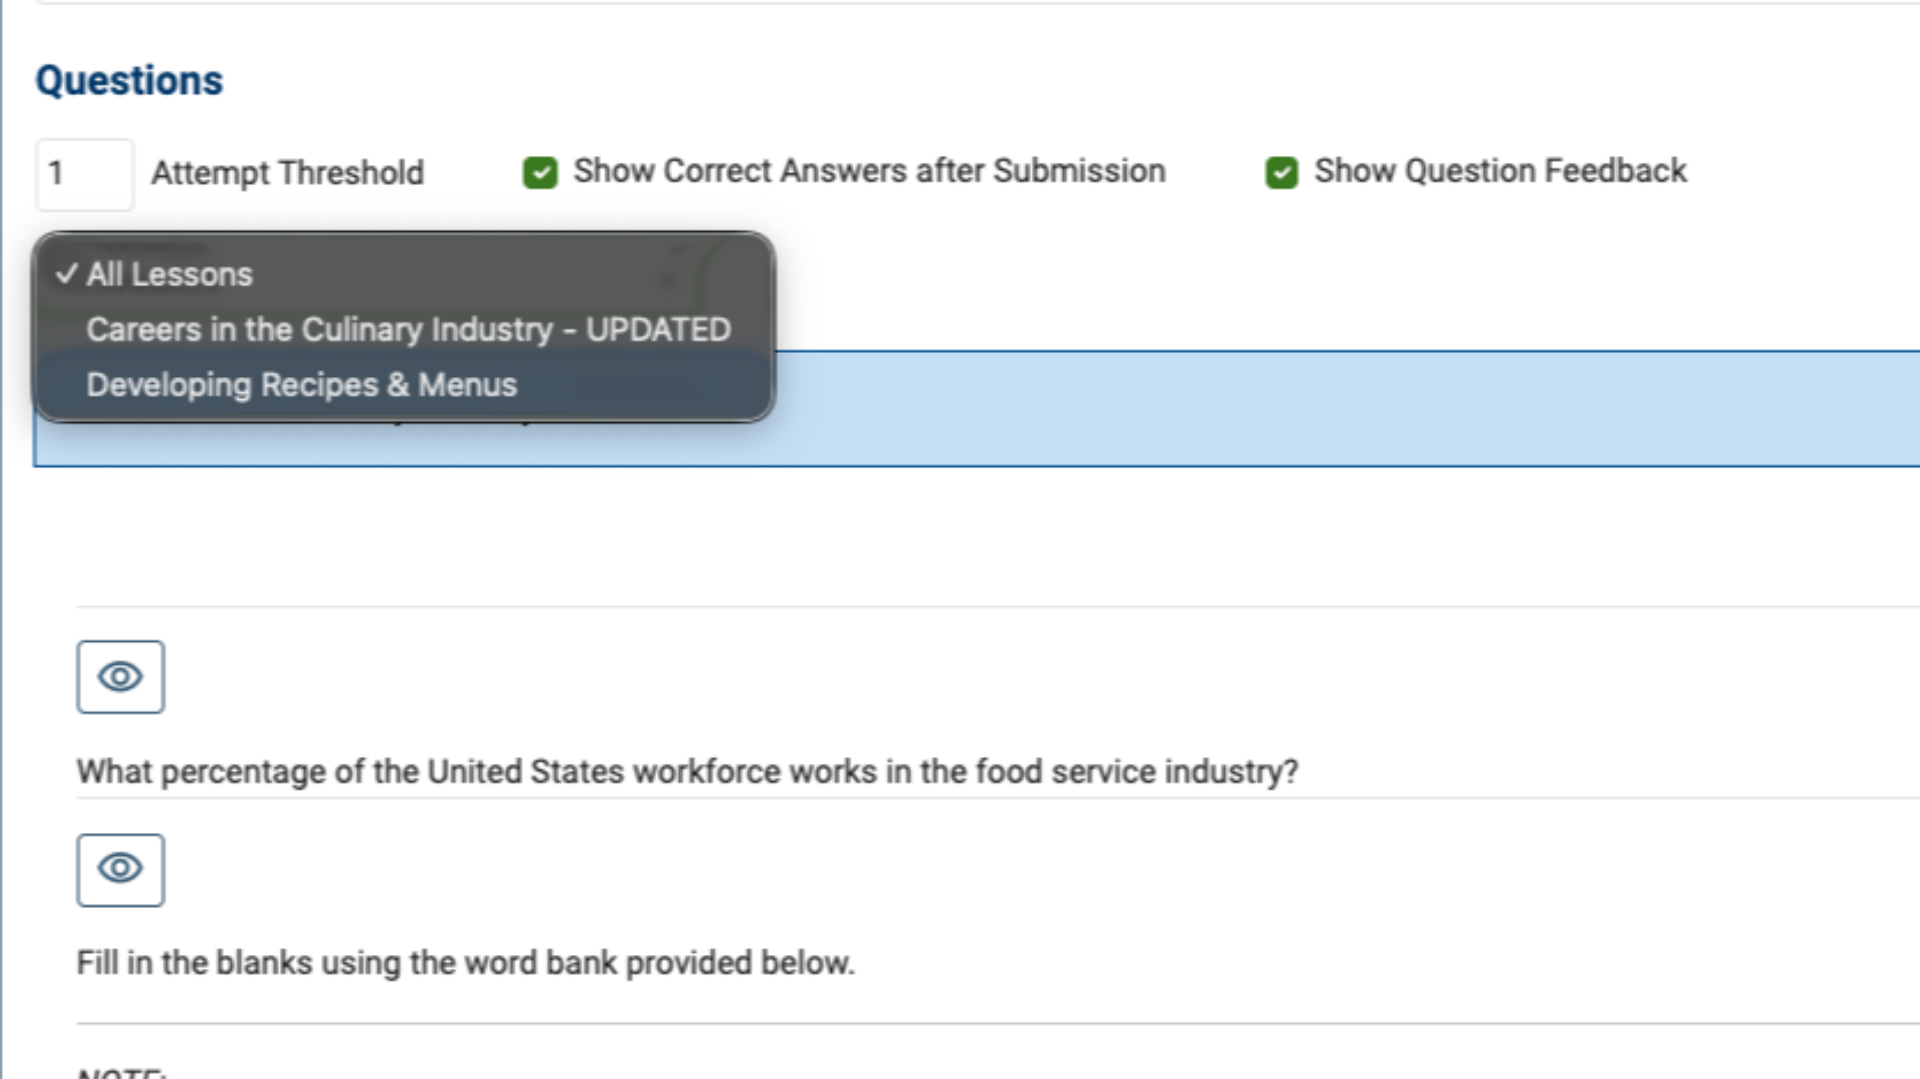
6. Adjust Question View
Use the All Lessons drop‑down menu to control how questions are displayed.
7. Customize Your Question View
You can:
-
View all lessons and questions together (default view), or
-
Focus on one lesson at a time for easier management