CTE Curriculum
Prepare learners with CTE curriculum aligned to industry standards.


1. Open the Course Library
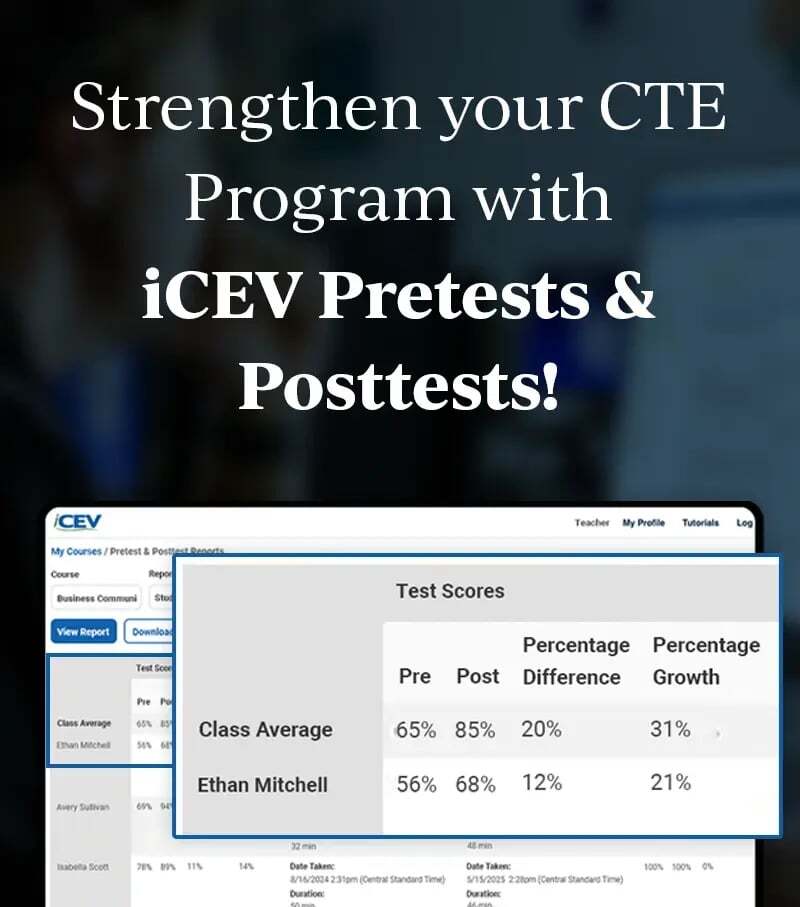
From your My Courses page, click Add Course to begin creating or adding a course.
2. Select Browse Courses
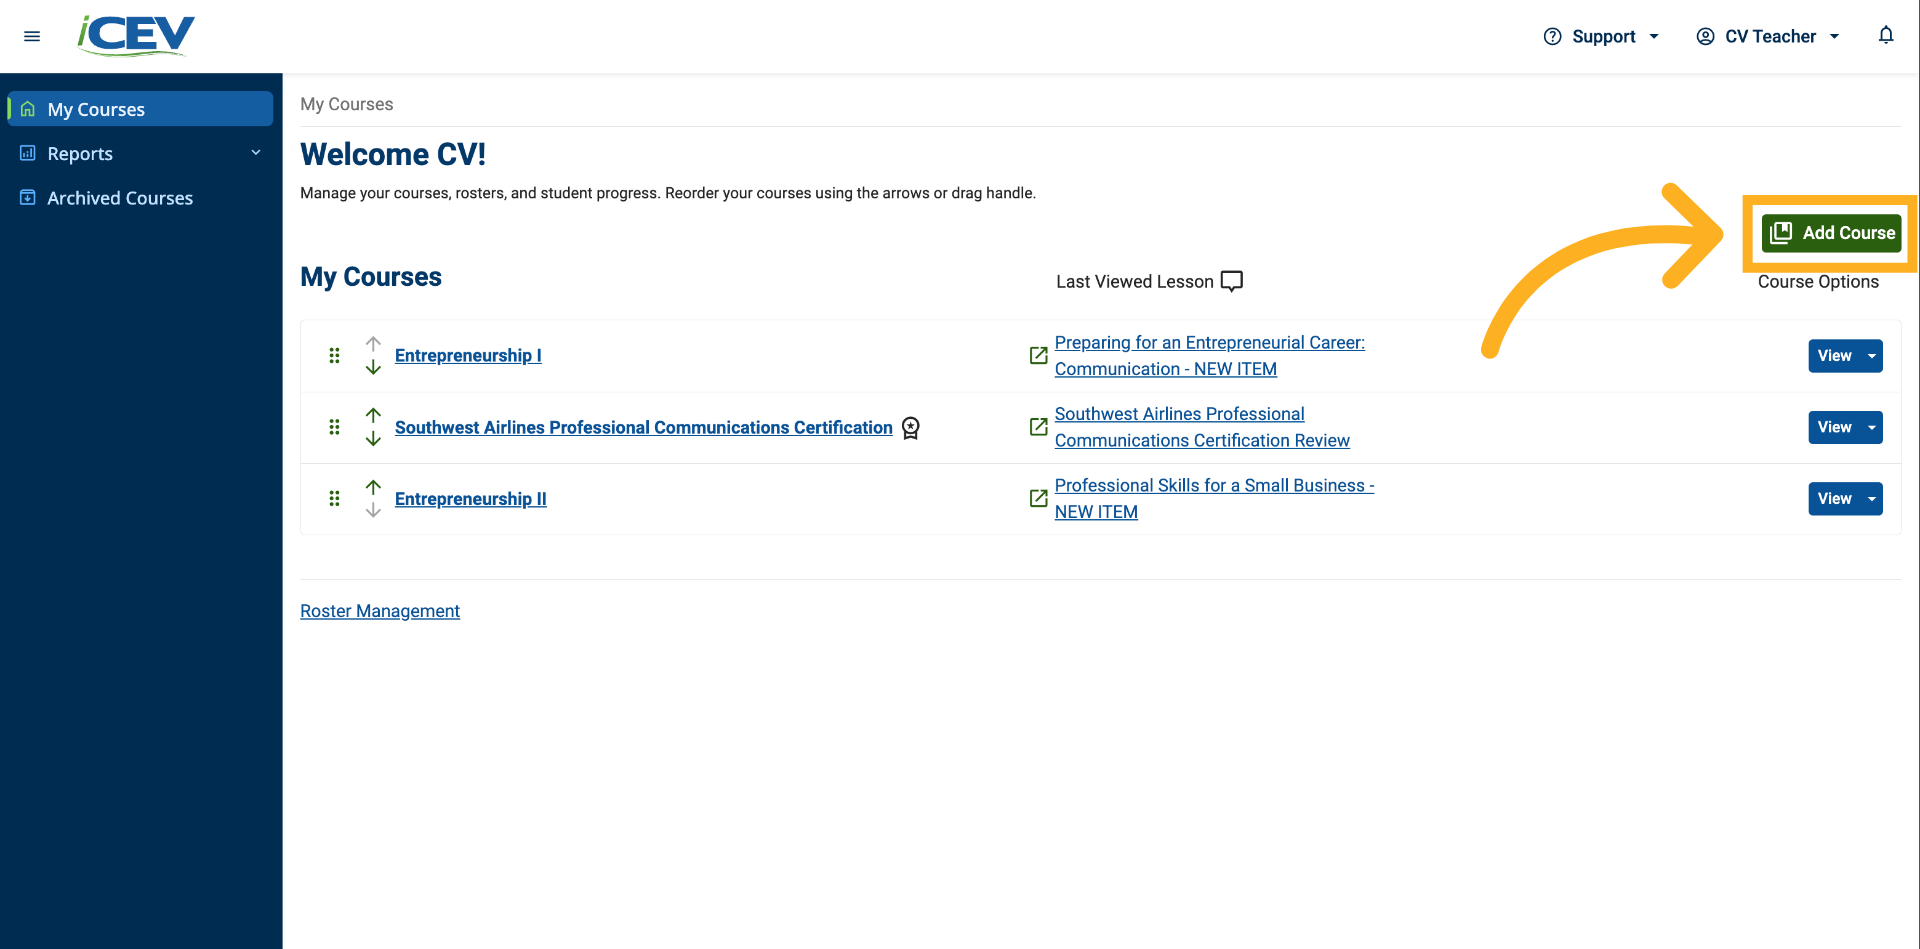
A setup window will appear with two options:
-
Browse ready-made courses
-
Build your own course from iCEV lessons
Click Browse iCEV Courses to open the Course Library.
3. Explore Available Courses
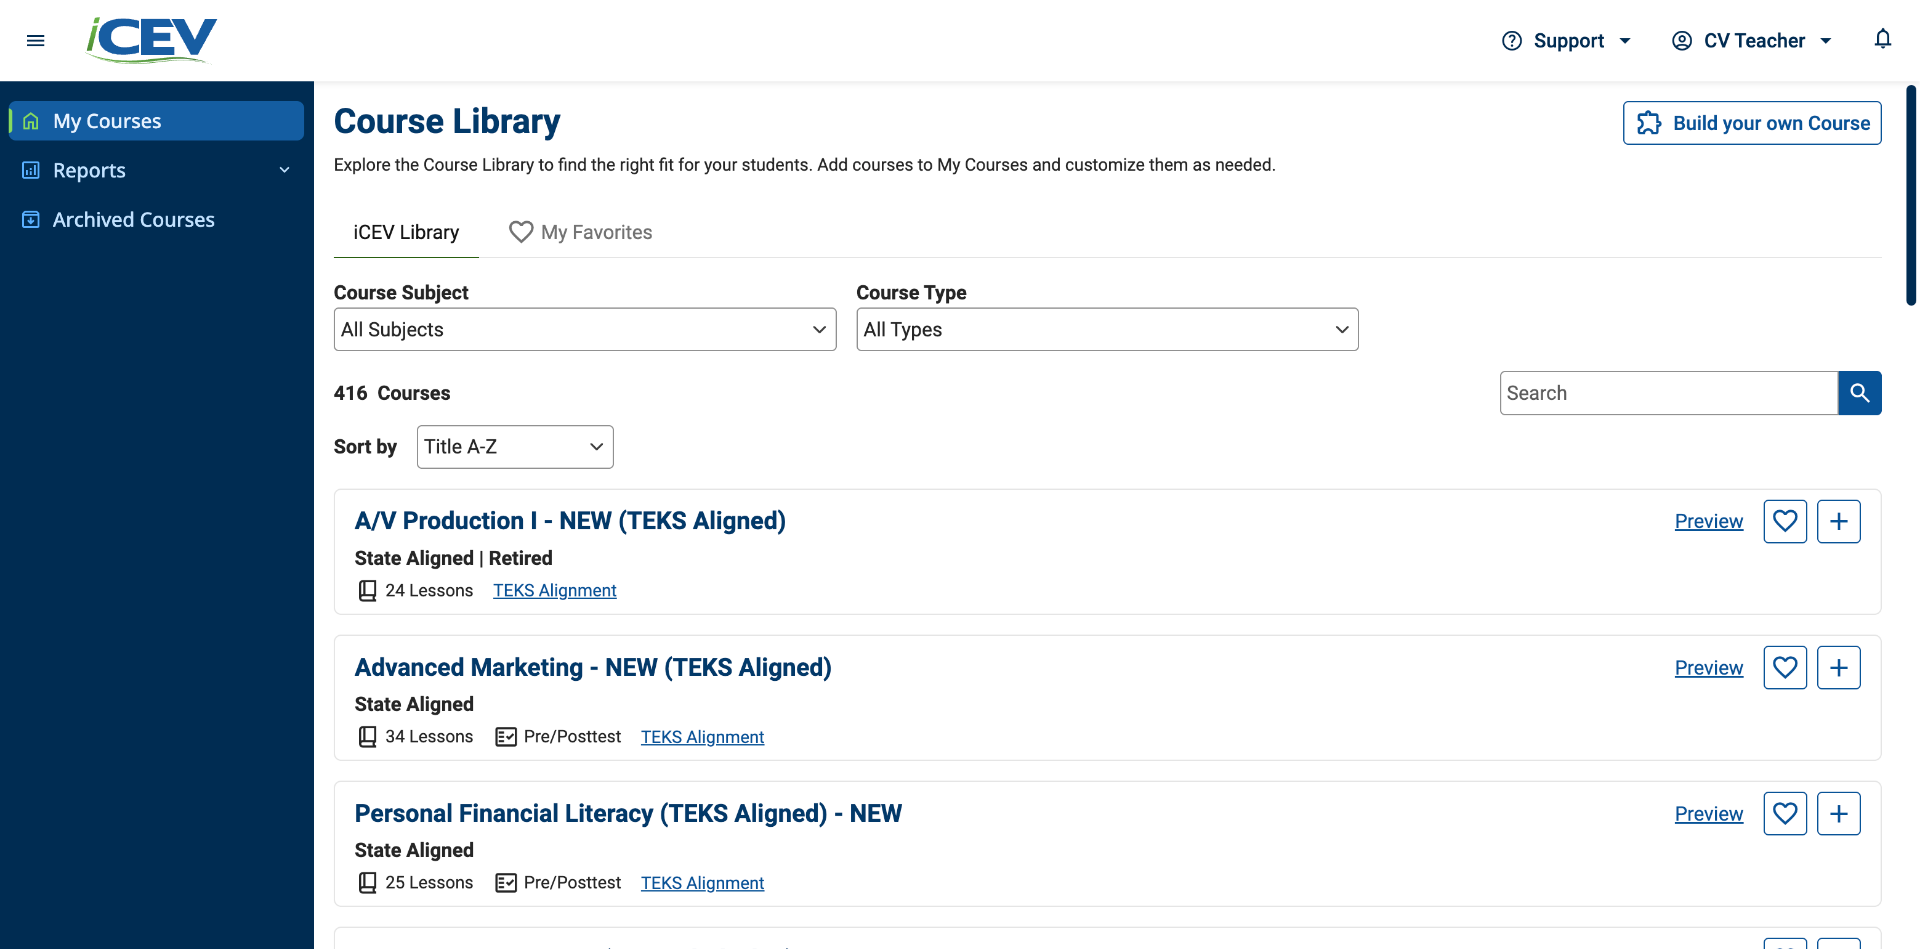
The Course Library displays all courses available based on your organization's access and your licensed subject areas.
4. Review Course Information
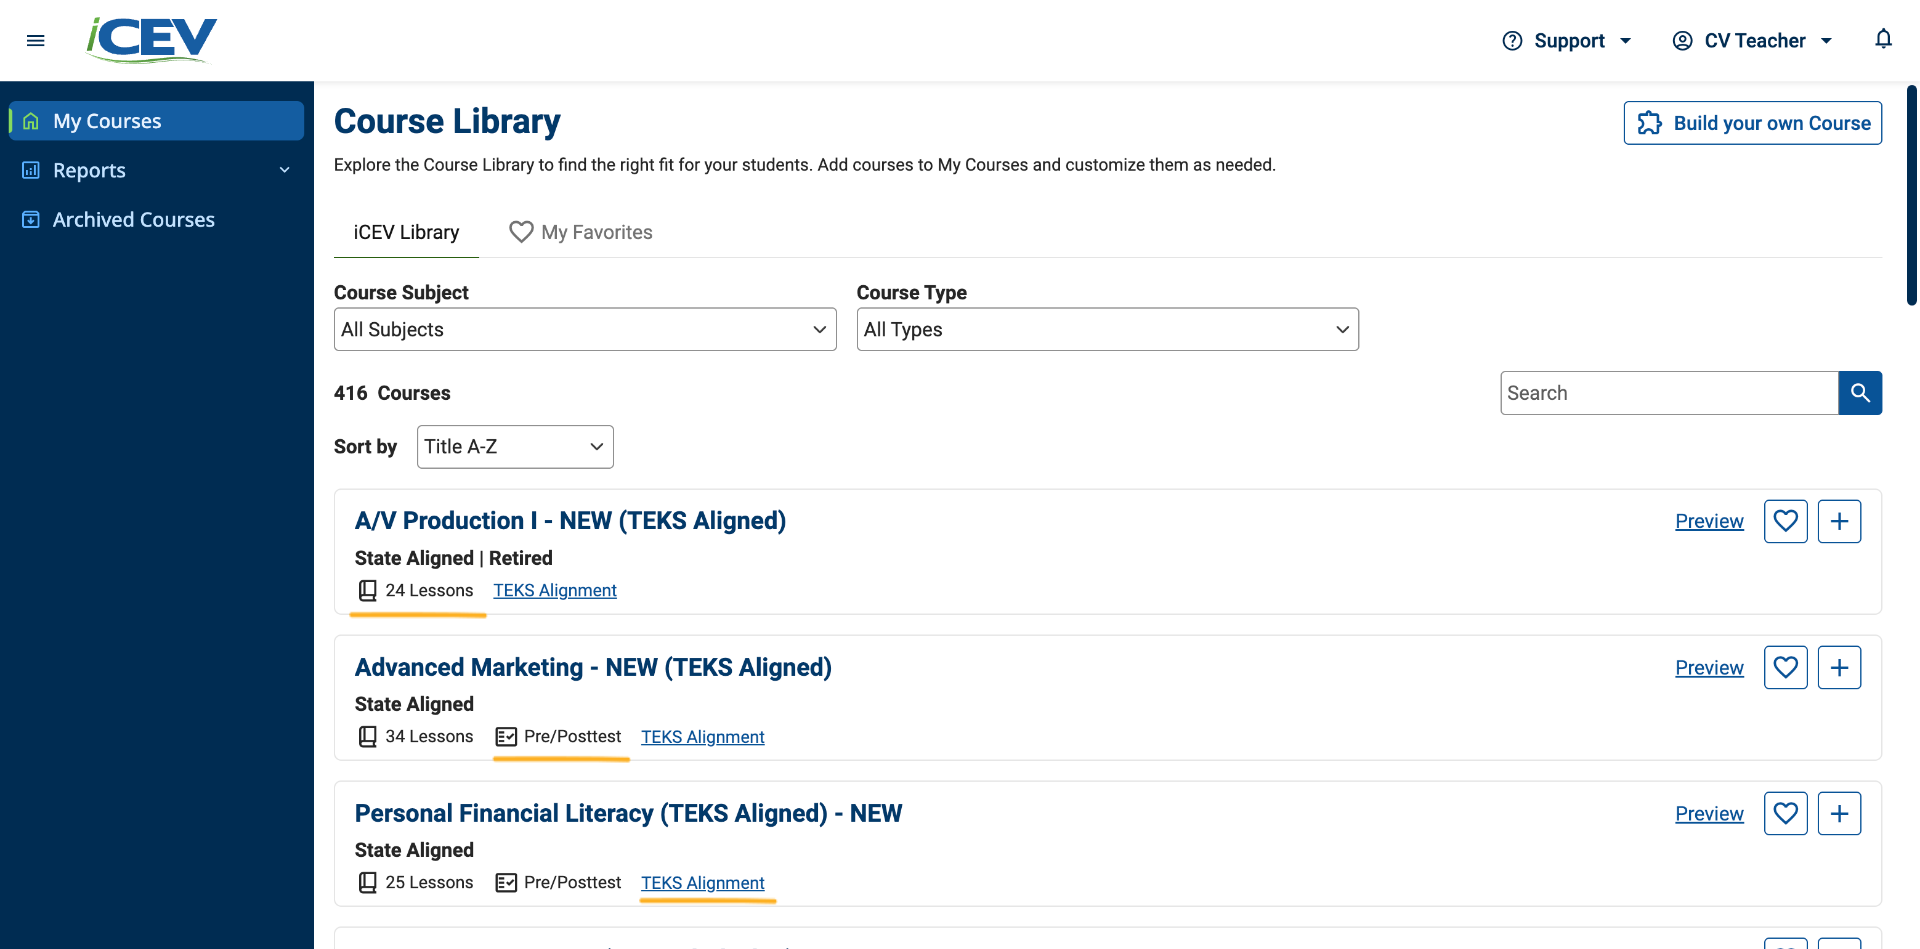
Browse the course cards and review key details, including:
-
Number of lessons
-
Pre- and posttest availability (if licensed)
-
Certification alignments
-
Standards alignment documents (when available)
Click the standards alignment link when shown to open the alignment document in a new tab.
5. Identify New or Updated Courses
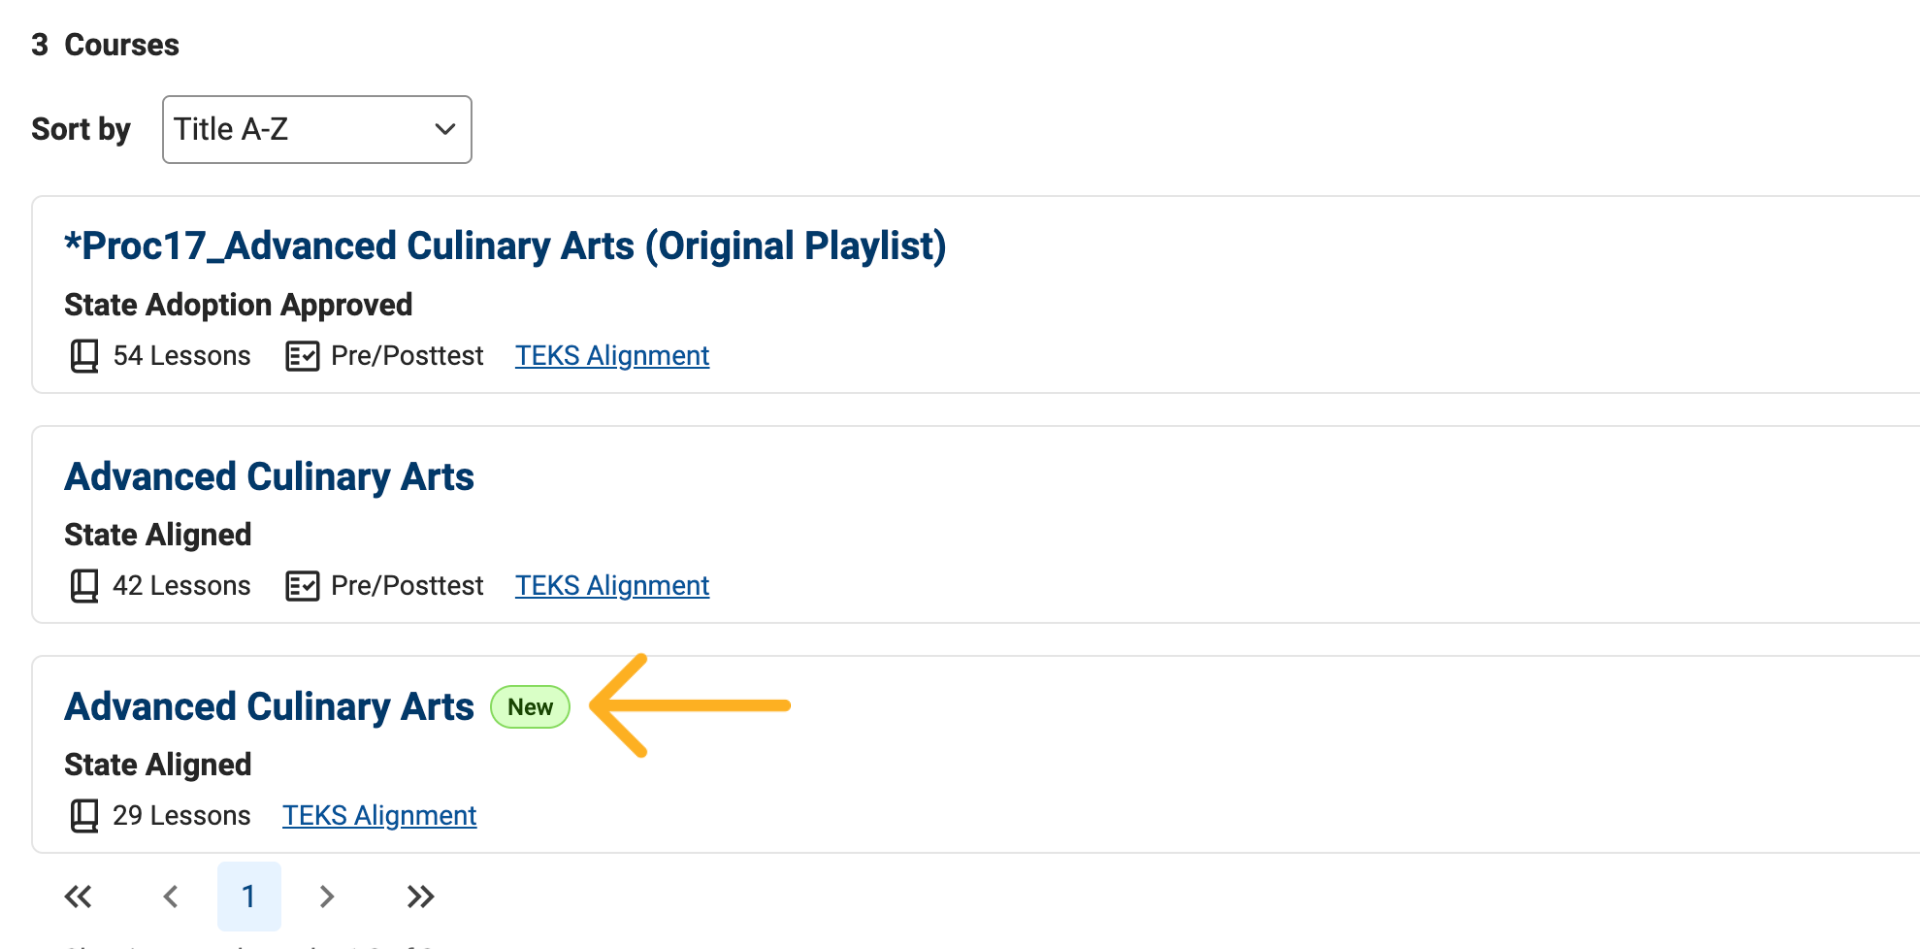
Look for New or Updated badges on course cards to quickly find recently added or revised courses.
6. Search for a Specific Course
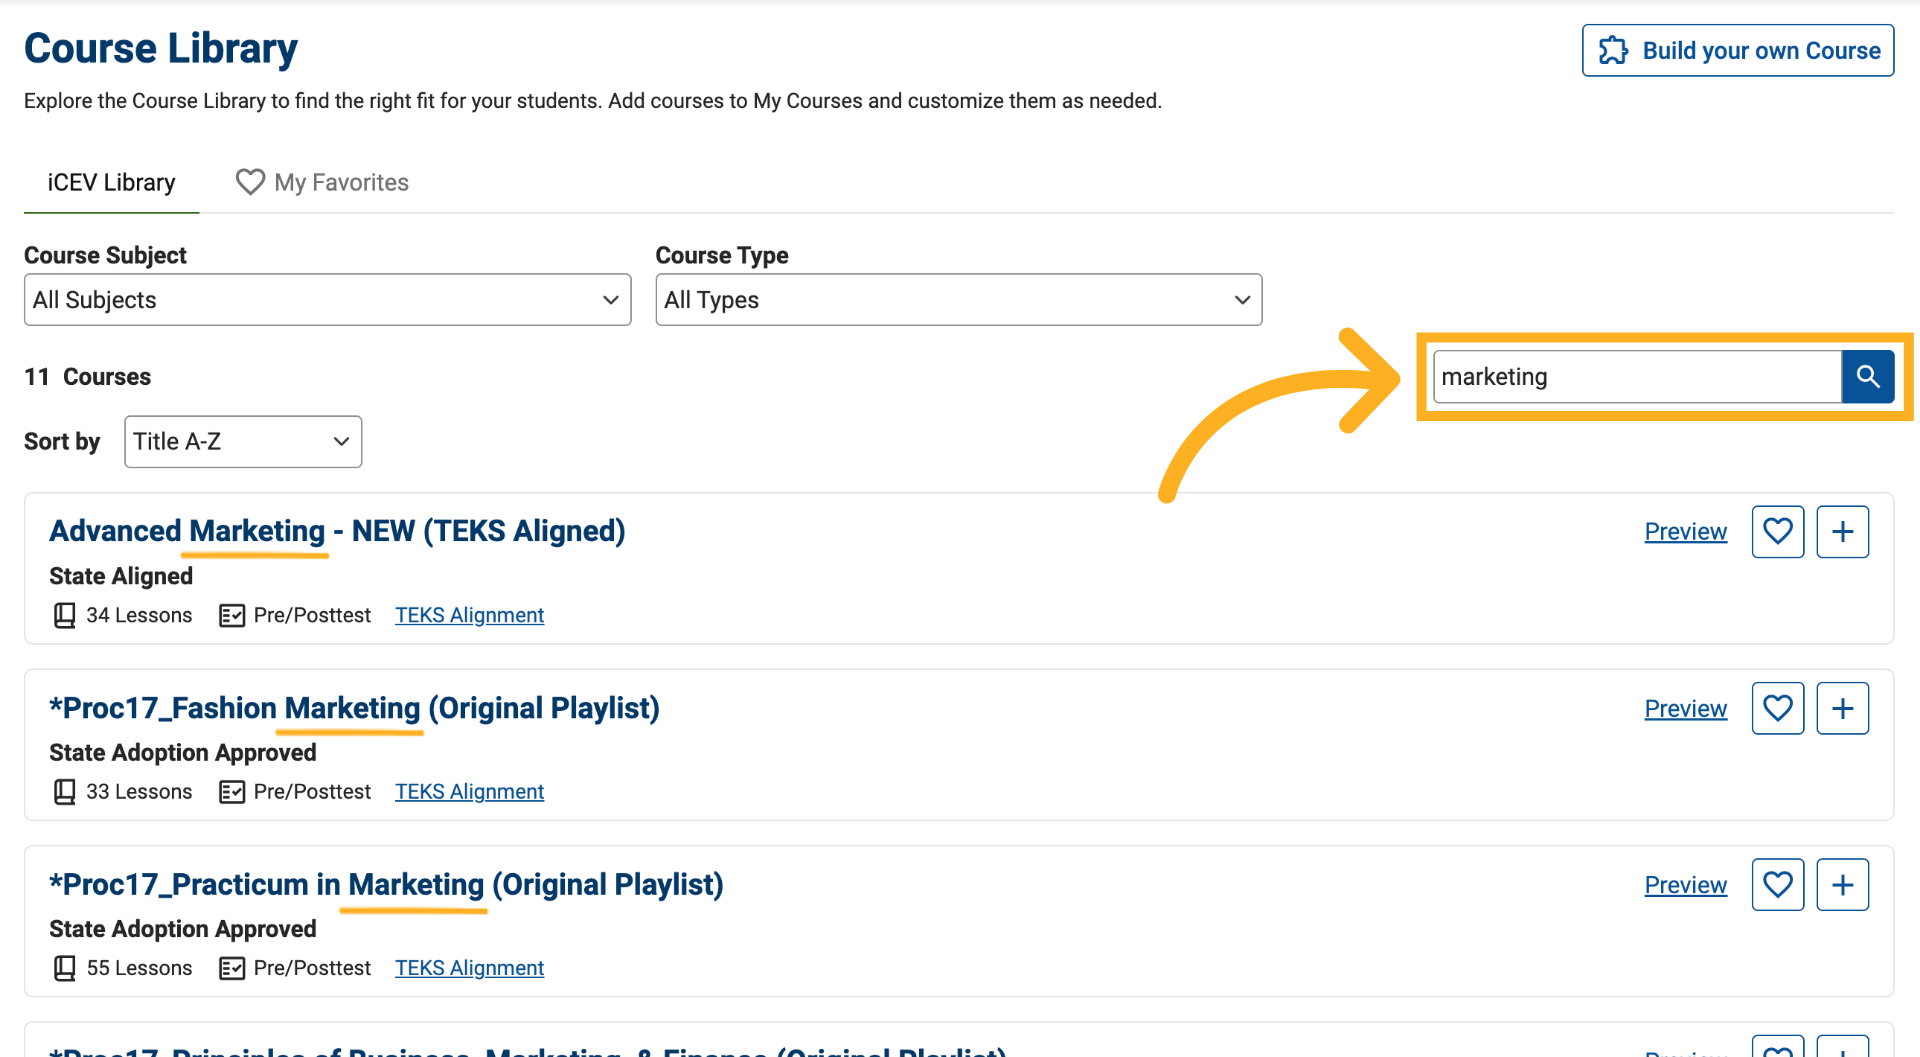
Use the Search bar to find courses by keyword. Search results are matched to course titles.
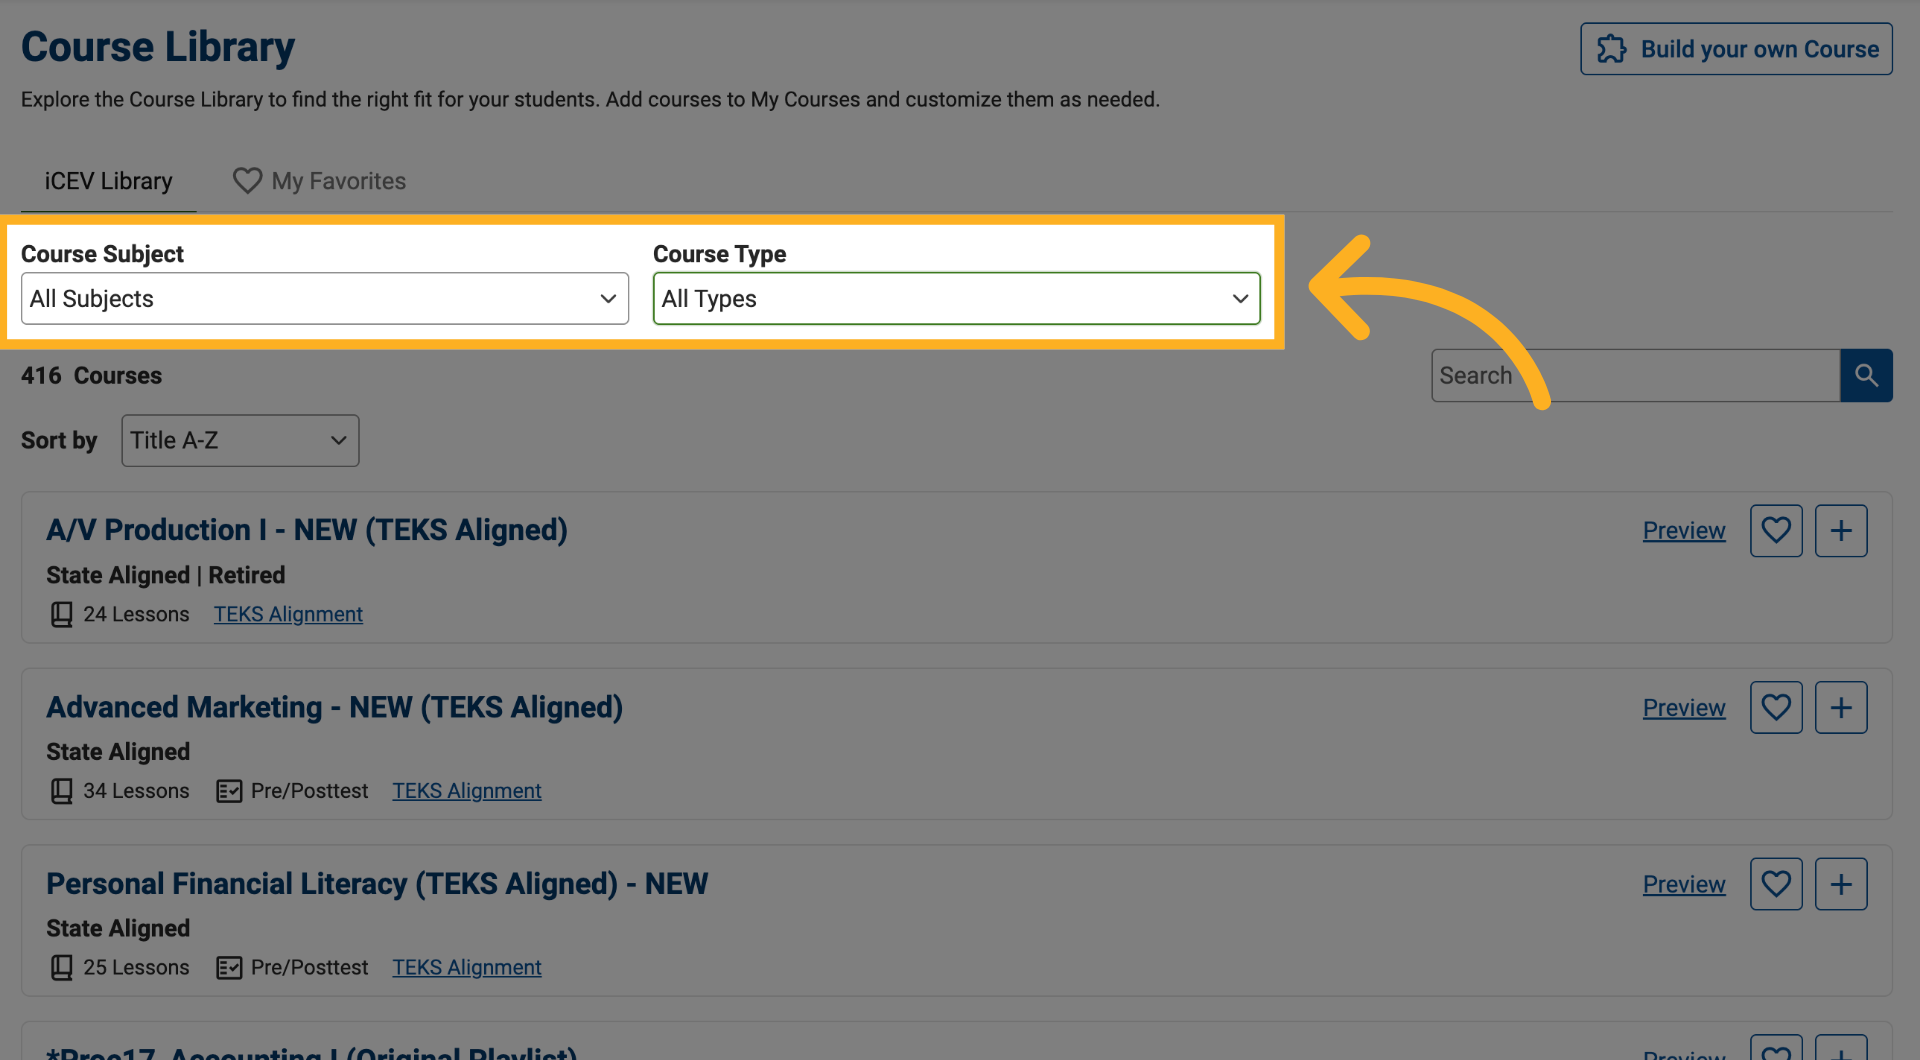
7. Filter Your Results
Use the filter dropdown menus to narrow your course list and find courses that match your needs.
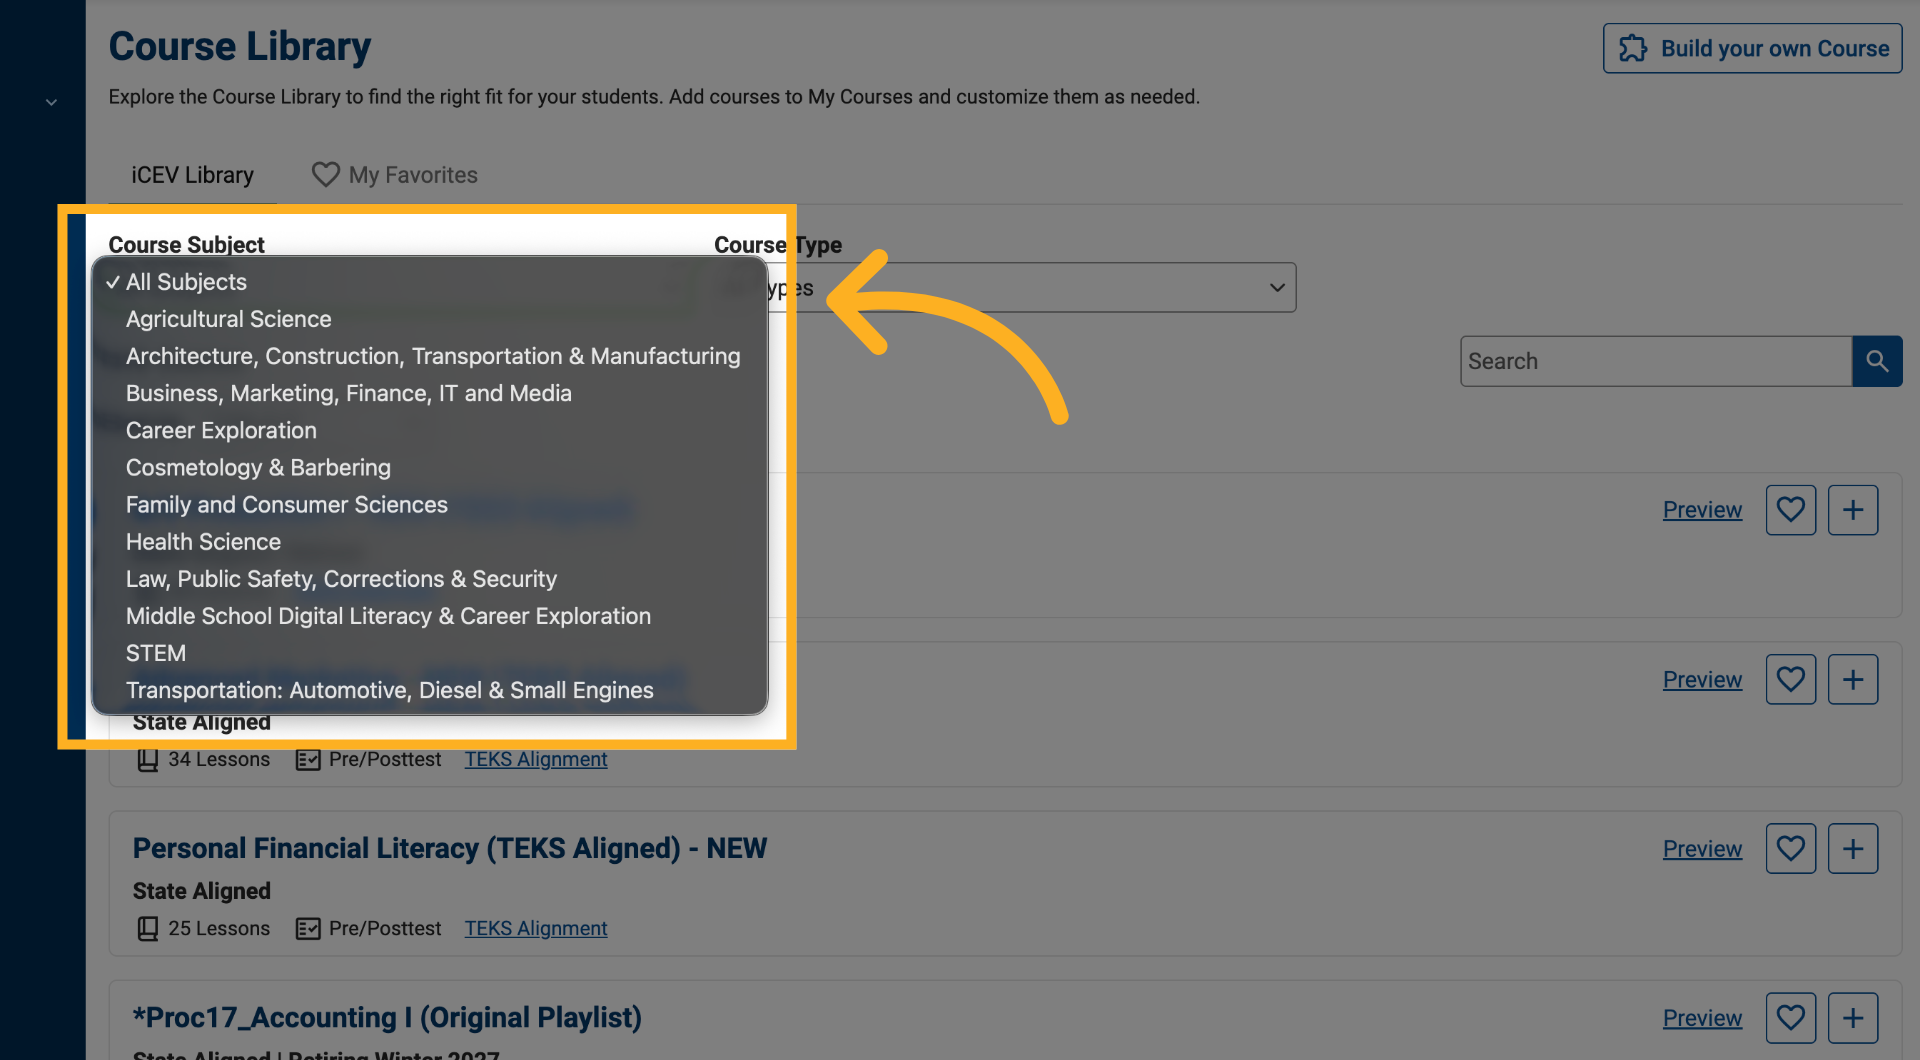
8. Filter by Subject Area
Select a subject area from the Course Subject filter to view courses within the subject areas included in your license.
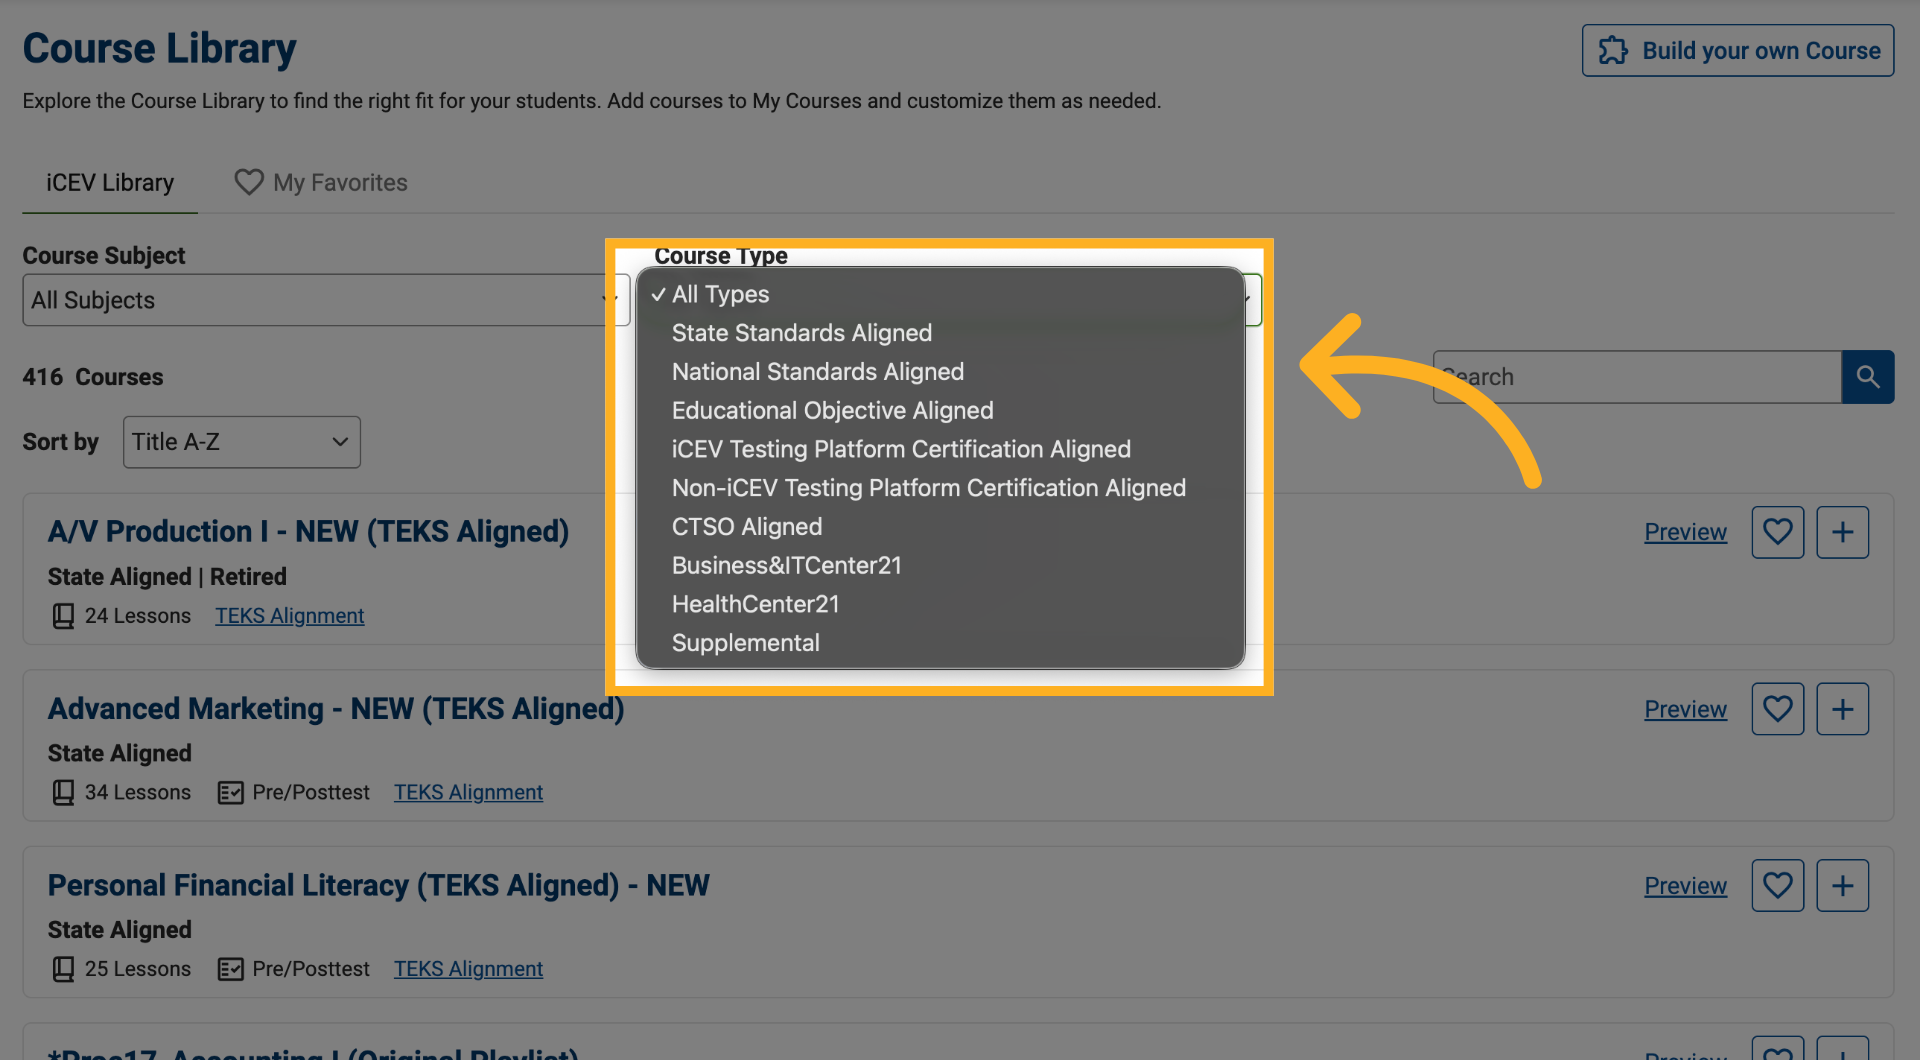
9. Filter by Course Type
Use the Course Type filter to narrow results by options such as:
-
State standards alignment
-
National standards alignment
-
Educational objectives
-
Certification-aligned courses
-
Supplemental courses
10. Use Additional Alignment Filters
Depending on the course type selected, additional filtering options may appear, such as state-specific alignment filters.
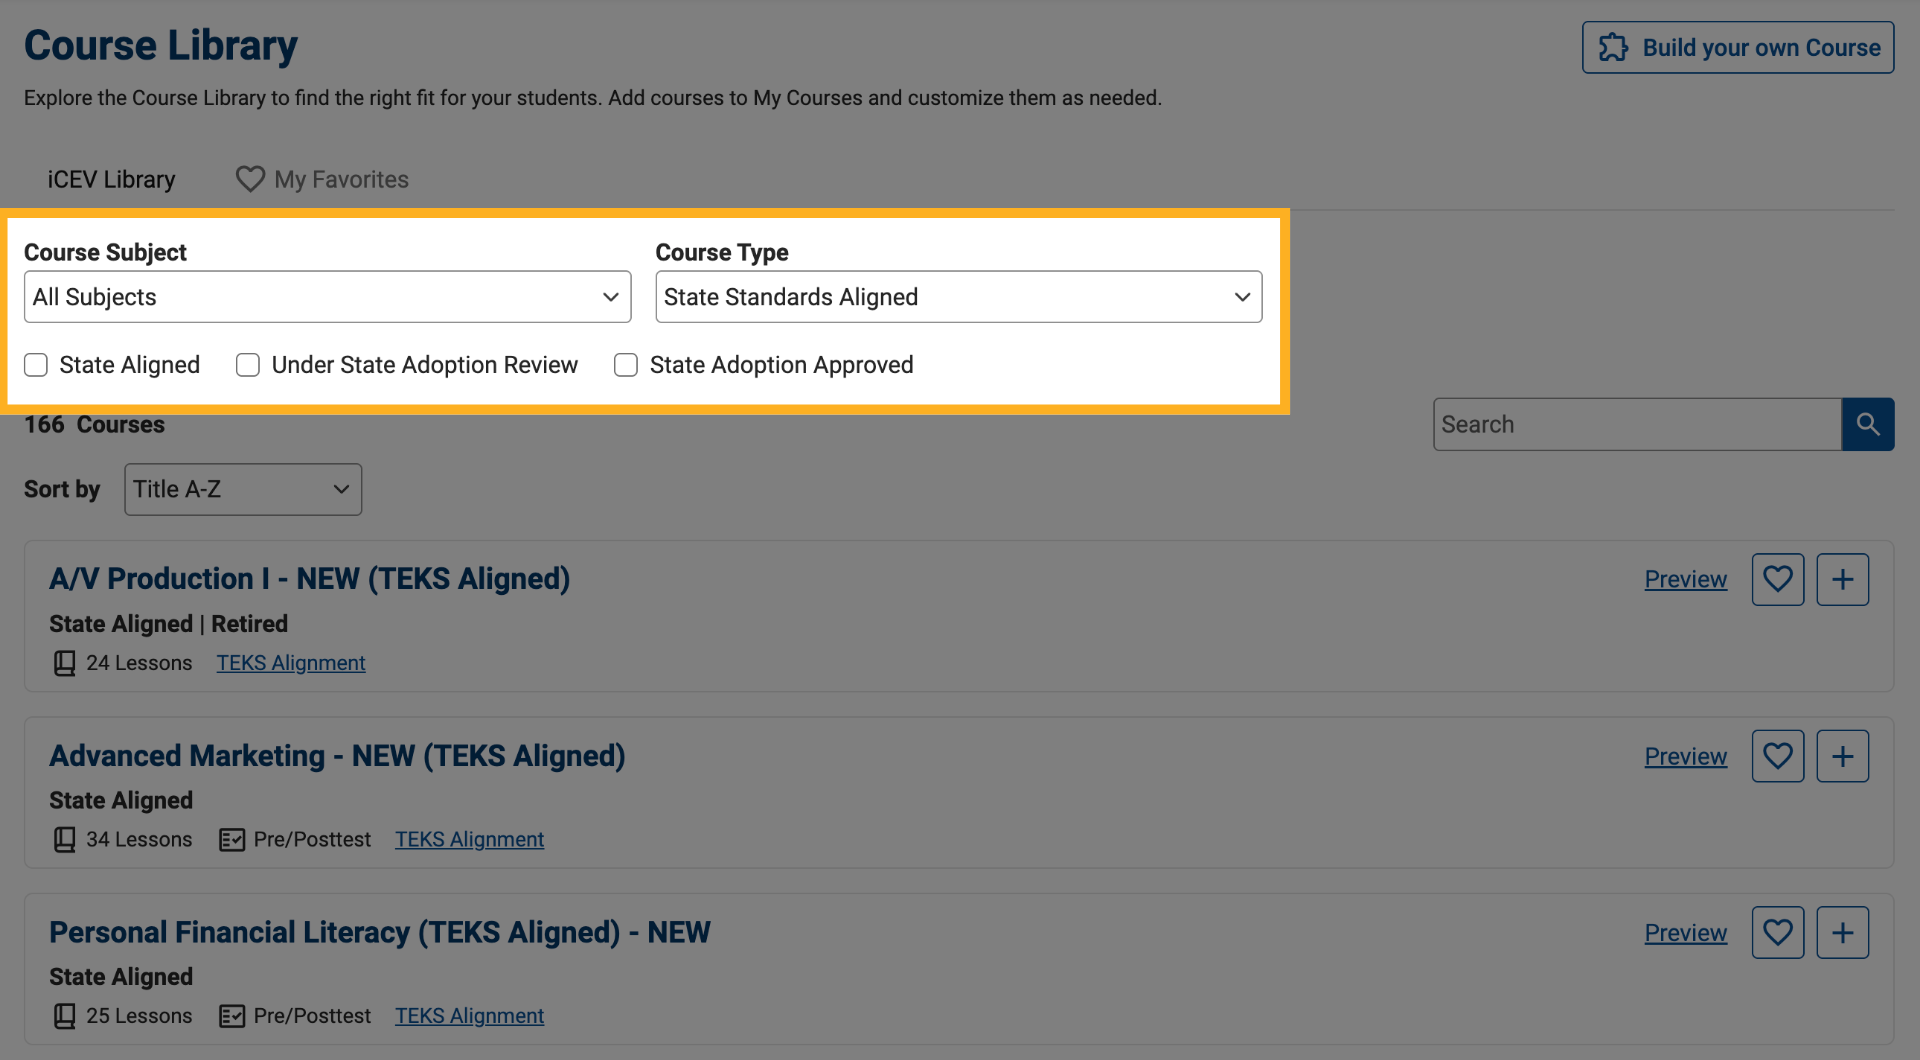
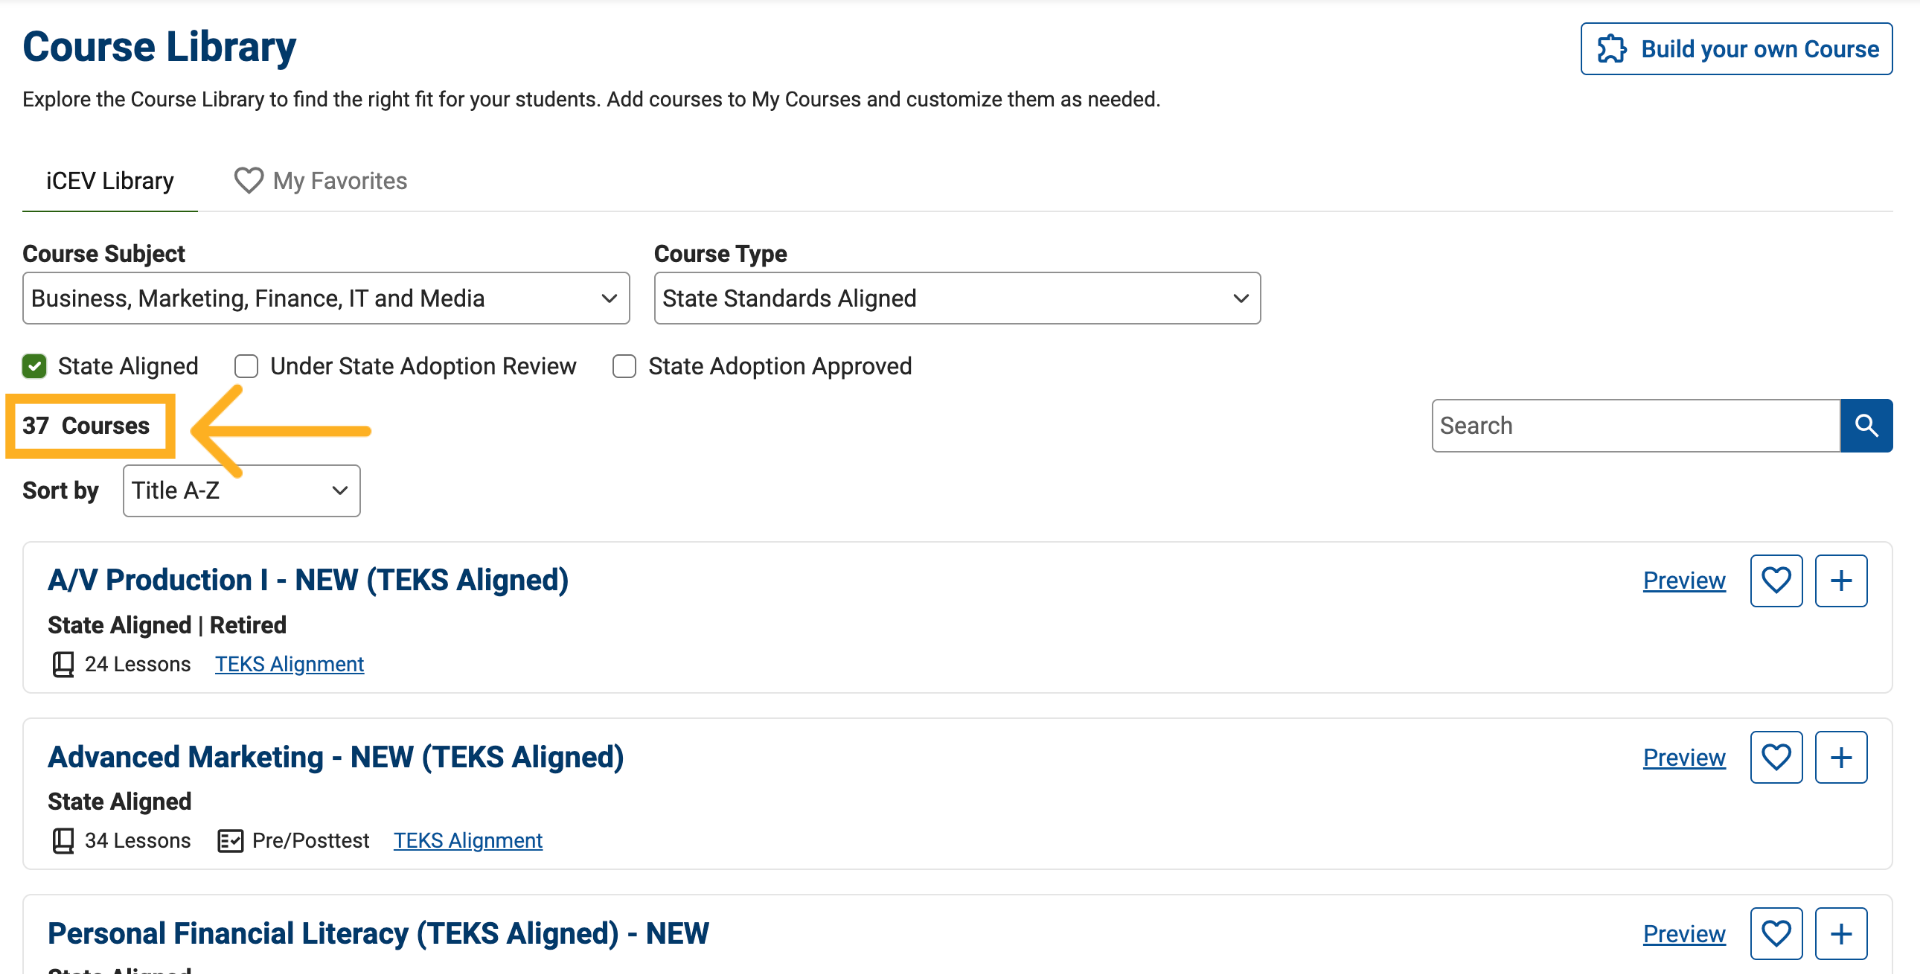
11. Review the Course Count
As filters are applied, the course count will automatically update to show how many courses match your selected criteria.
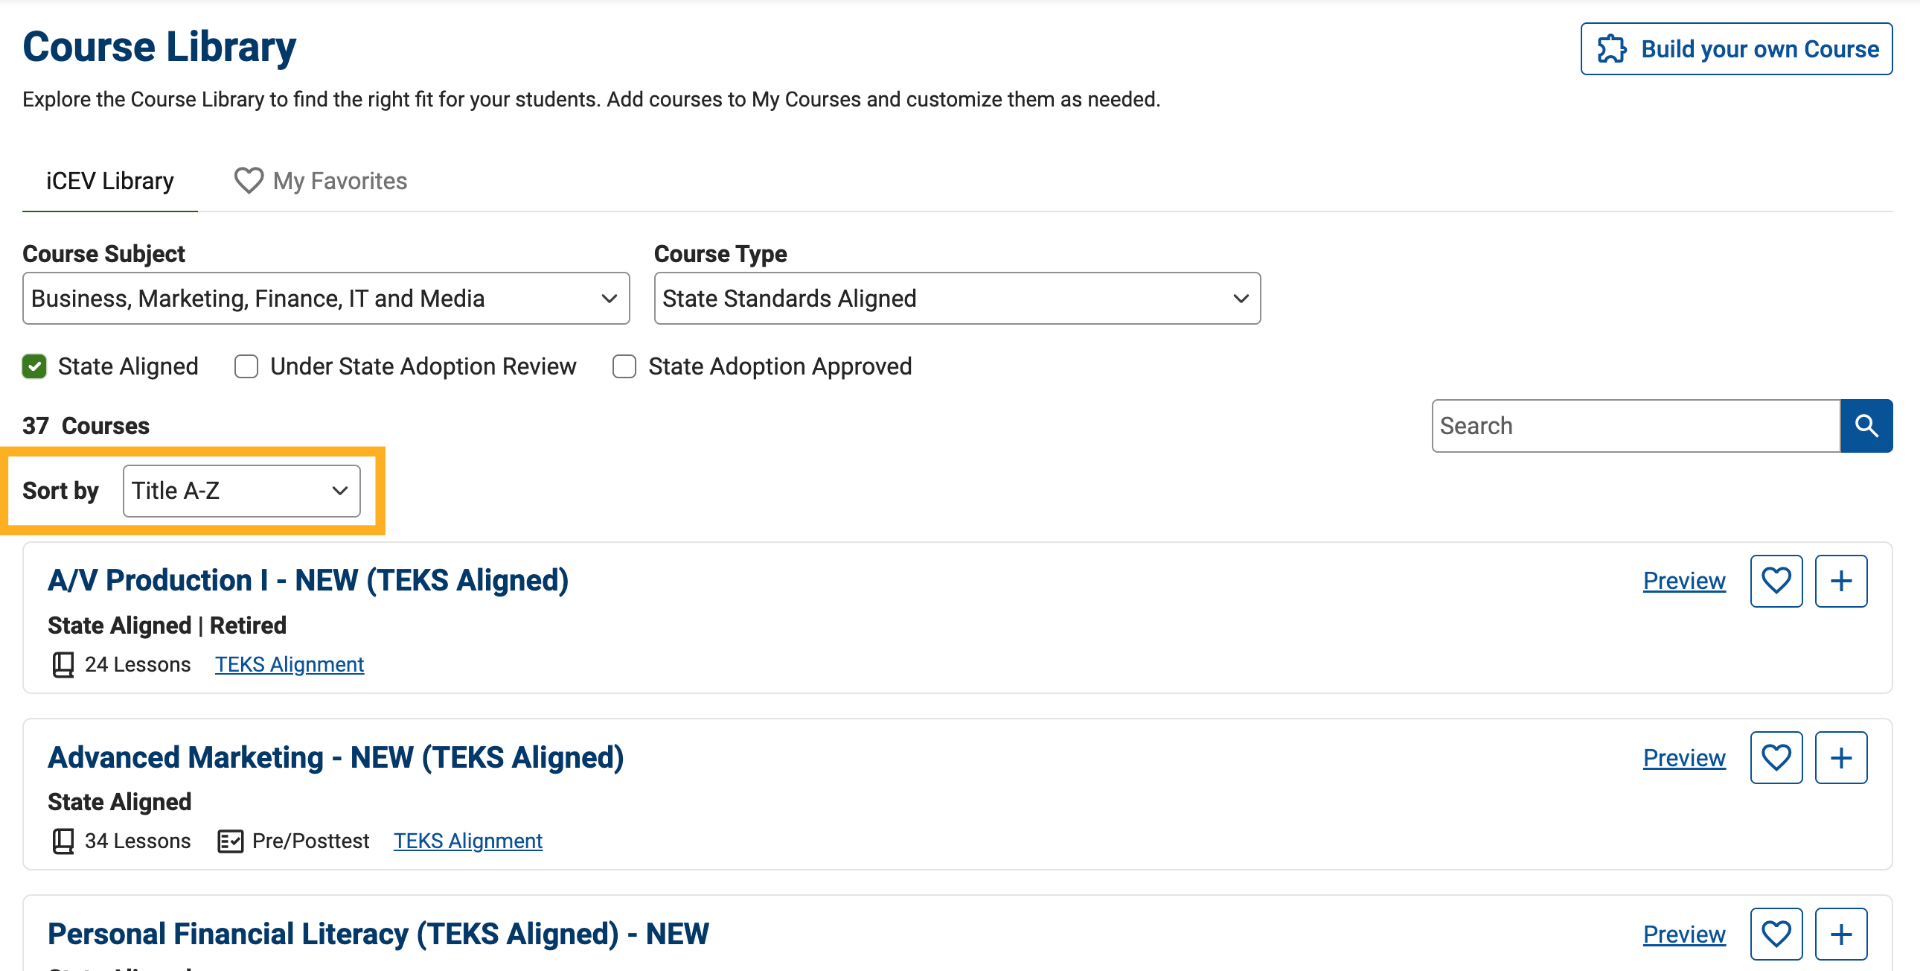
12. Sort Courses
Sort the course list alphabetically by selecting:
-
A to Z (ascending)
-
Z to A (descending)
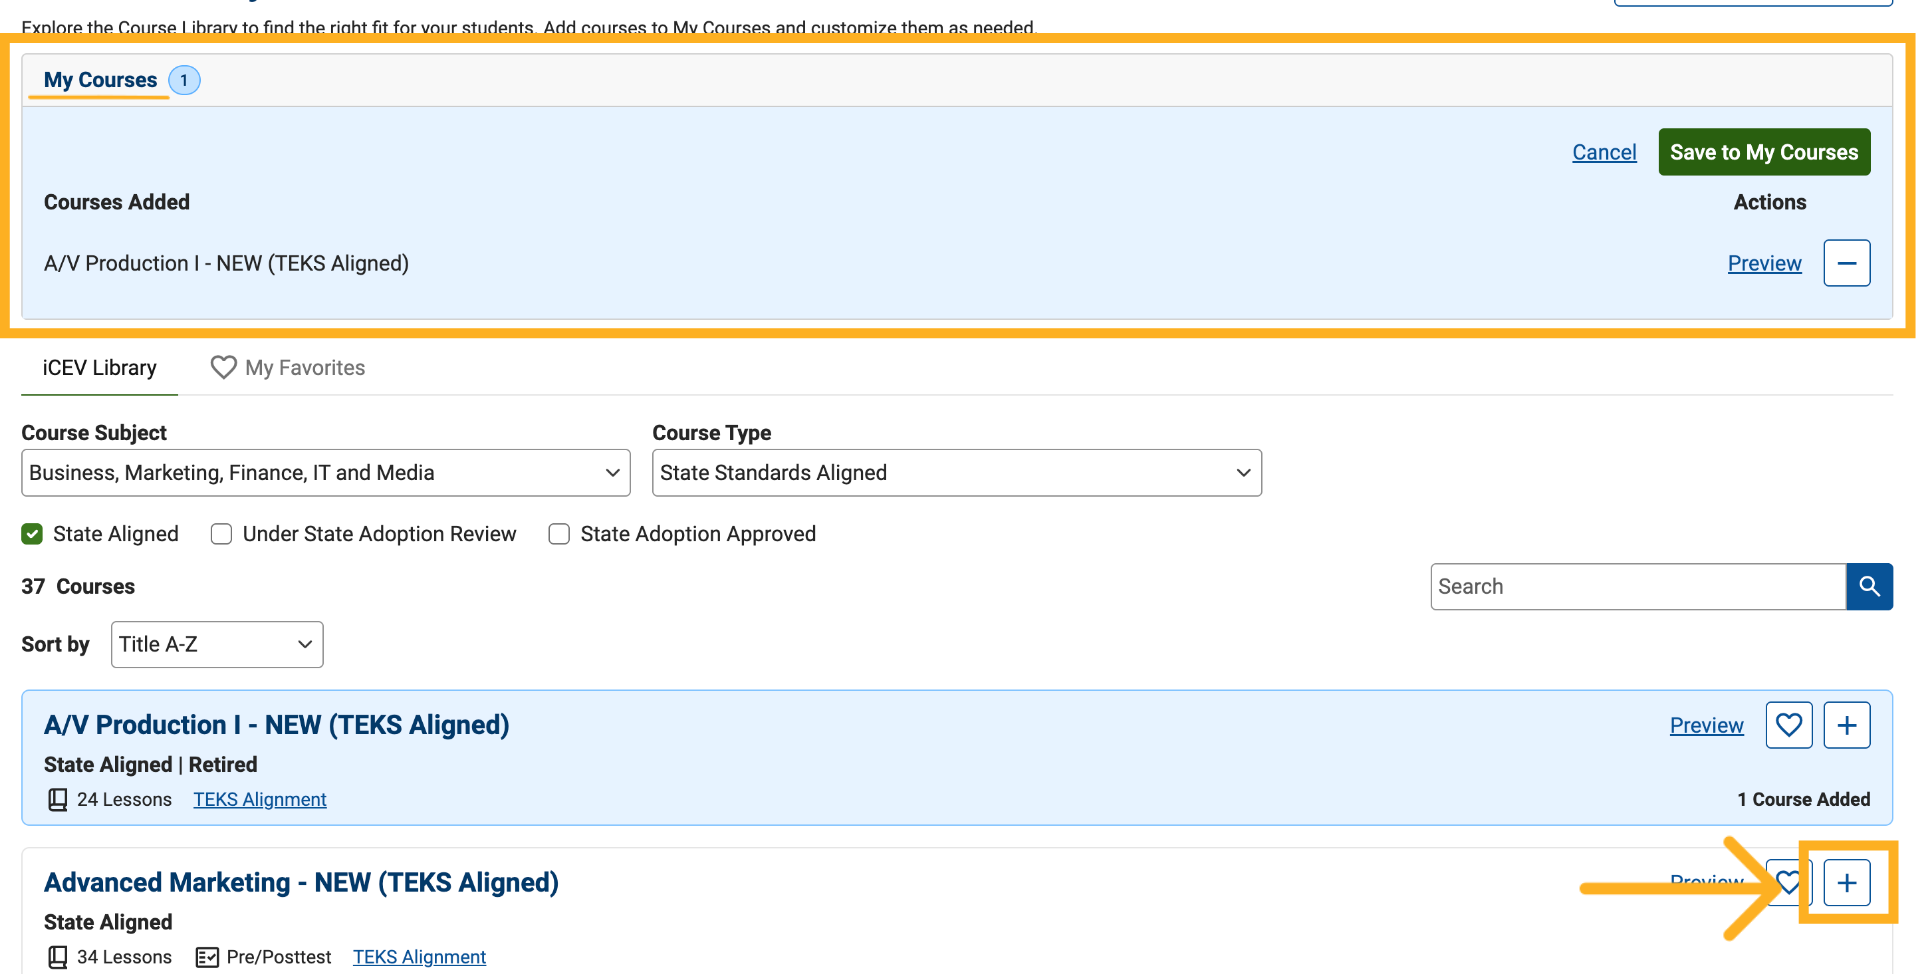
13. Add a Course
When you find a course you'd like to use, click the Add (+) button on the course card.
The course is added to your My Courses queue, and the course count badge updates to reflect your selections.
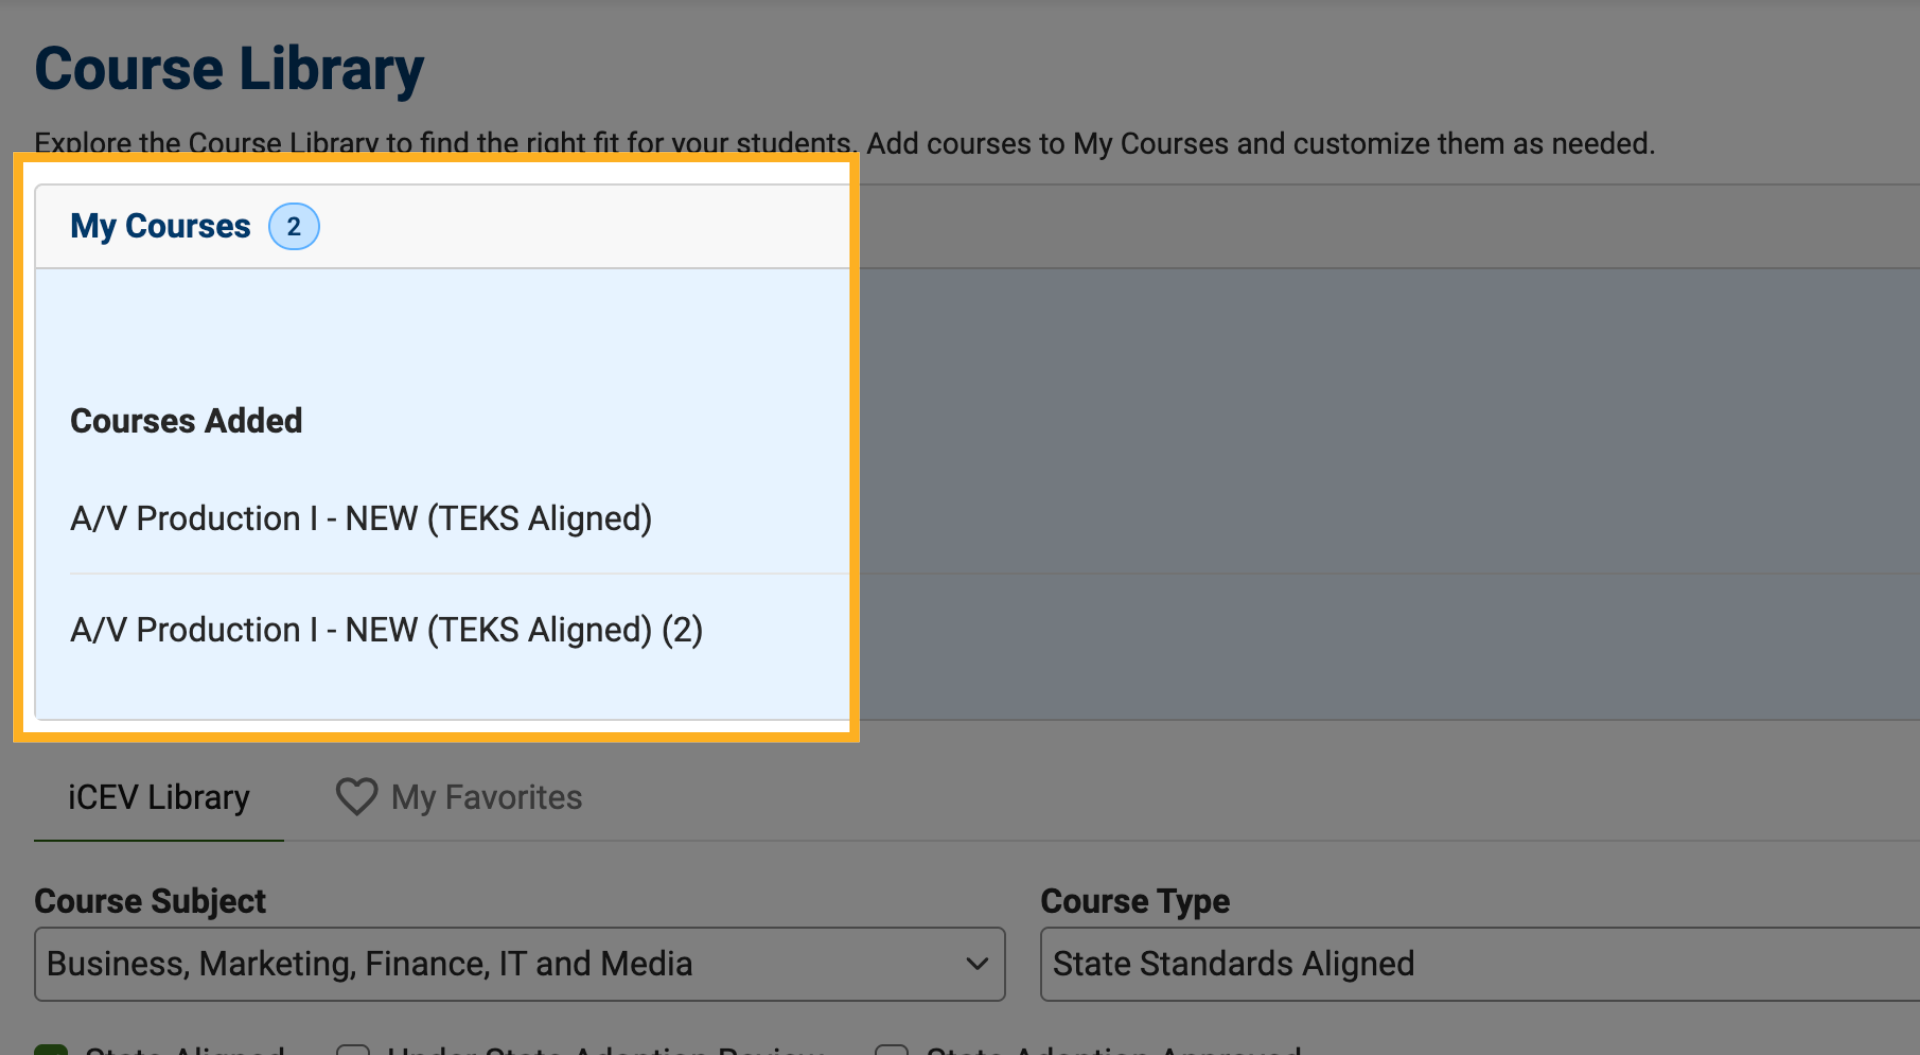
14. Add Multiple Copies of a Course
Need the same course for multiple class periods?
Click the Add (+) button again to add additional copies. Each copy is managed separately once added to My Courses.
15. Remove or Preview Courses
Before saving, you can:
-
Click Remove (-) to remove a course from your queue
-
Click Preview to learn more about the course
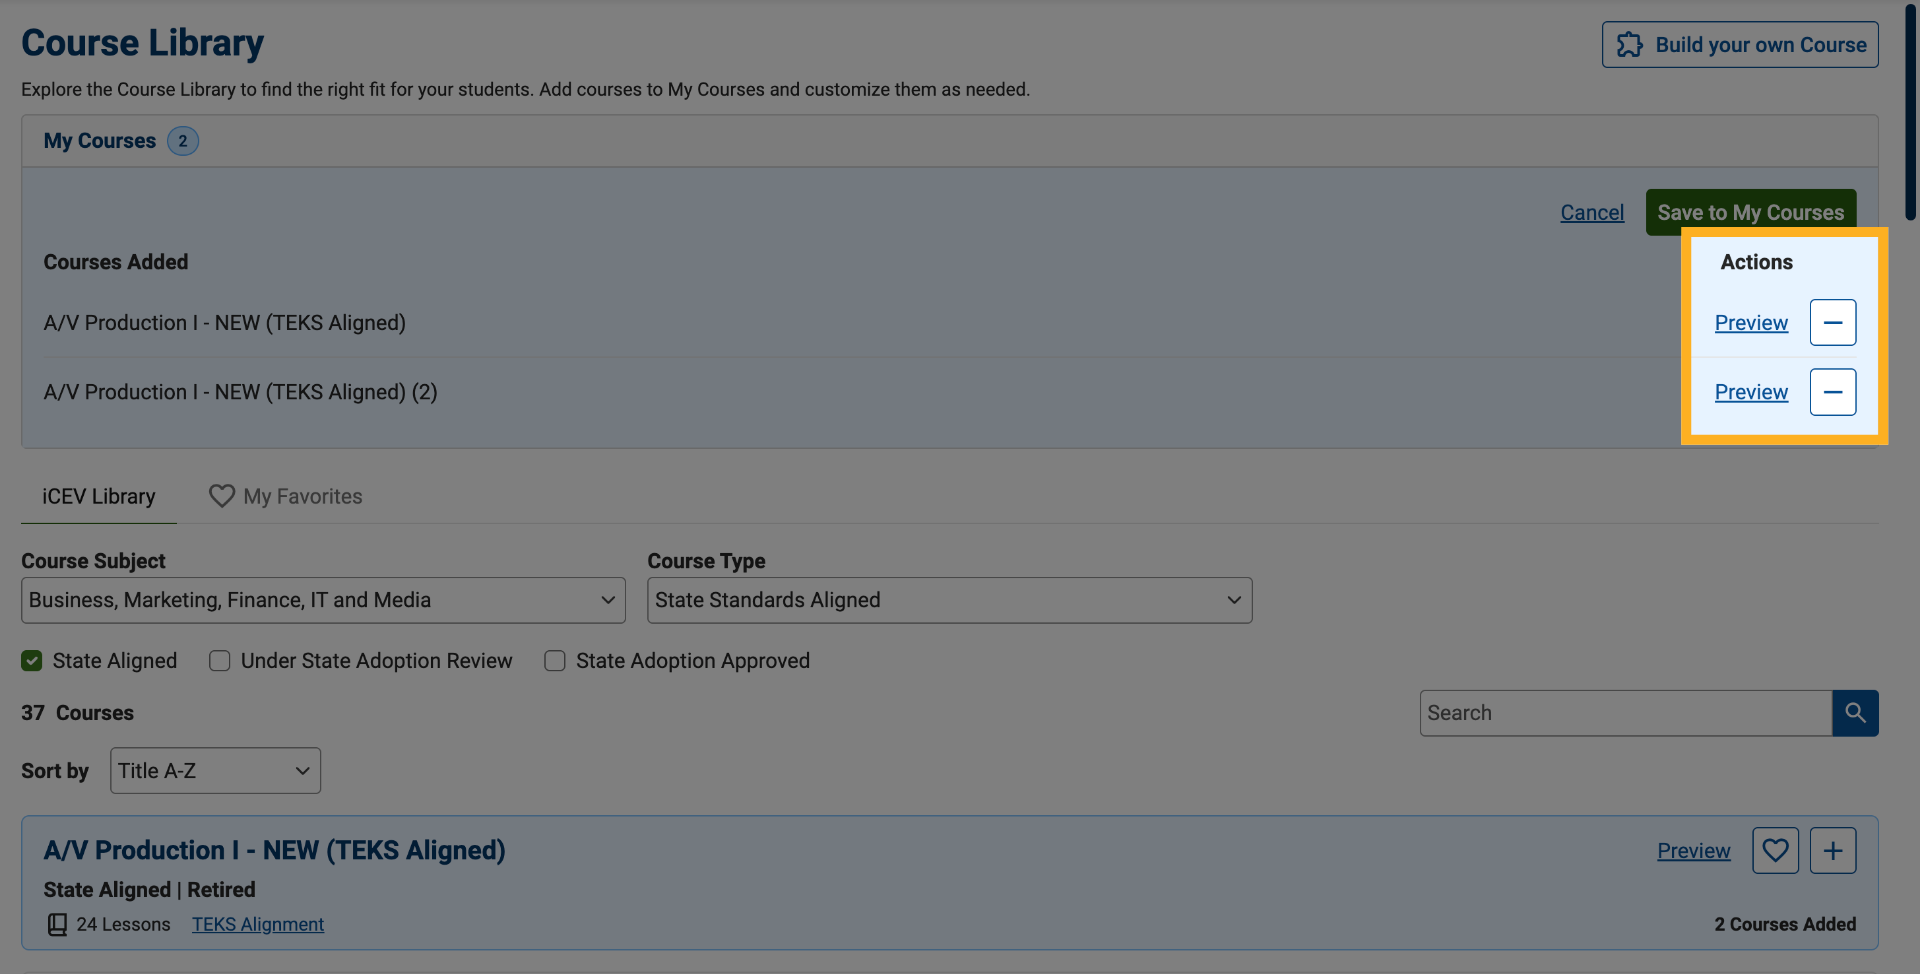
16. Preview a Course
Selecting Preview opens a course preview window where you can view all lessons included in the course.
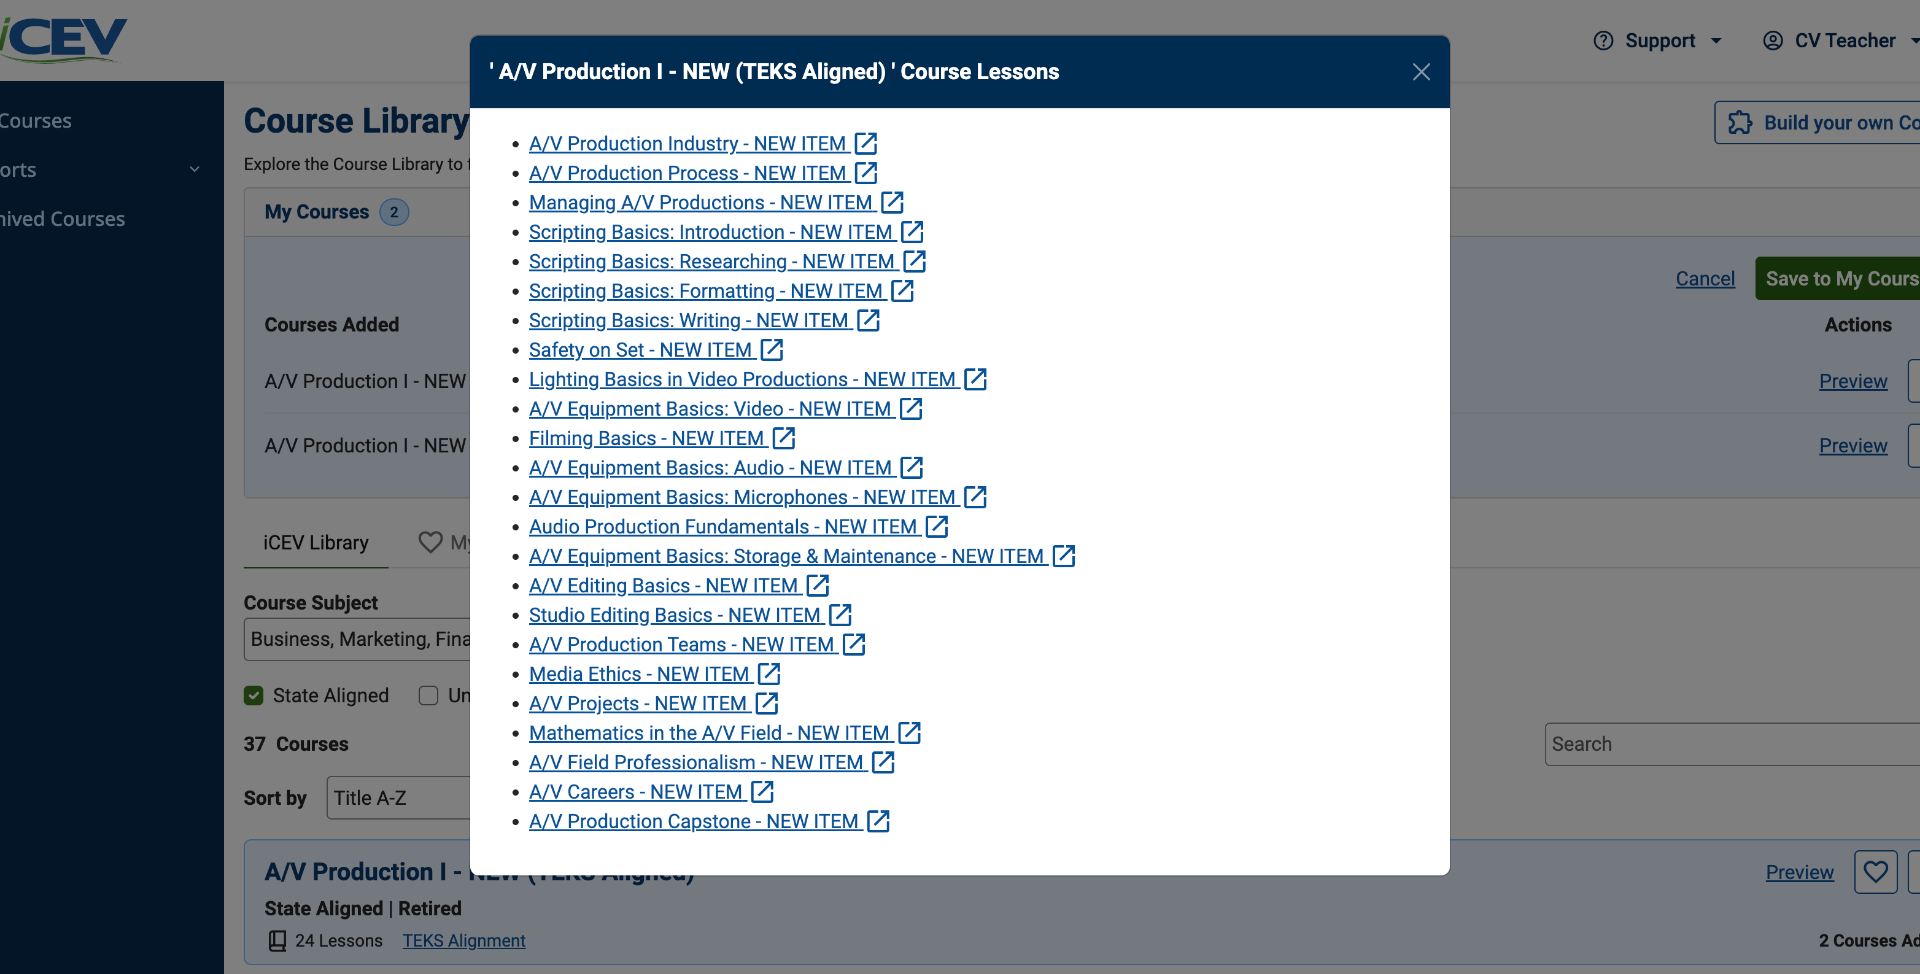
17. Preview Individual Lessons
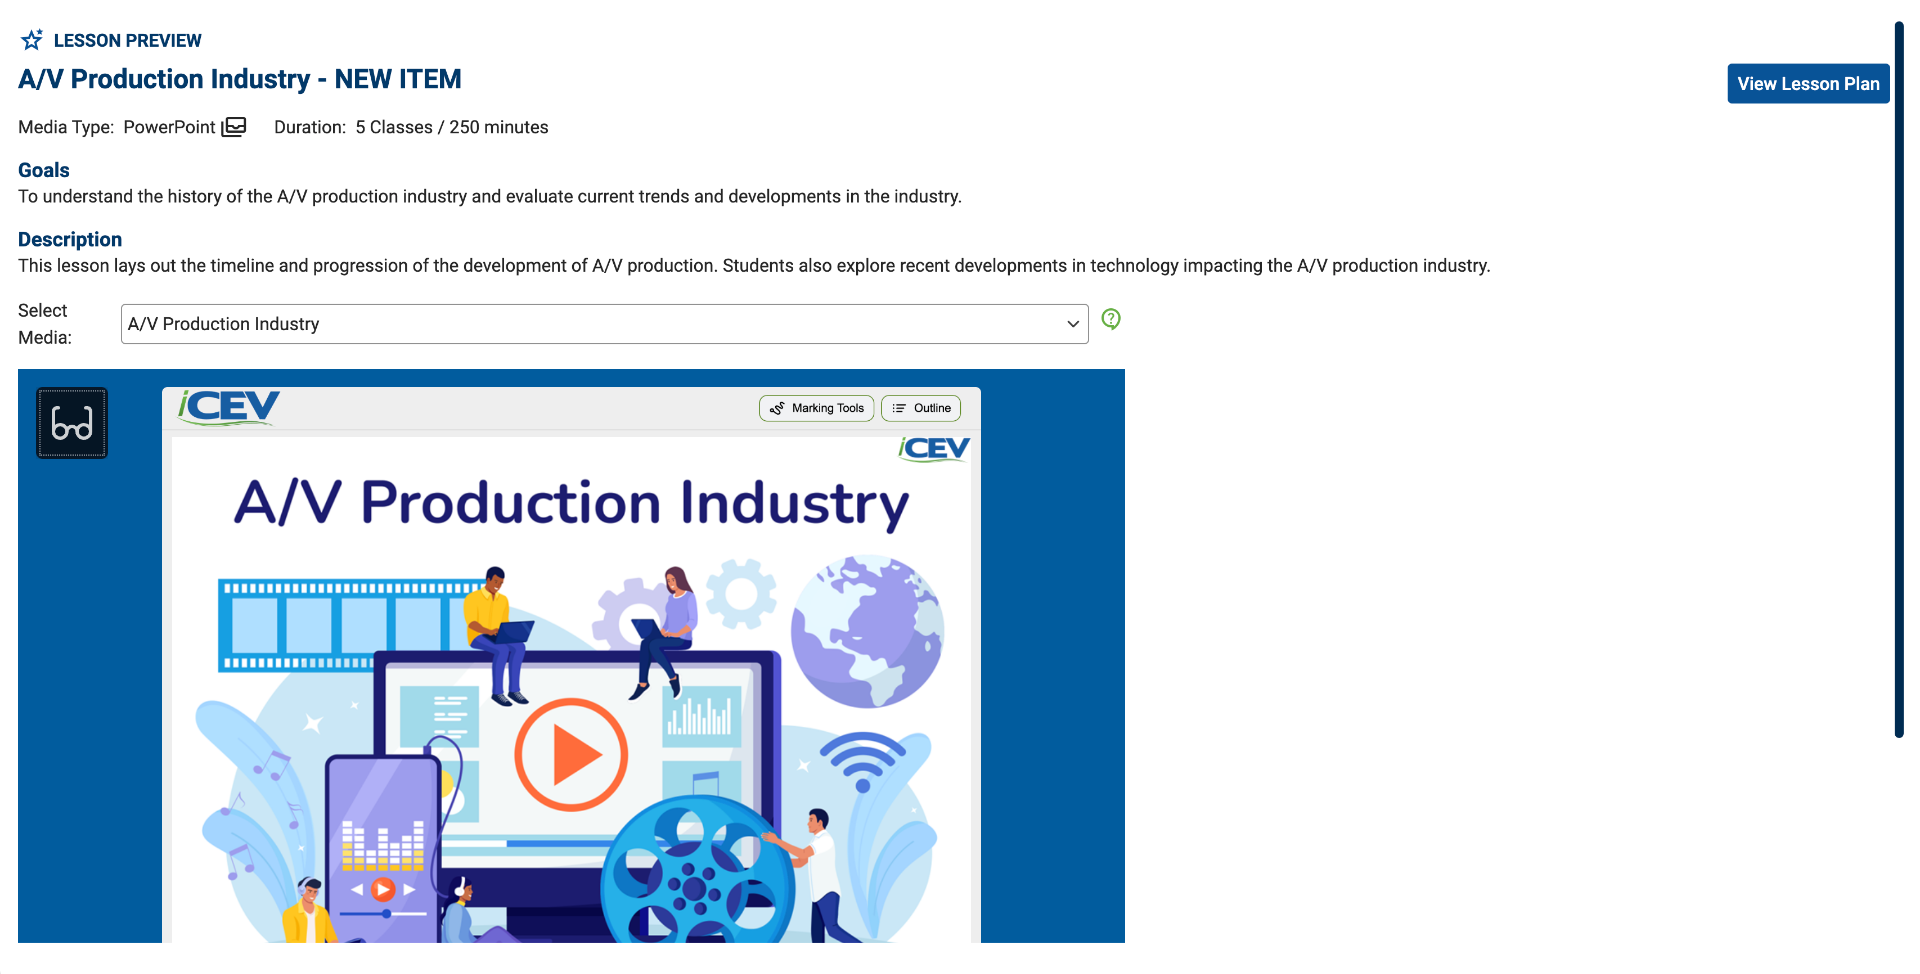
Click any lesson within the preview to view:
-
Lesson descriptions
-
Media types
-
Estimated duration
-
Course goals and content
-
Lesson plans
18. Favorite Courses
To save a course for later comparison, click the Favorite (♥) icon on the course card.
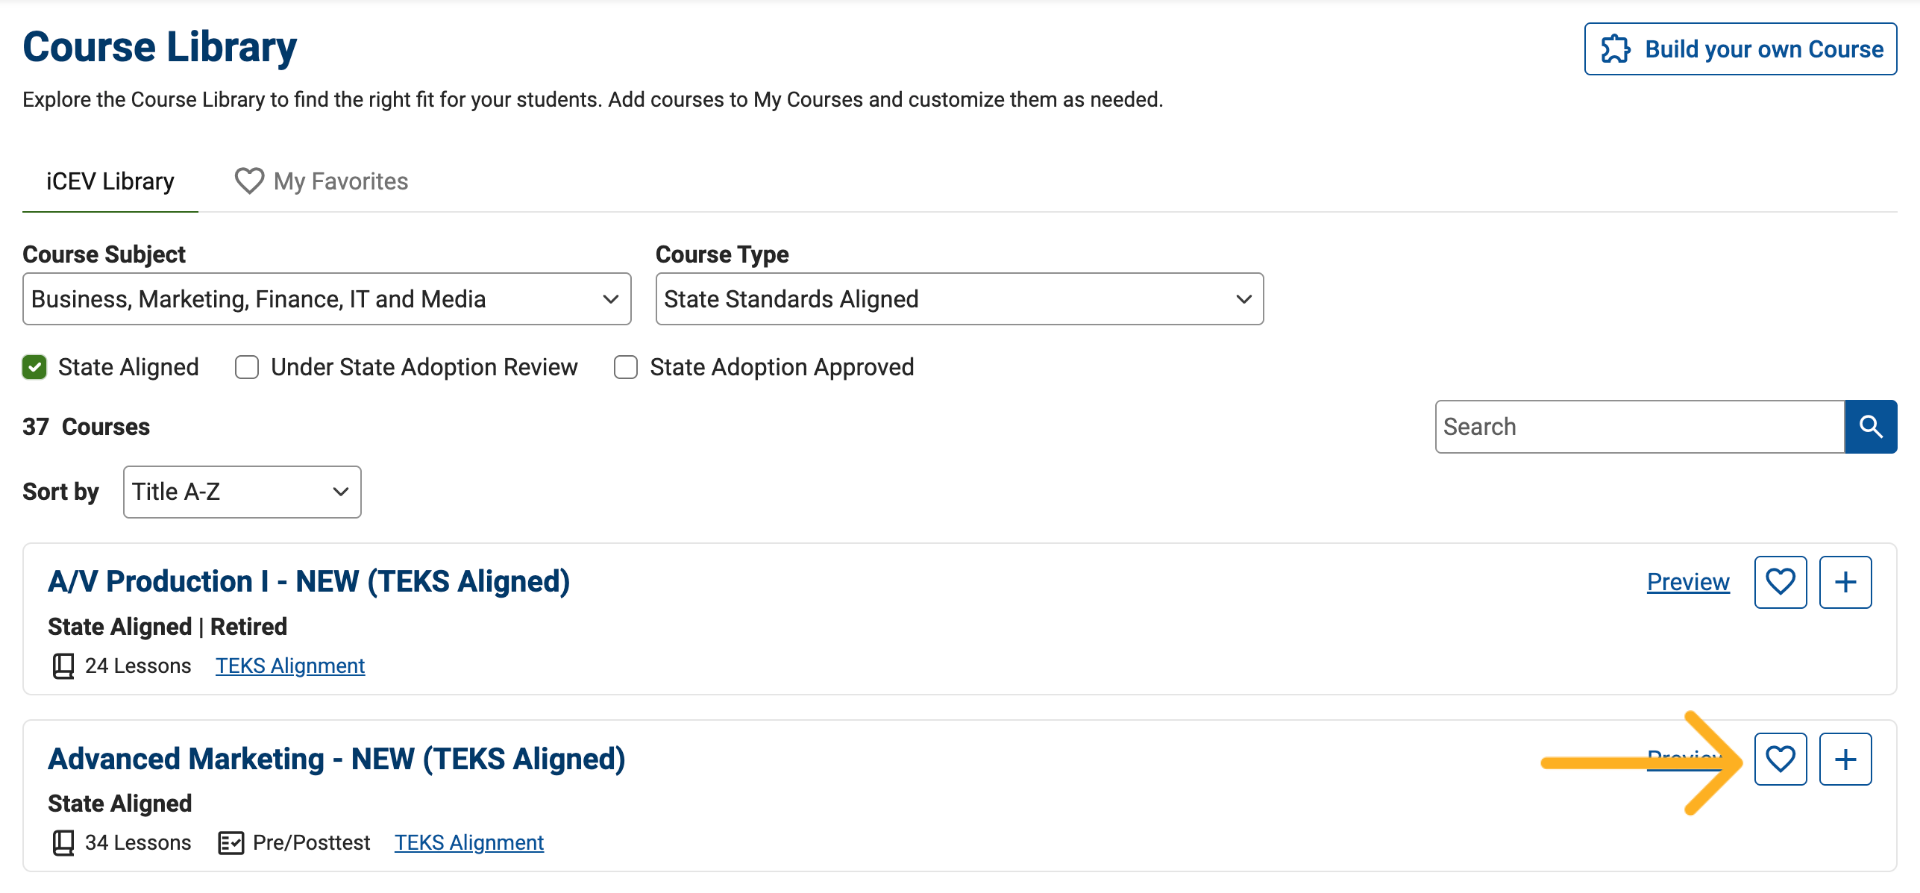
19. View Favorite Courses
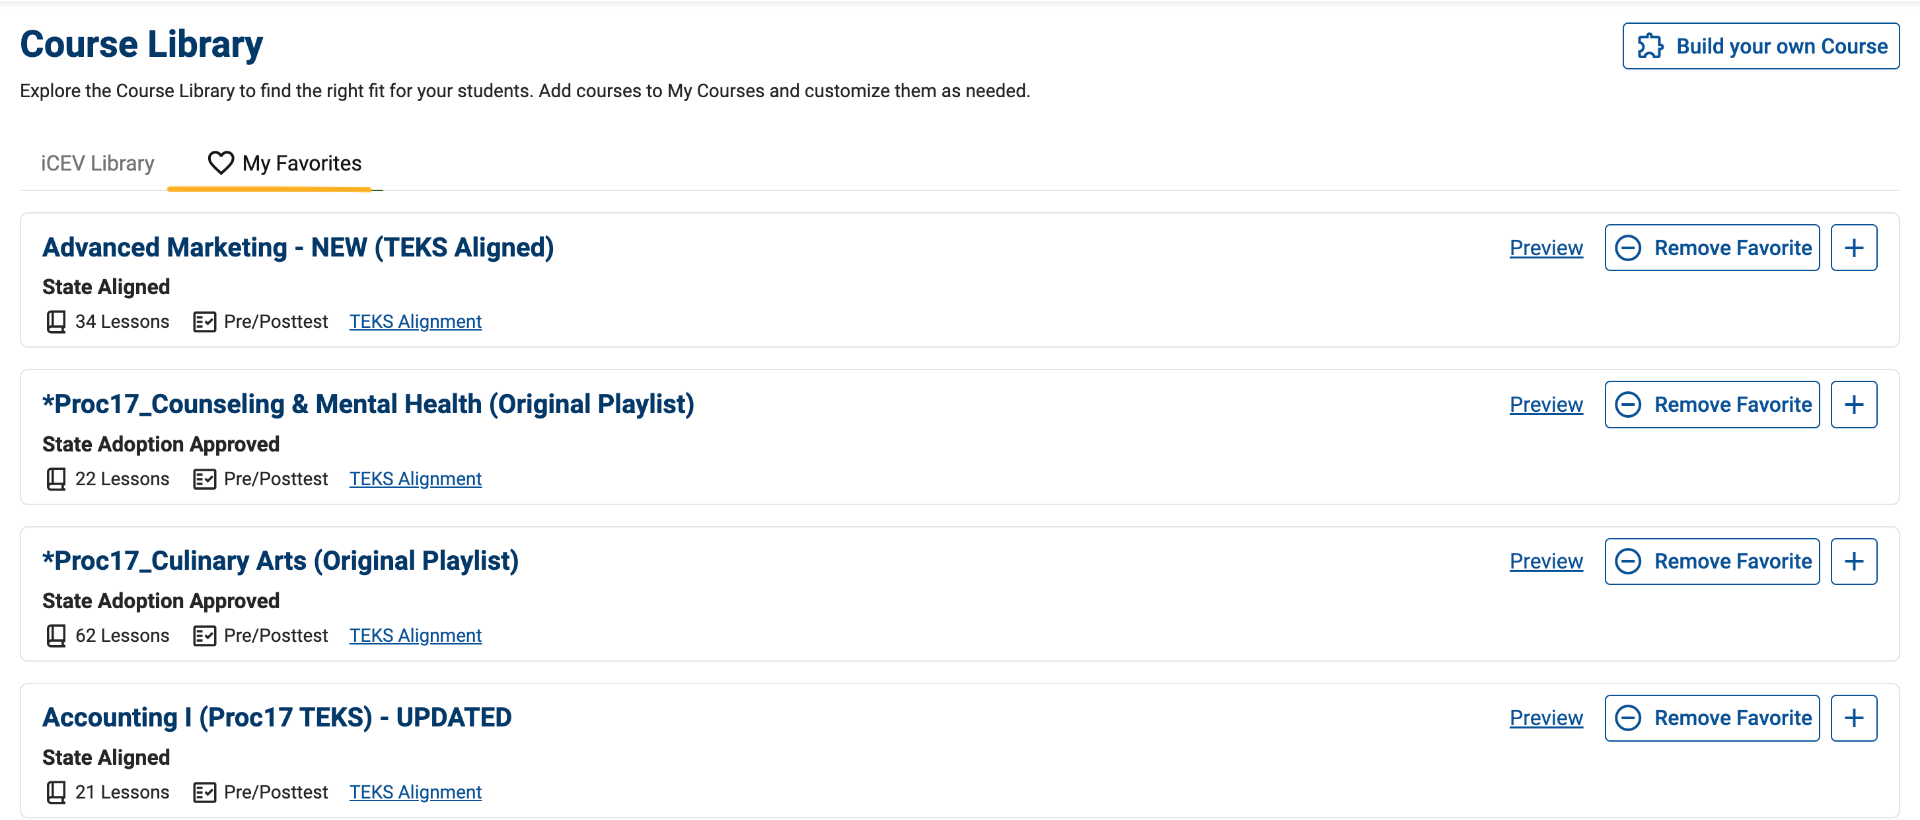
Open the My Favorites tab to:
-
Compare favorite courses
-
Remove favorites
-
Preview courses
-
Add courses to your My Courses queue
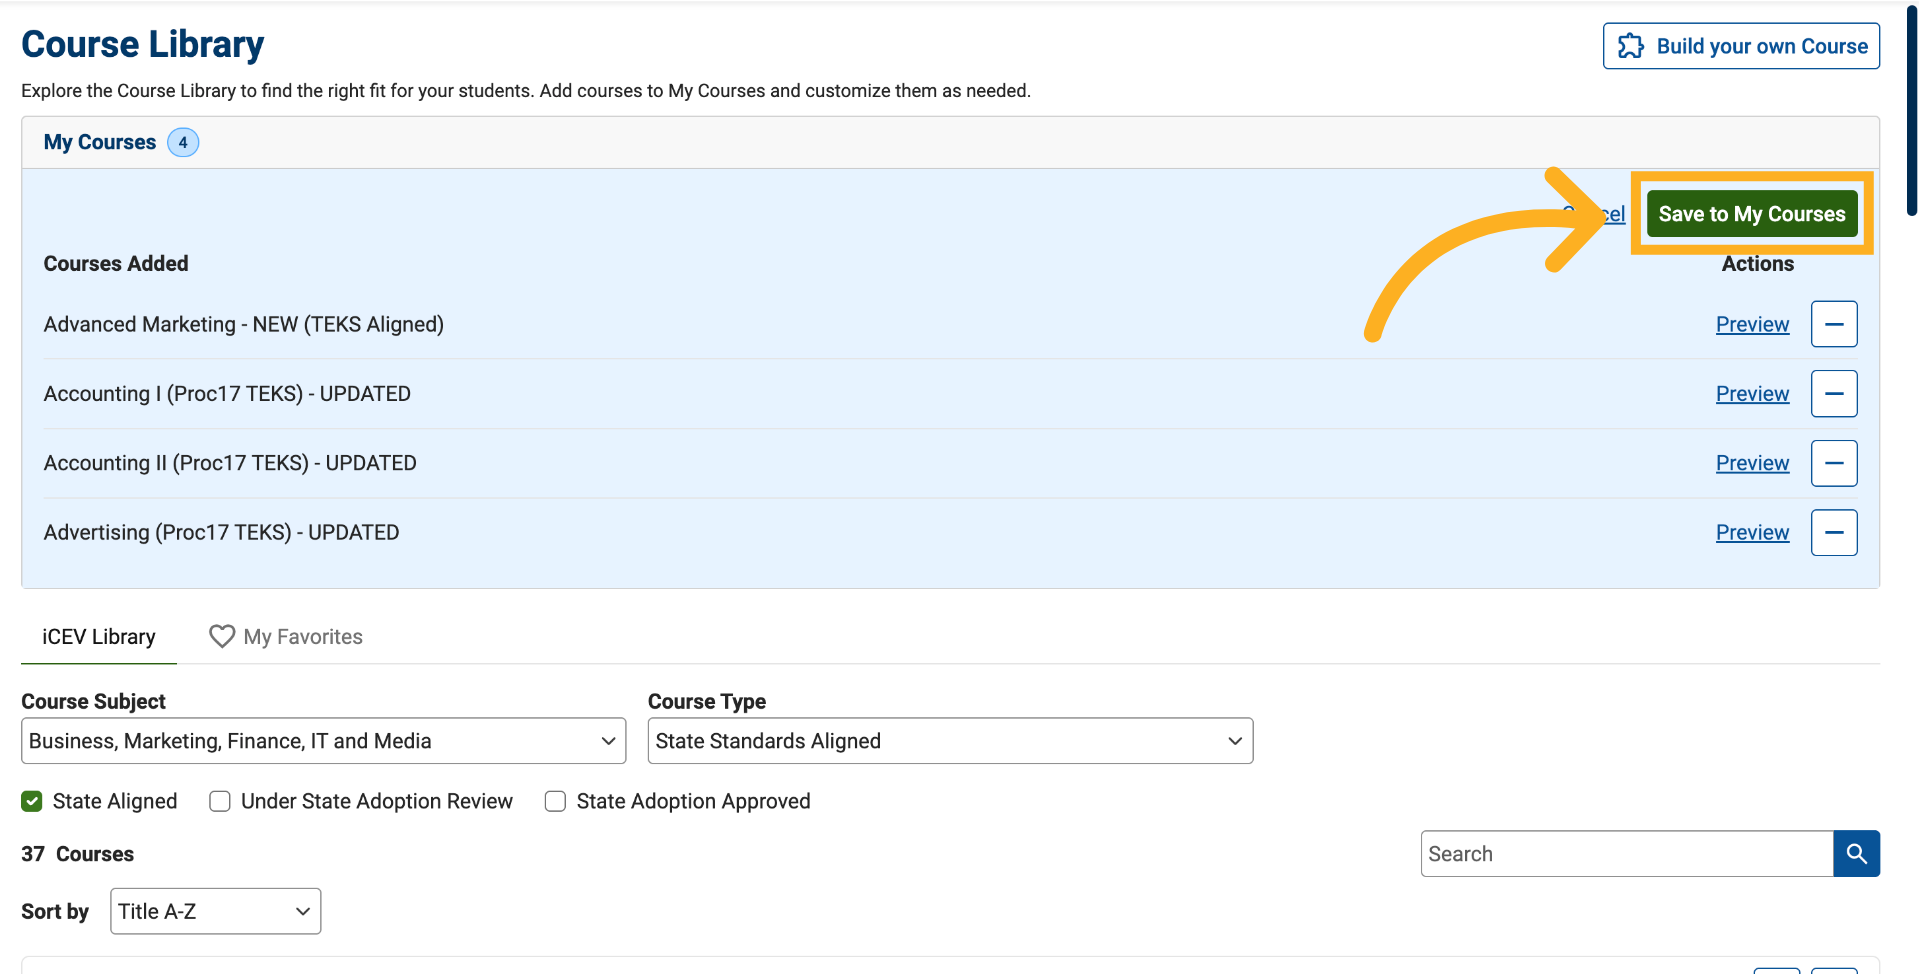
20. Save Your Selections
Once you've chosen your courses, click Save to My Courses.
21. Confirm Your Added Courses
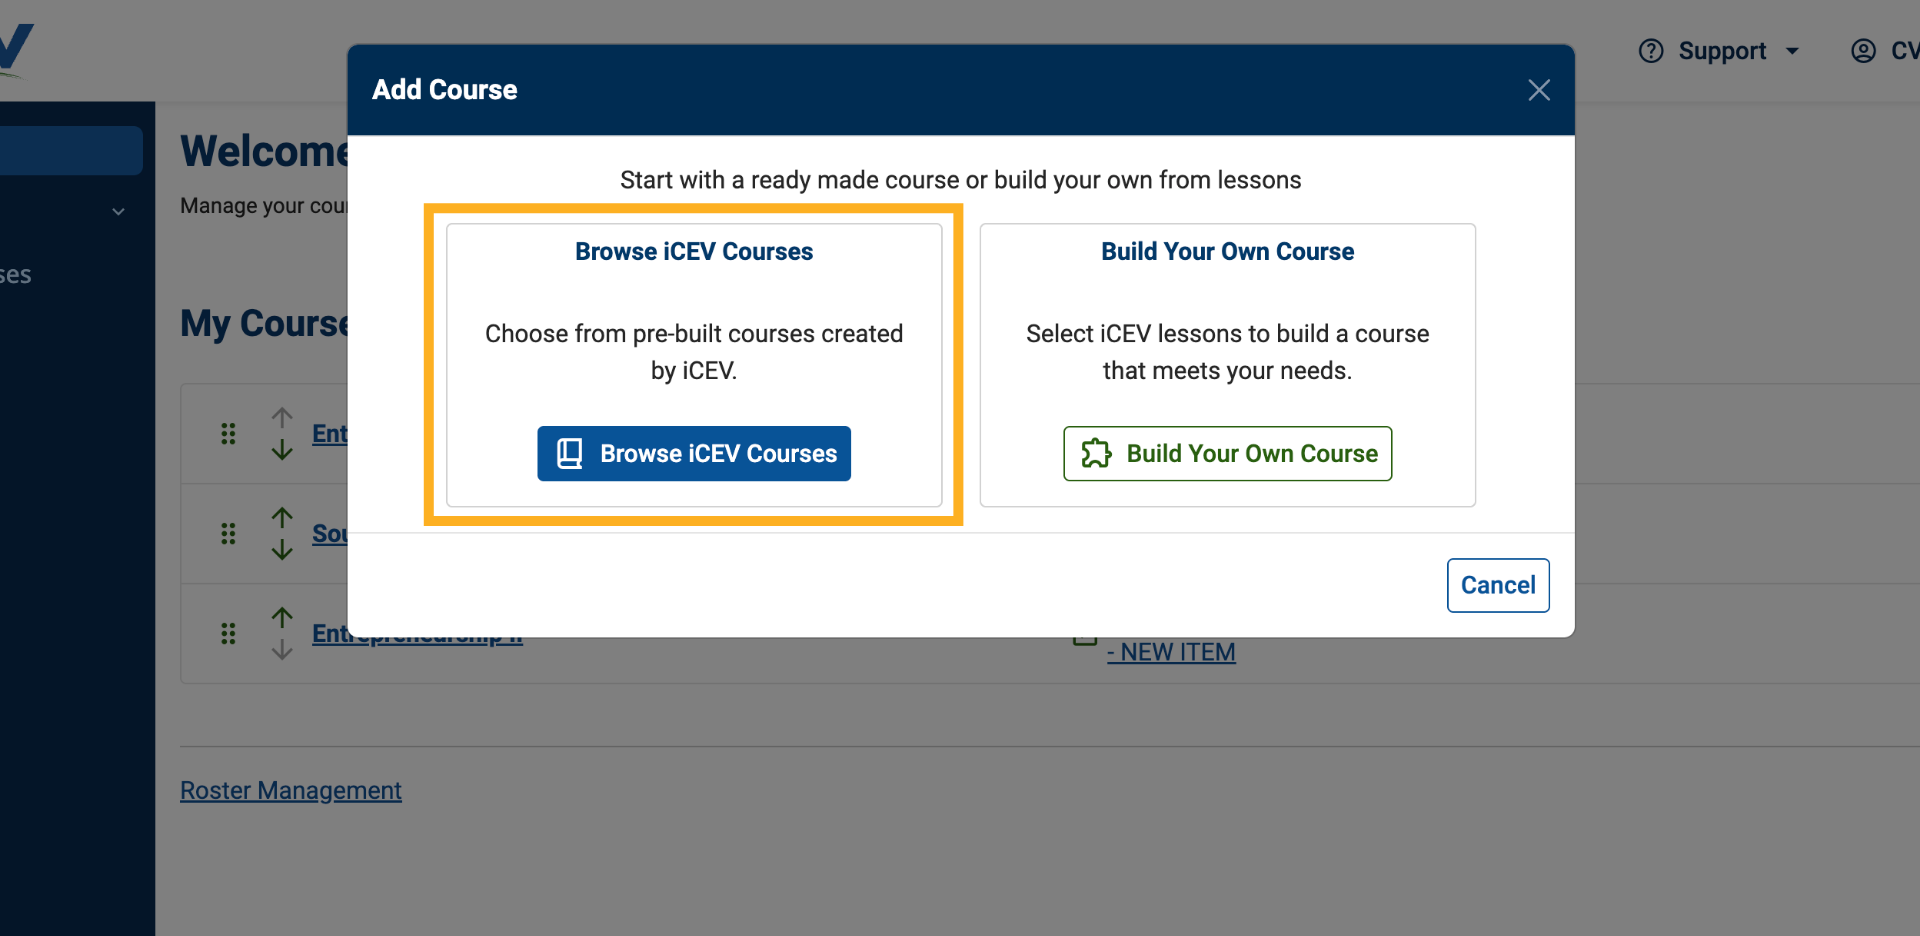
After saving, you'll be redirected to the My Courses page. Your newly added courses will appear at the top of your course list and are ready for use.