CTE Curriculum
Prepare learners with CTE curriculum aligned to industry standards.


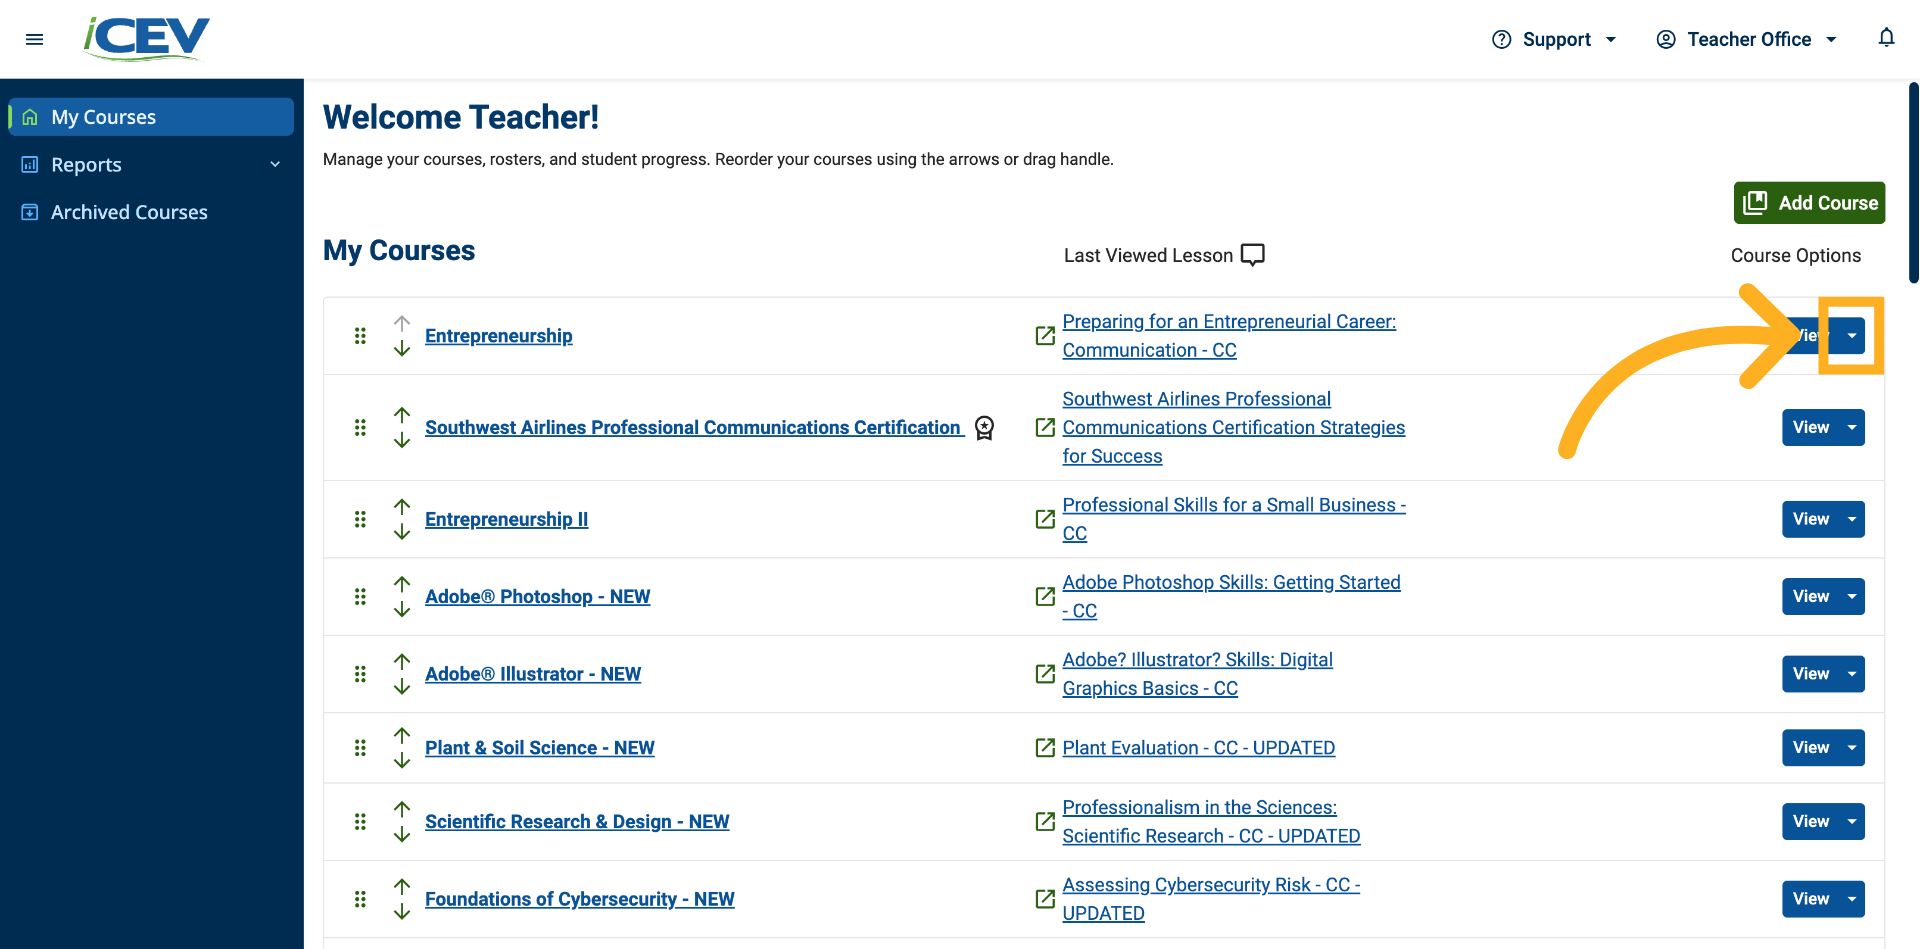
1. Open Course Options
From your My Courses page, locate the course you want to customize and click the dropdown arrow next to the View button.
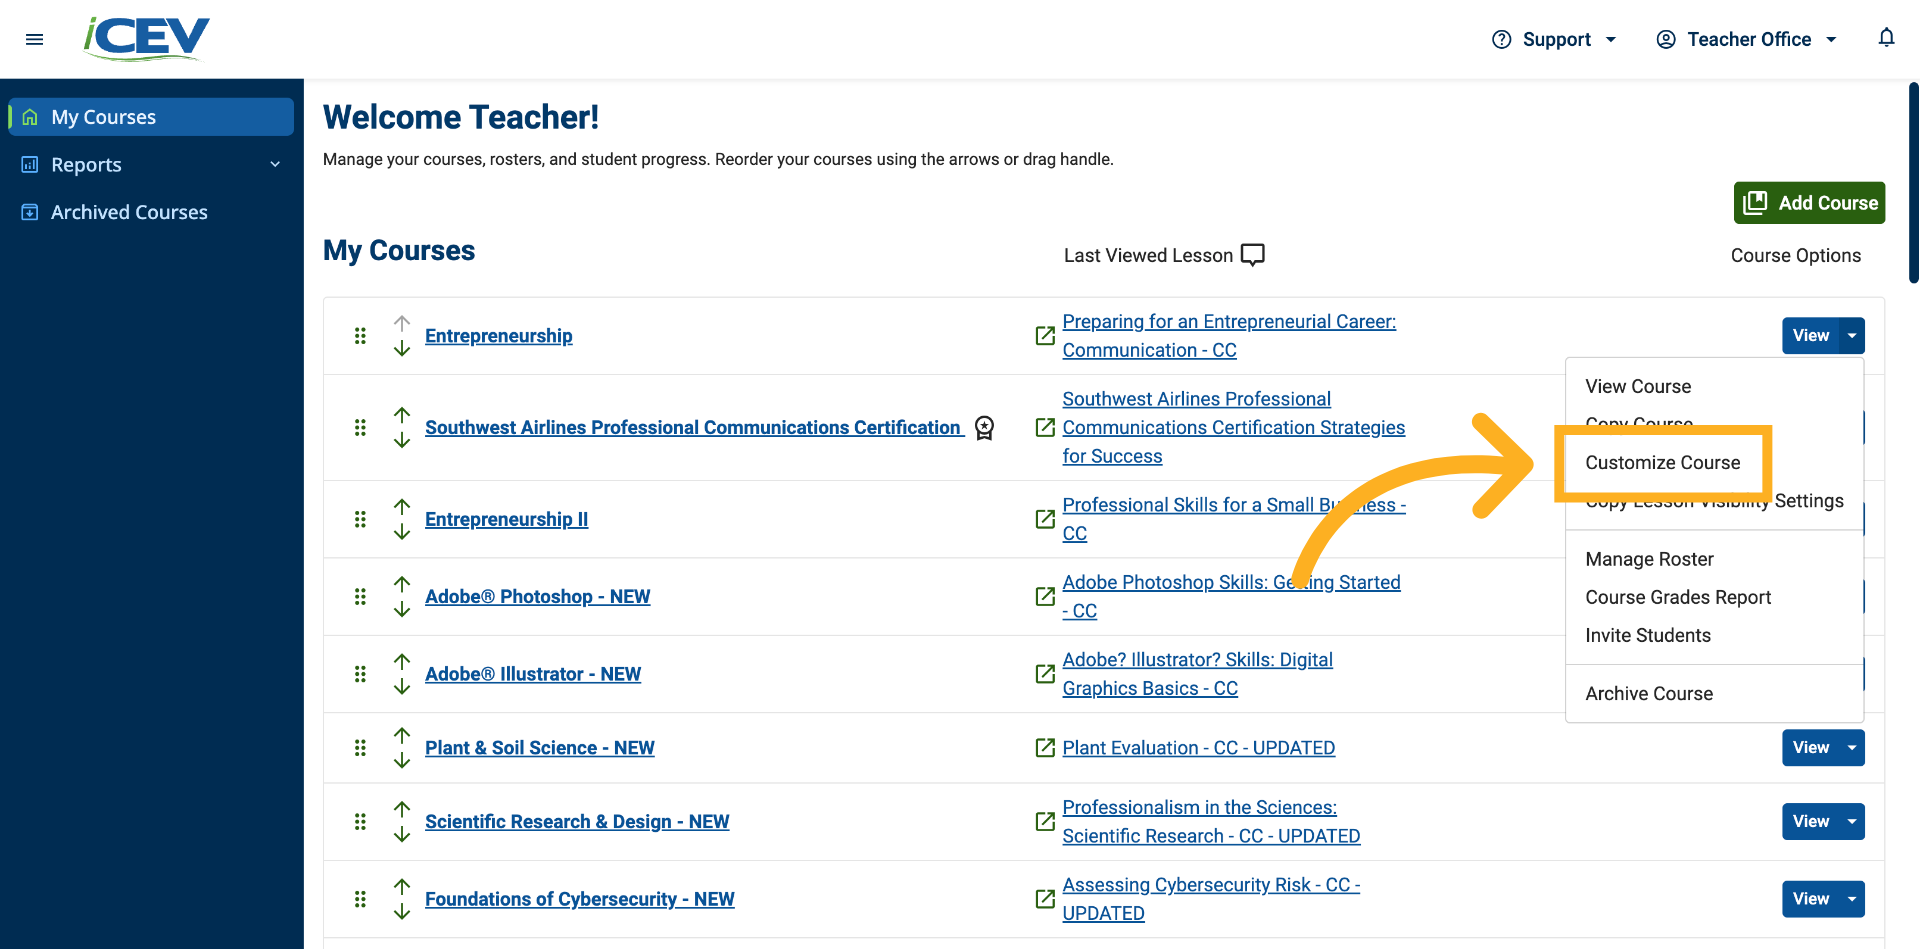
2. Select Customize Course
From the menu that appears, choose Customize Course.
3. Alternate Way to Access Course Customization
You can also access the customization page while viewing a course by selecting Customize This Course from the course management menu.
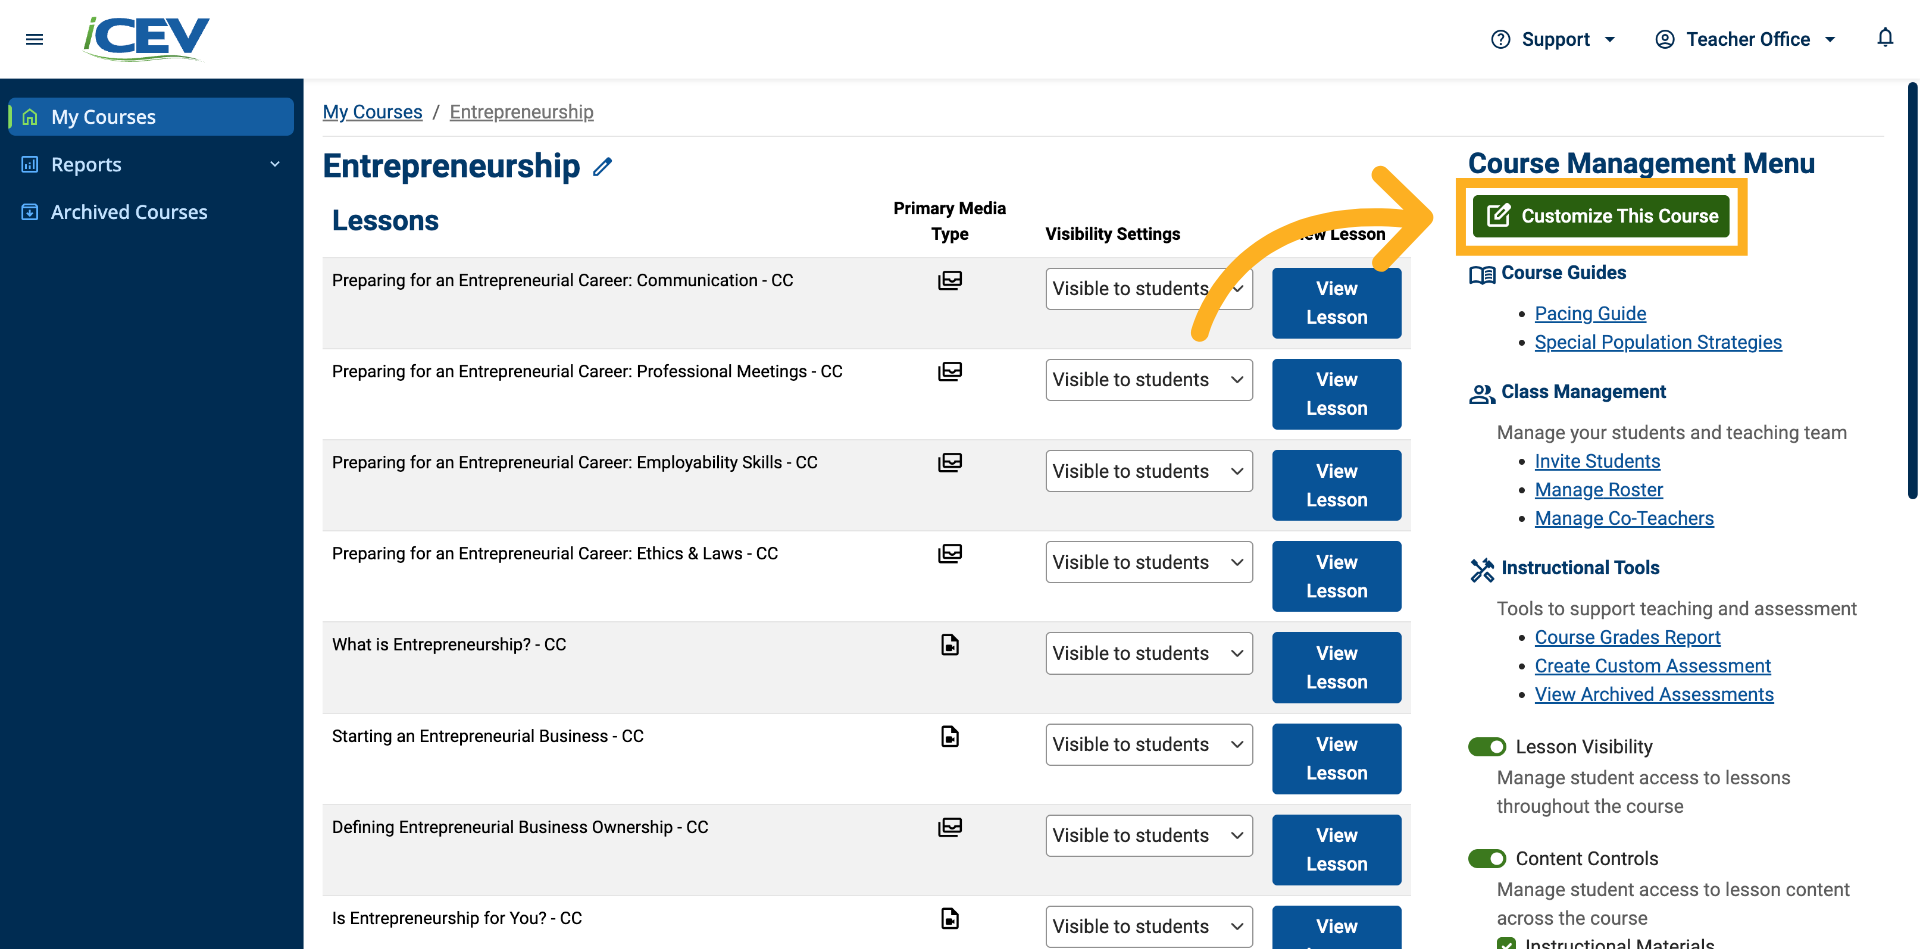
4. Review the Course Customization Page
You will be taken to the Course Customization page, where you can modify course content and settings.
From this page, you can:
-
Rename the course
-
Add lessons
-
Remove lessons
-
Reorder lessons
-
Browse content from other courses
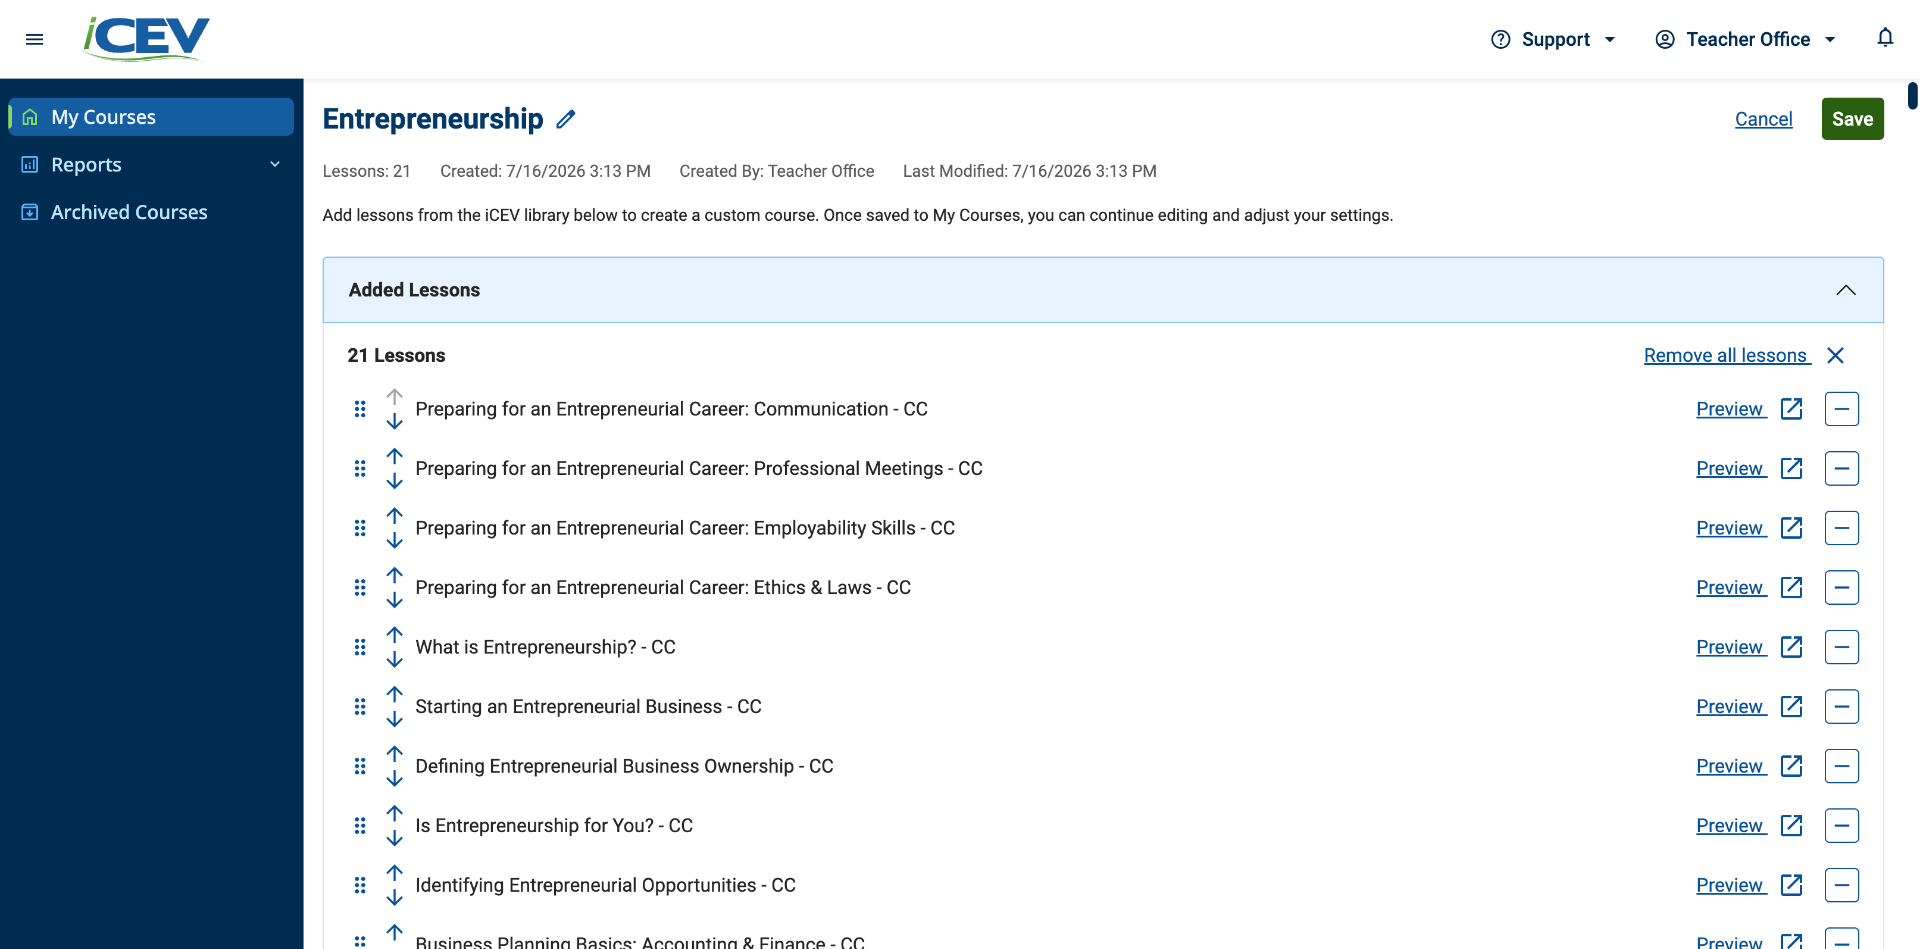
5. Collapse Added Lessons (Optional)
If your course contains many lessons, you can collapse the Added Lessons section by clicking anywhere on the accordion panel. This can make it easier to browse additional content.
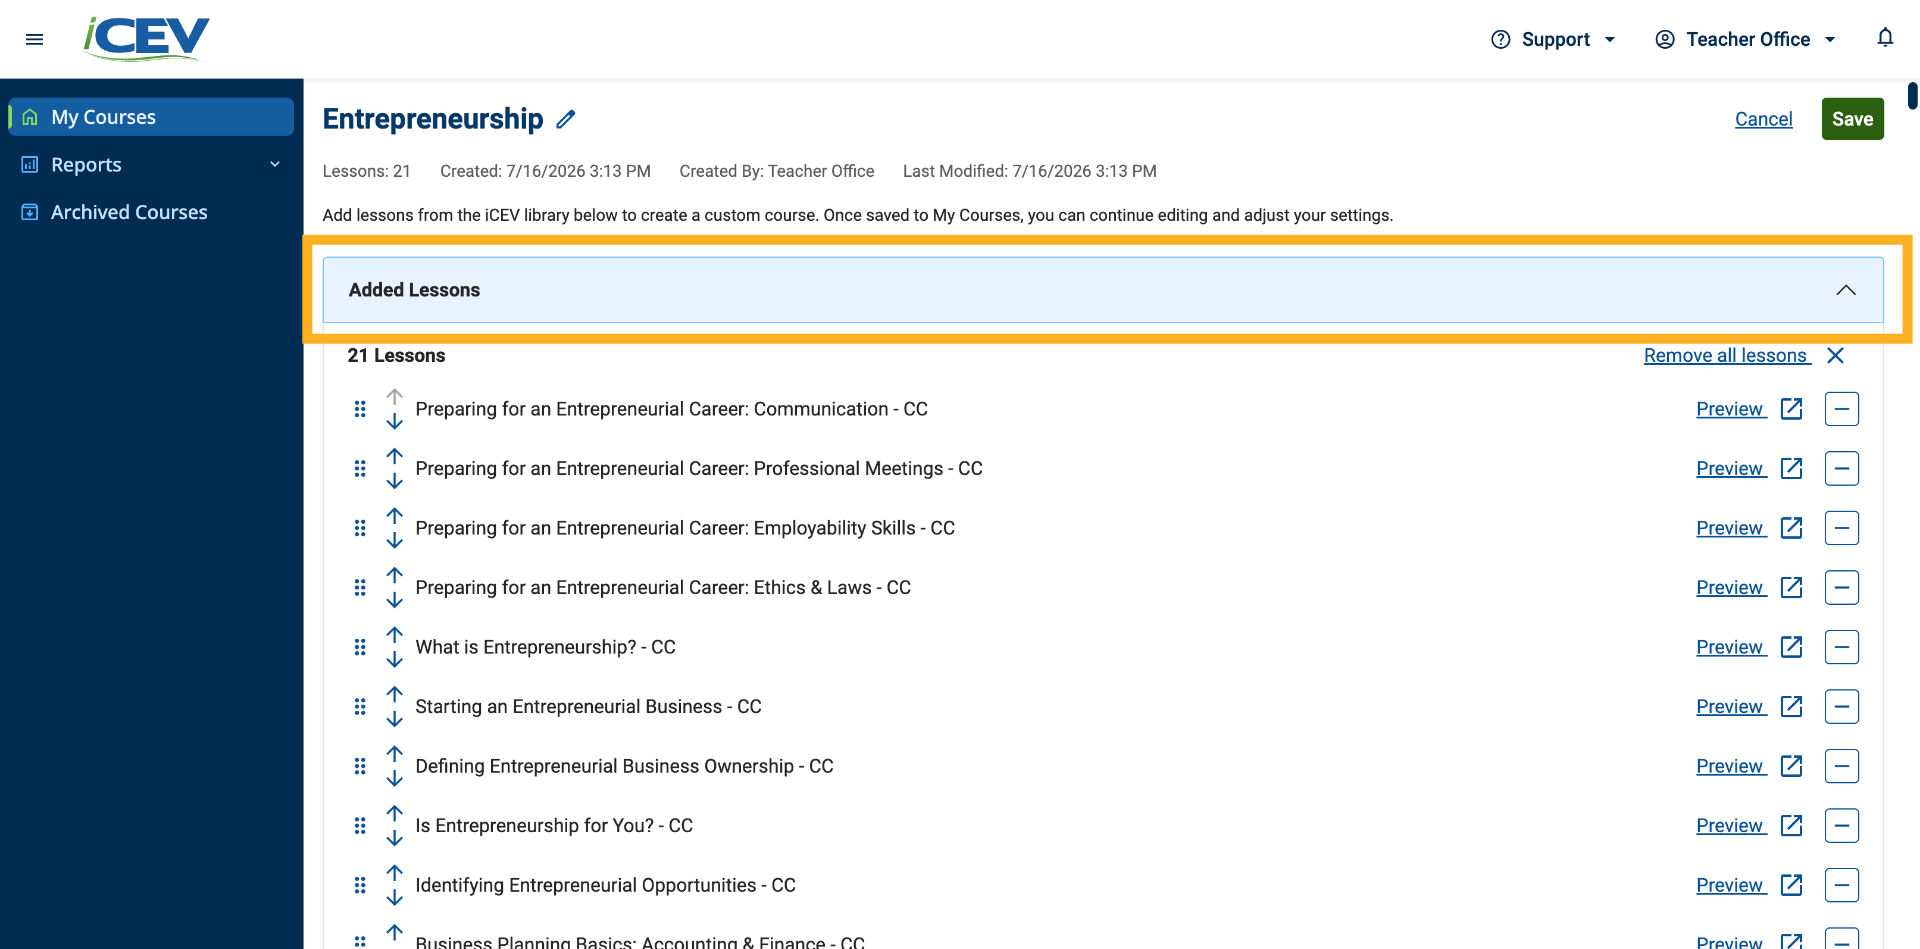
6. Rename the Course
At the top of the page, update the course title to something that helps you identify the course and its purpose.
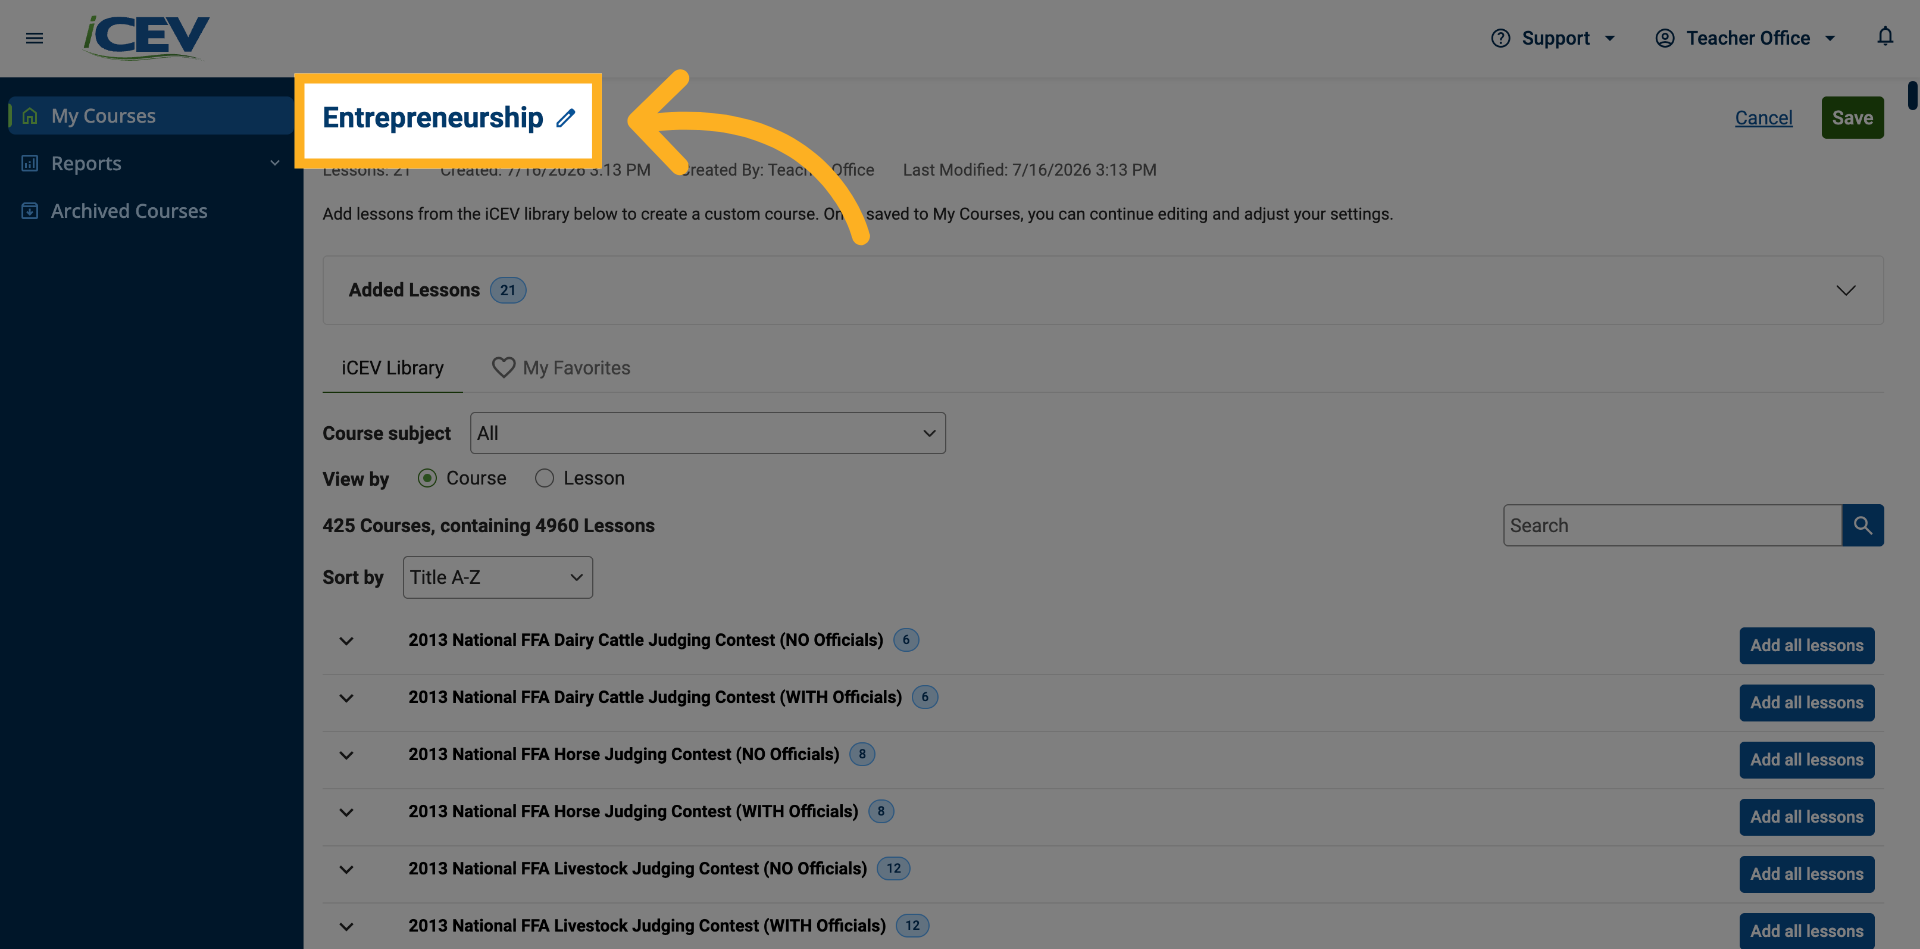
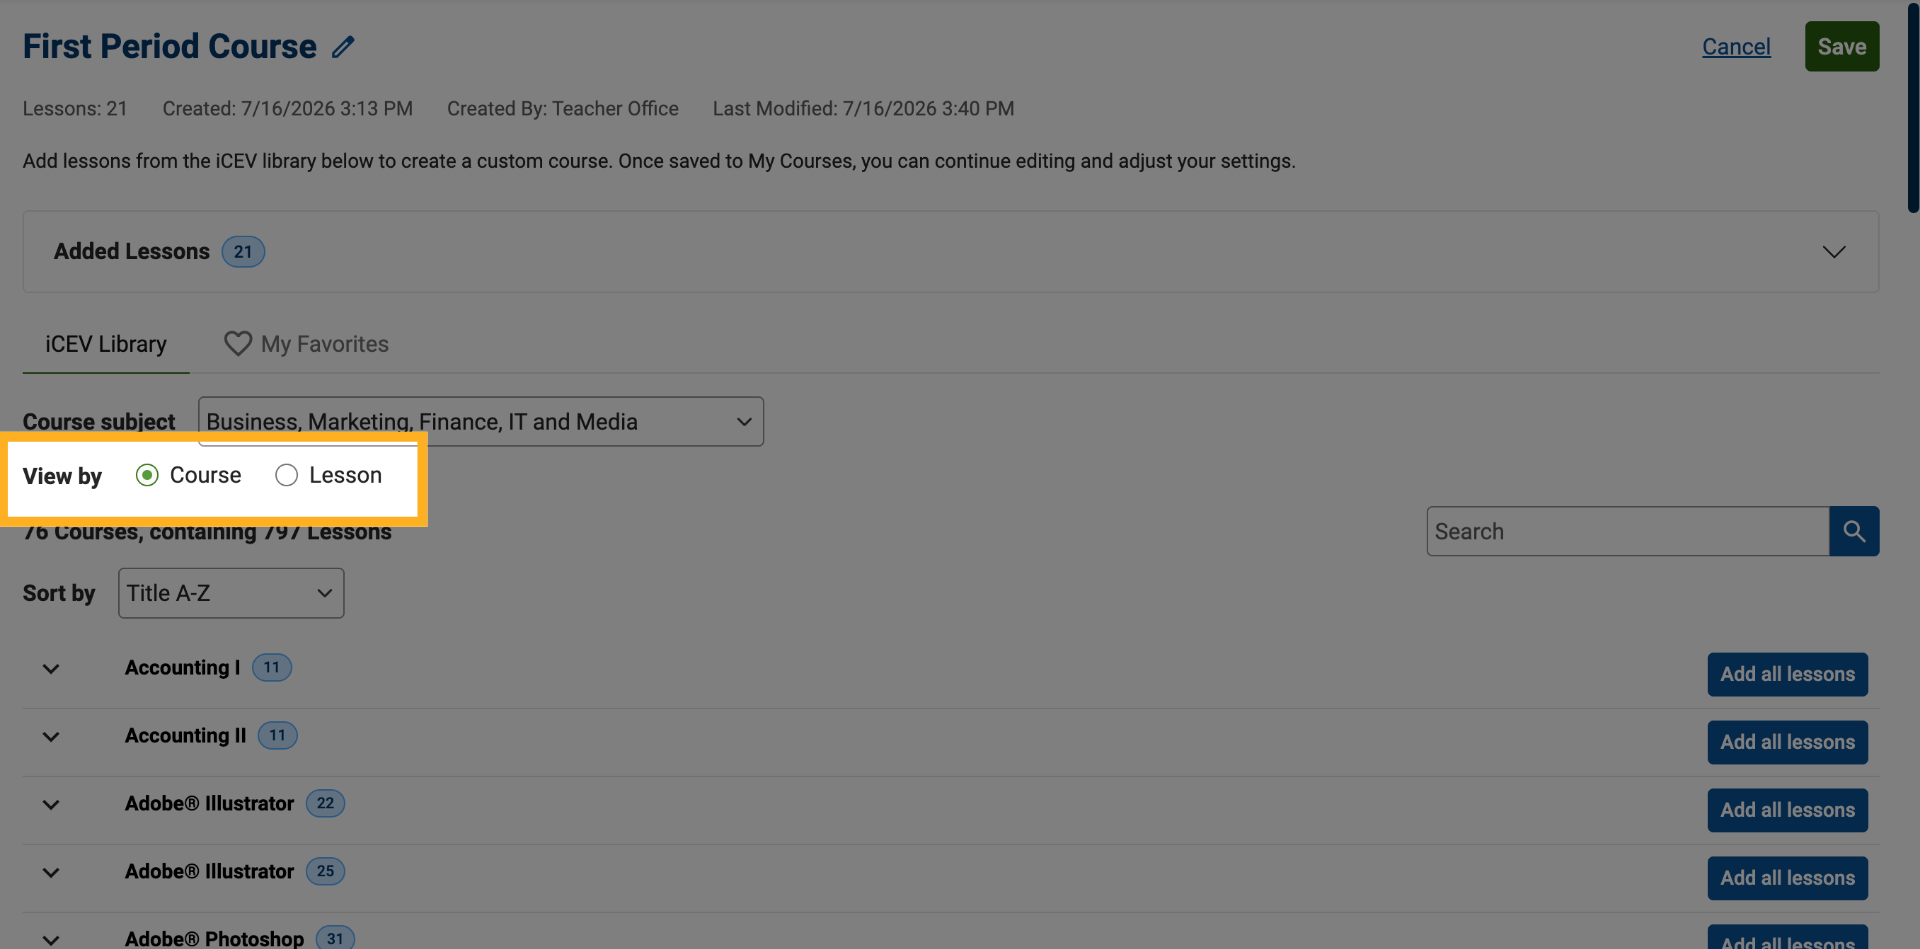
7. Choose a Content Browsing View
There are two ways to browse content:
Course View
Displays courses that contain groups of lessons.
Lesson View
Displays individual lessons.
Use the radio buttons at the top of the page to switch between views at any time.
8. Browse Lessons Within a Course
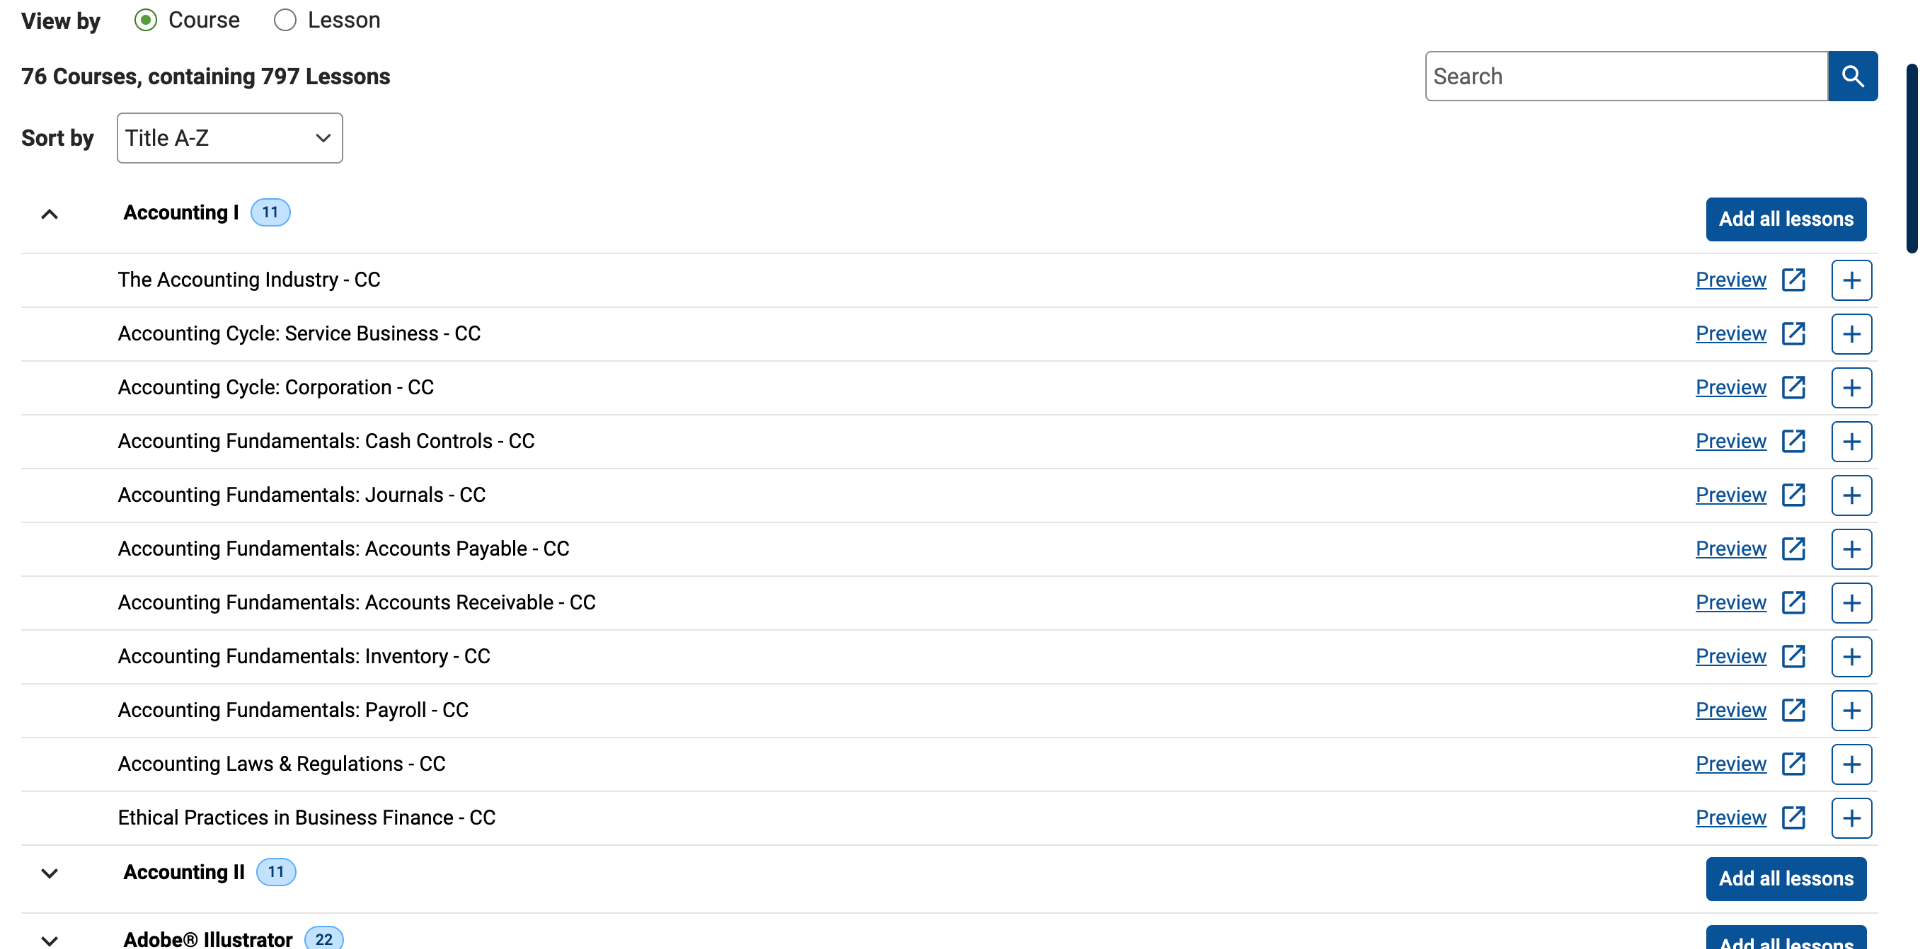
In Course View, expand a course to see all lessons included in that course.
This allows you to review available content and select only the lessons you want to include in your customized course.
9. Preview a Lesson
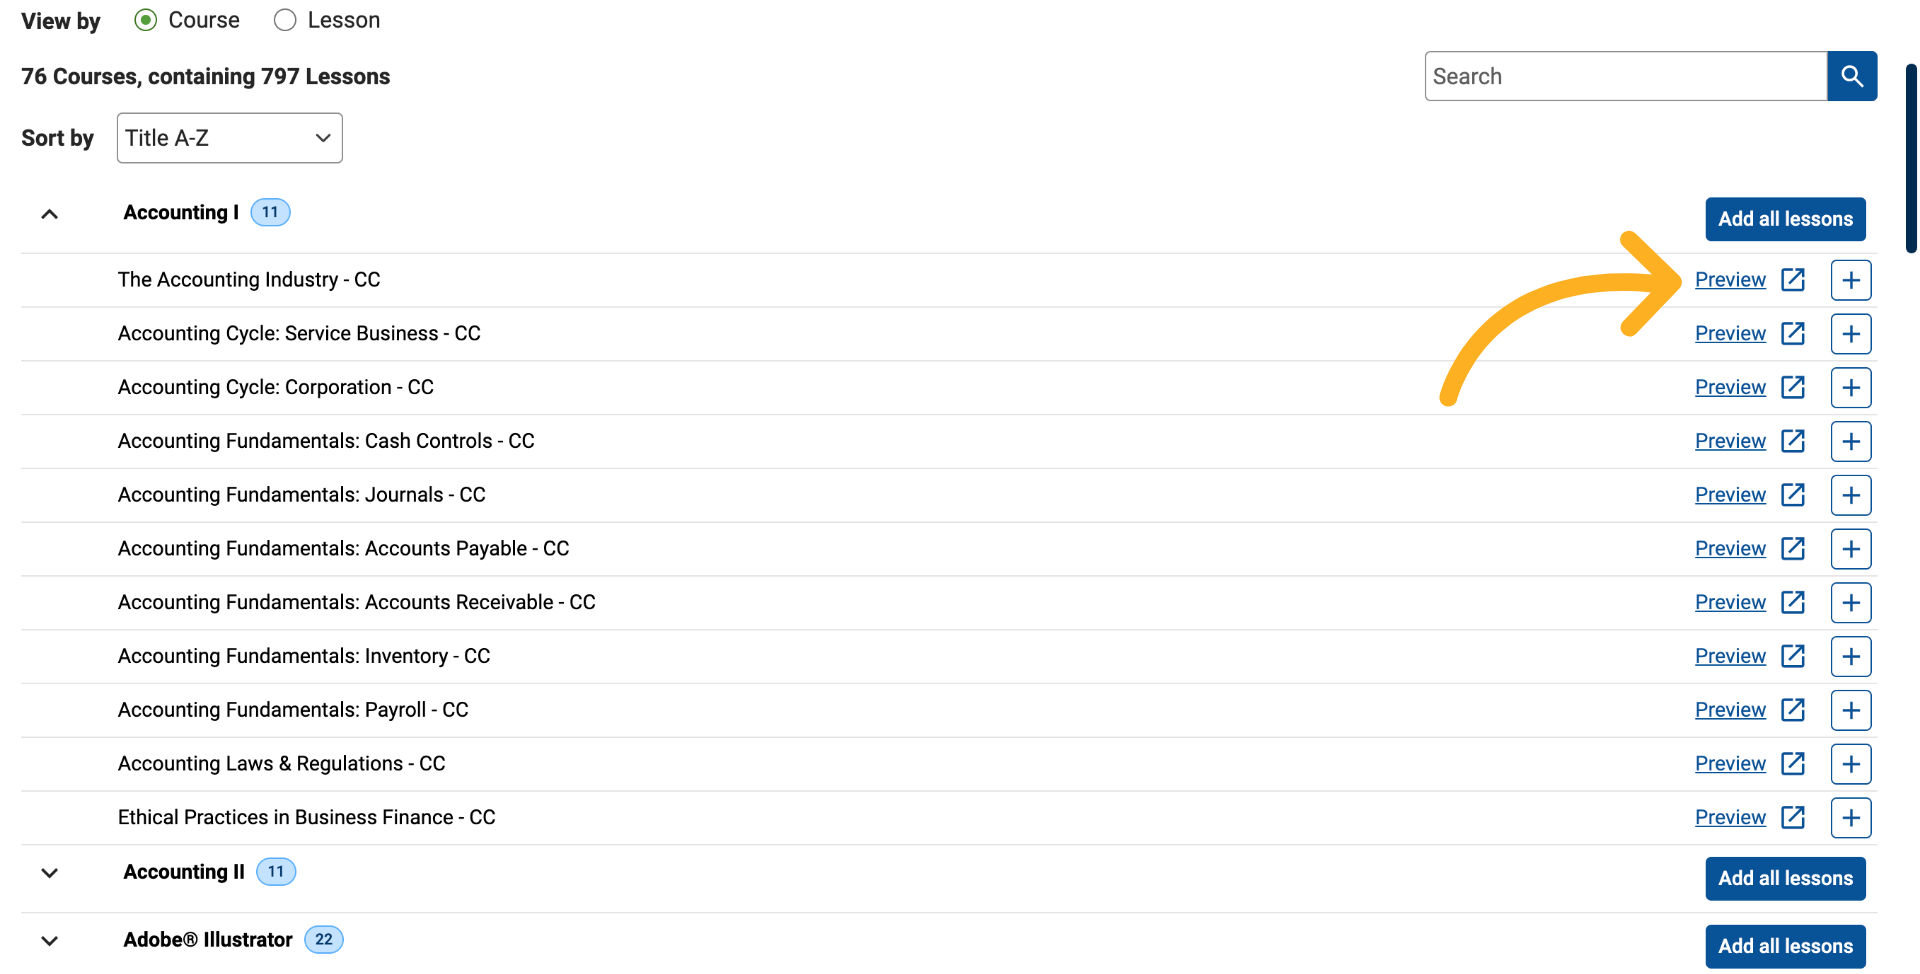
To learn more about a lesson before adding it, click the Preview link next to the lesson.
10. Review Lesson Details
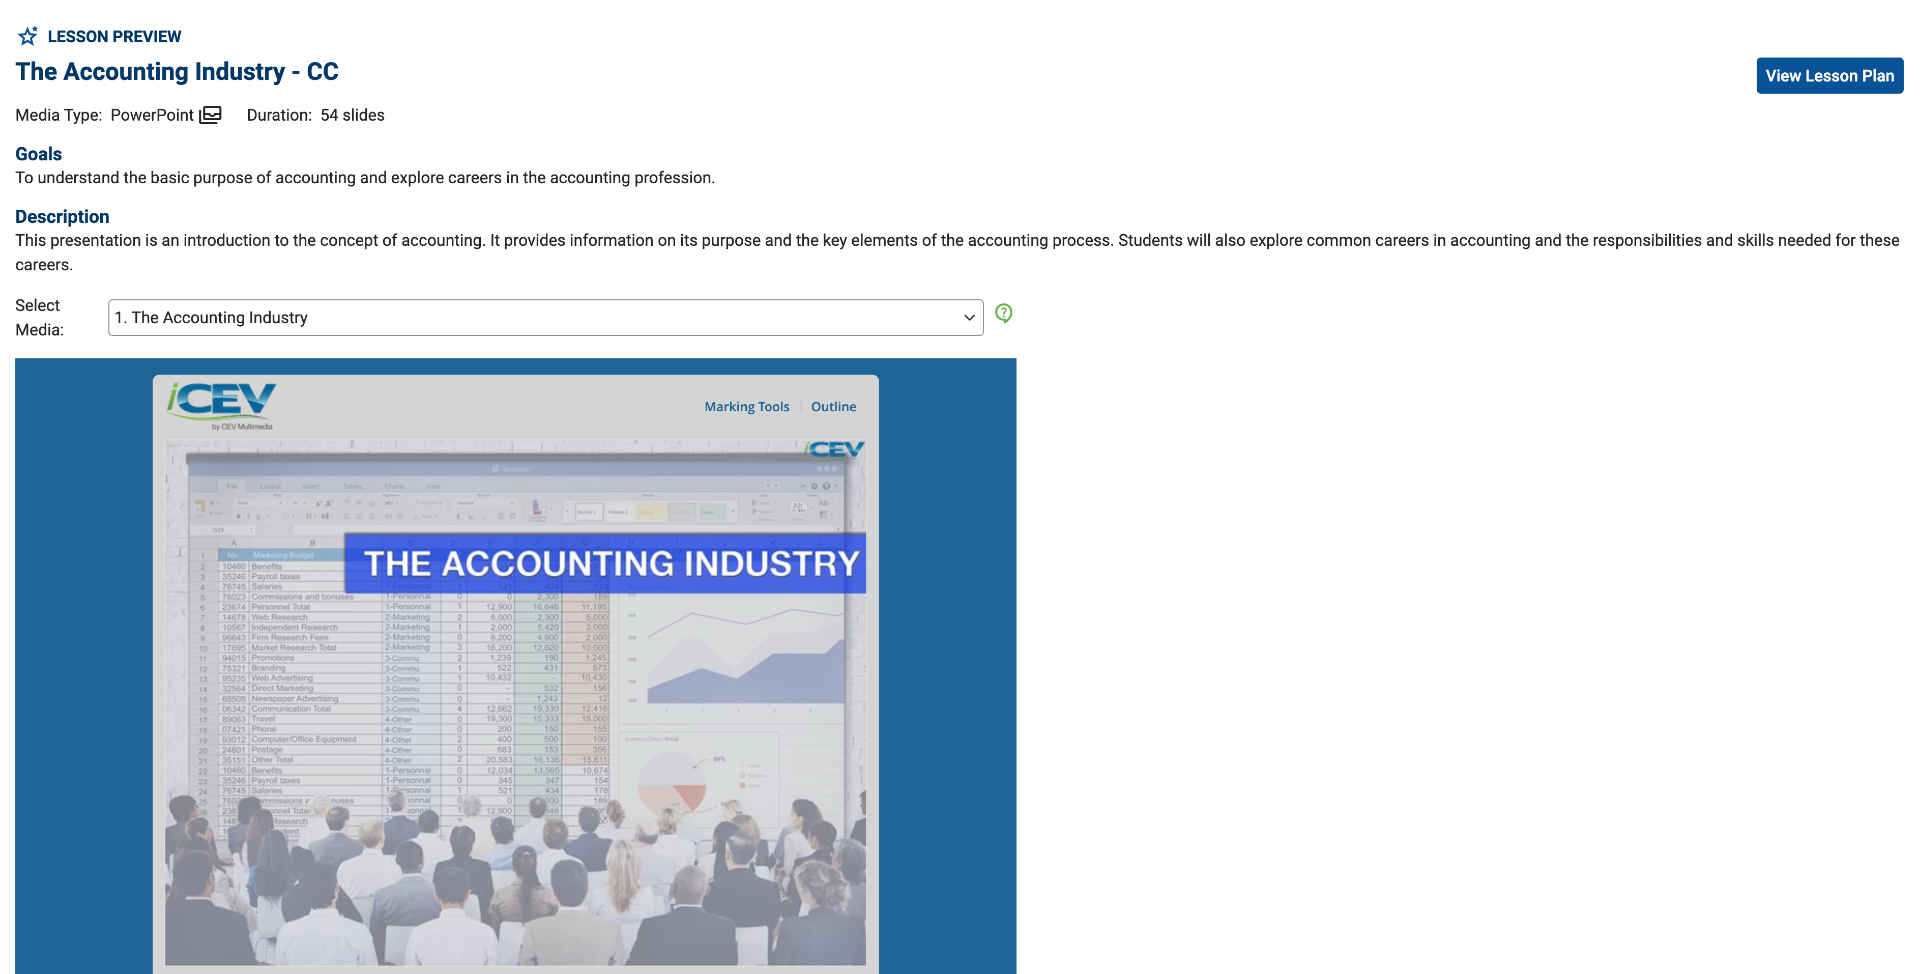
The lesson preview window provides information including:
-
Lesson description
-
Media type
-
Lesson duration
-
Learning goals
-
Lesson content overview
-
Lesson plans
11. Search for Content
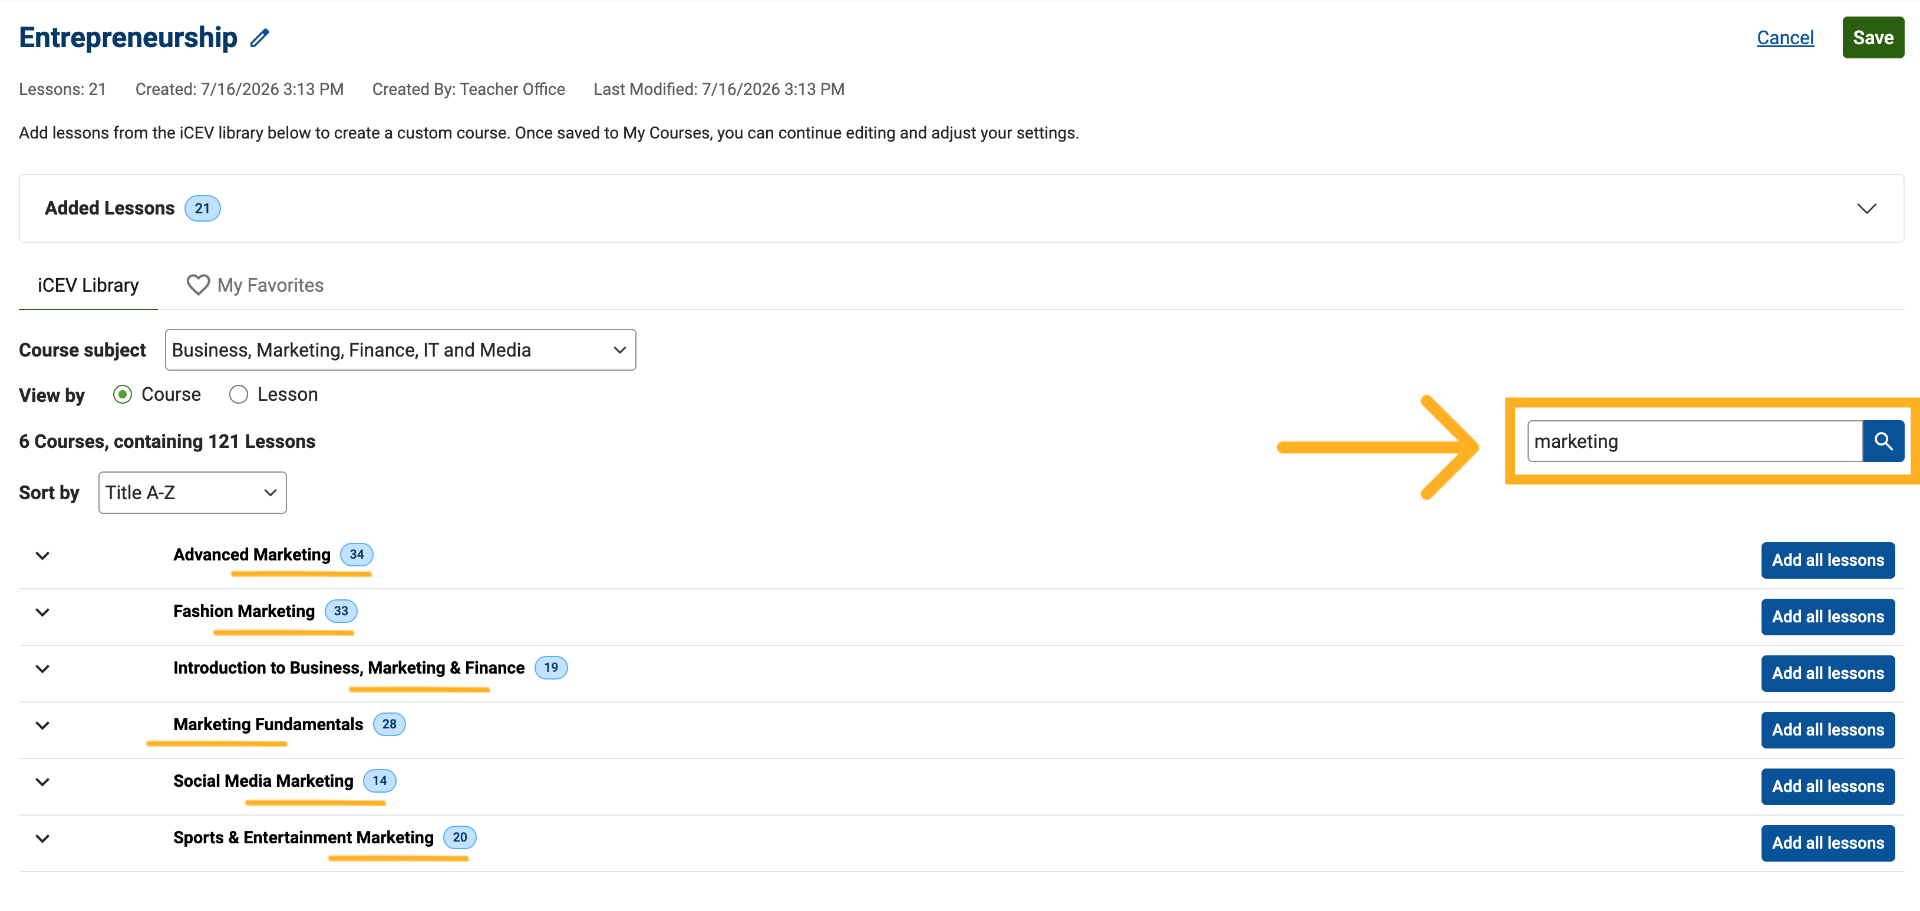
Use the Search box to find specific content.
Search results are based on:
-
Course titles when using Course View
-
Lesson titles when using Lesson View
12. Search for Individual Lessons
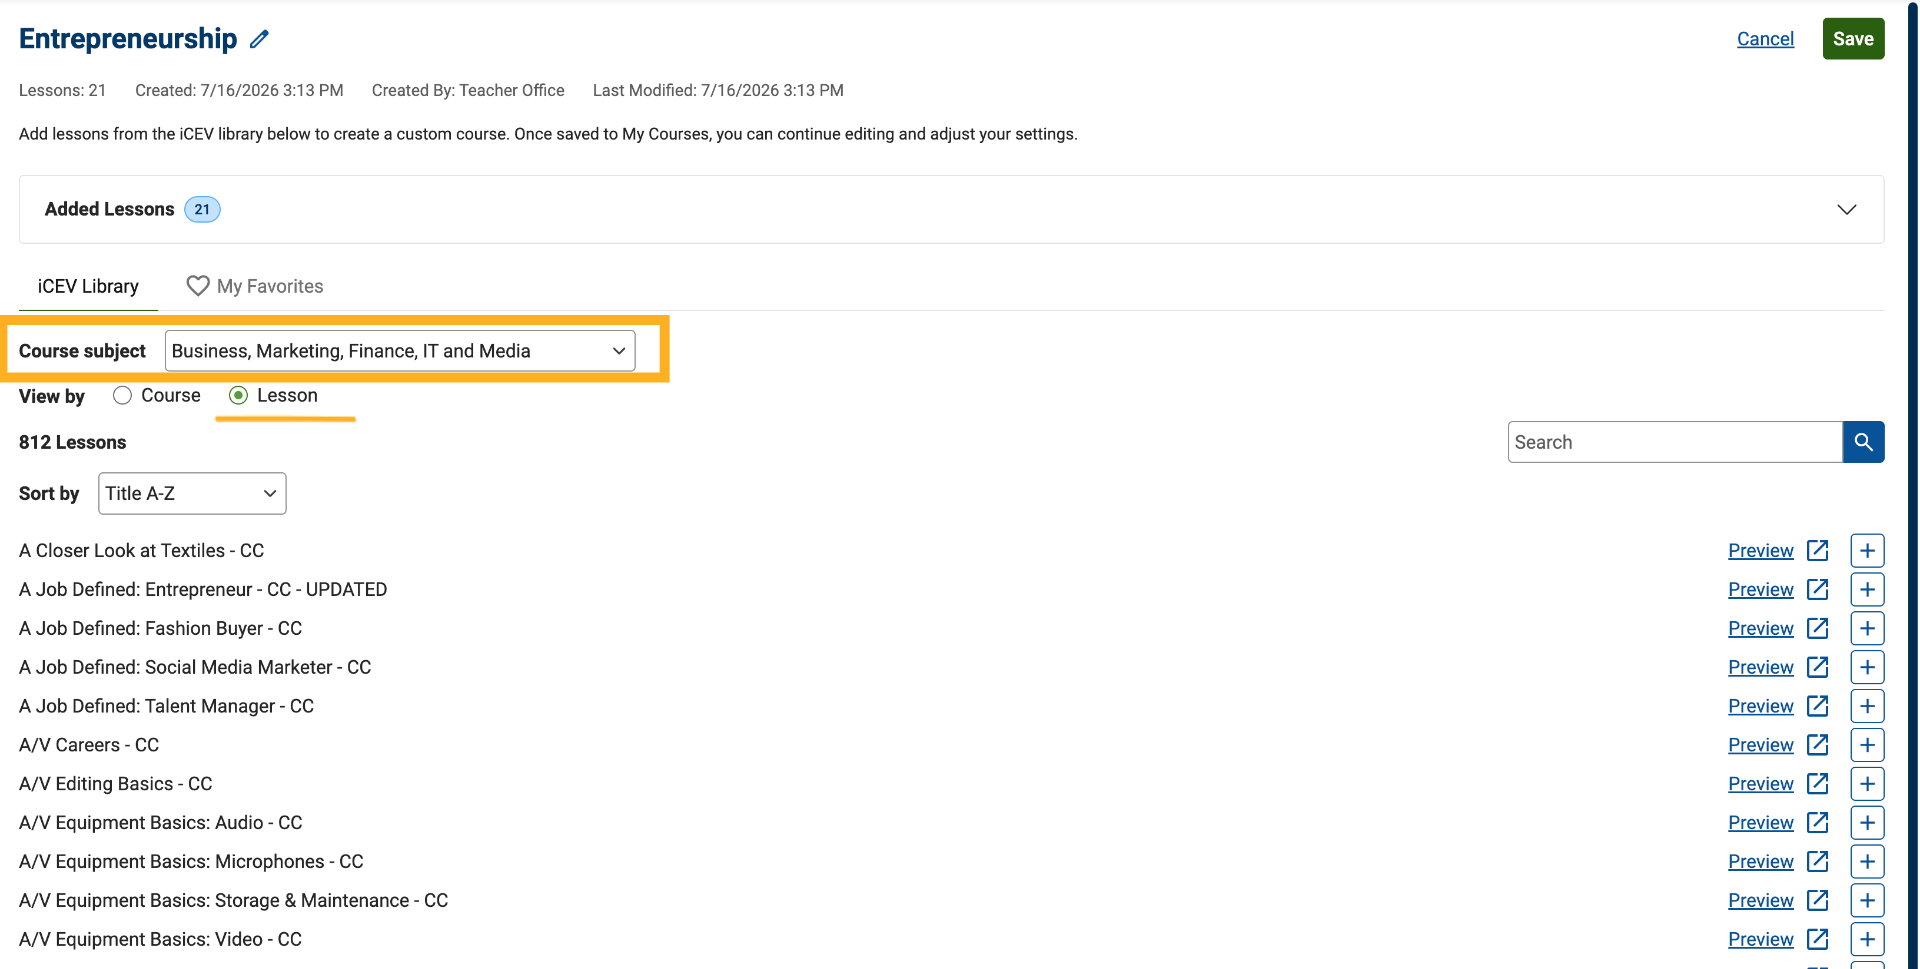
Switch to Lesson View when searching for a specific lesson rather than an entire course.
You can also filter content by your licensed subject areas to narrow results and find relevant lessons more quickly.
13. Add Individual Lessons
To add a lesson to your course:
-
Locate the lesson.
-
Click the Add (+) button.
Lessons can be added from either Course View or Lesson View.
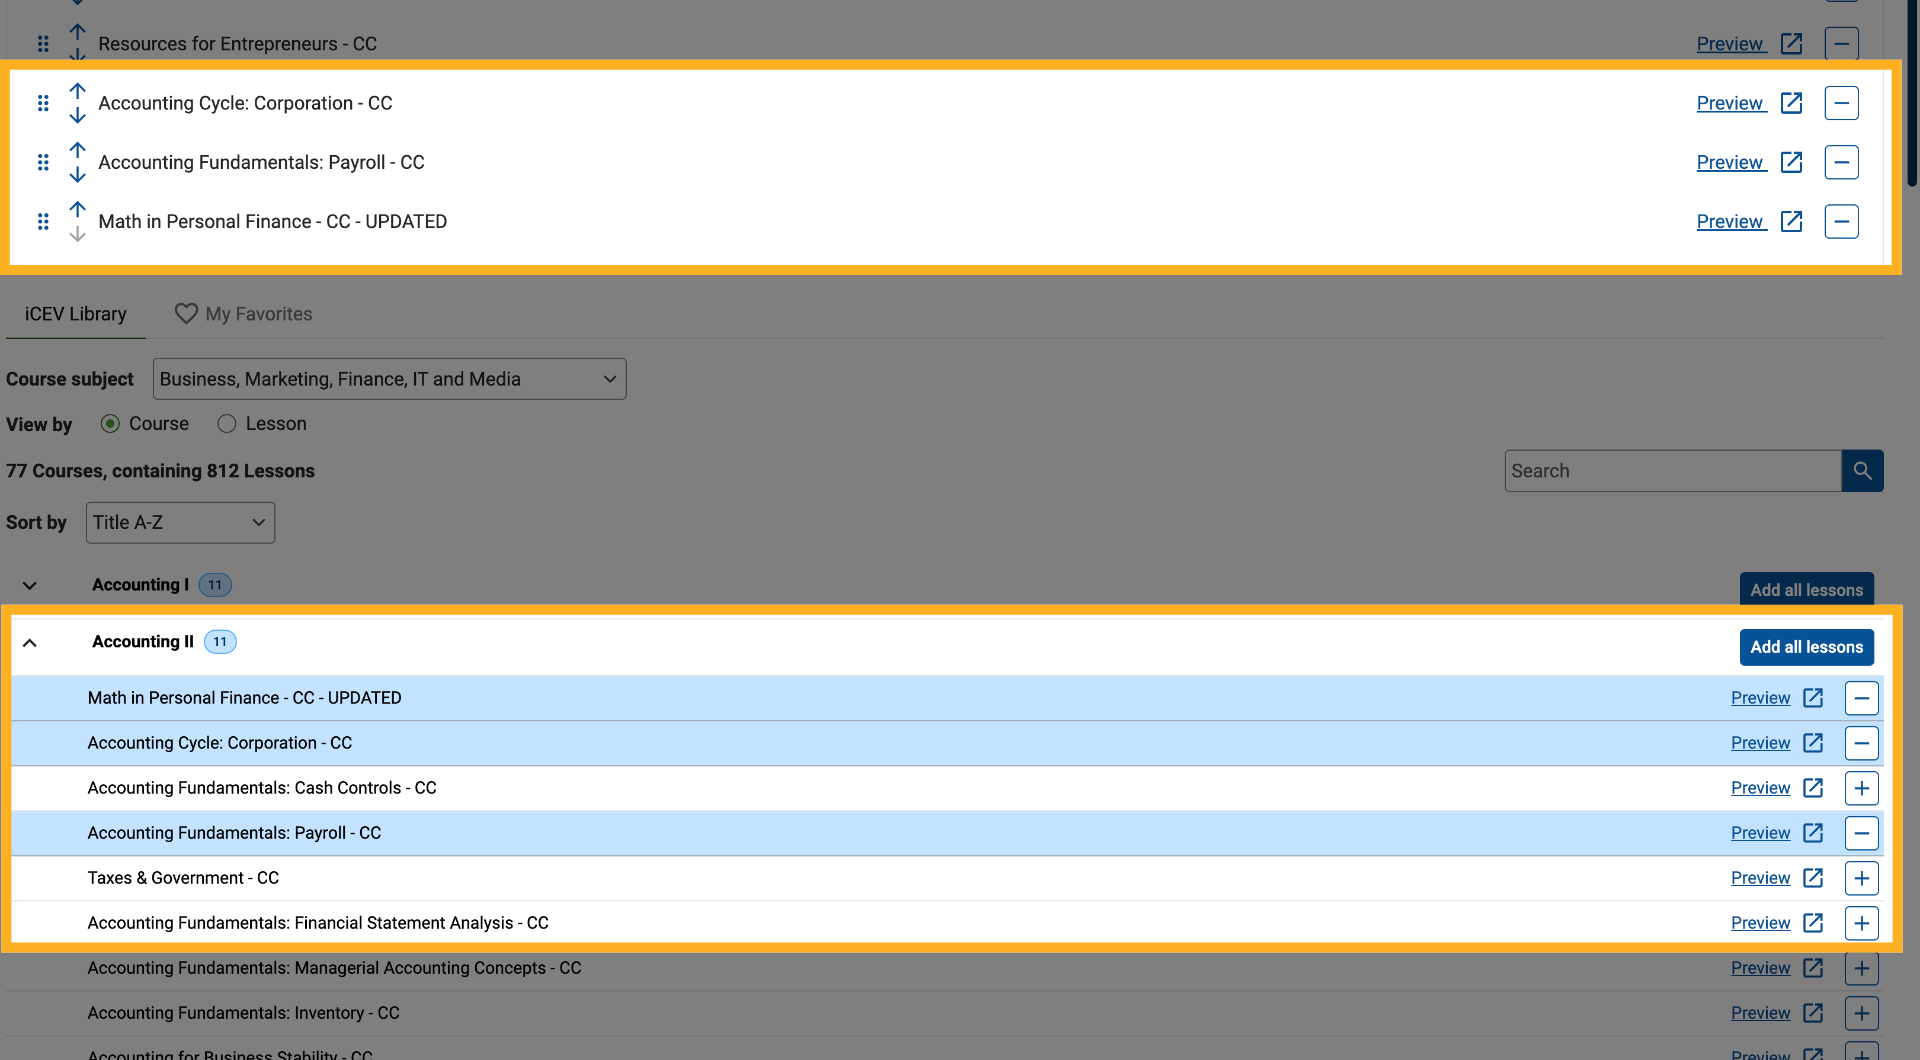
Added lessons will appear in the Added Lessons queue at the top of the page.
14. Identify Lessons Already Added
Lessons that have already been added to the course are highlighted.
This helps prevent duplicate selections, since the same lesson cannot be added more than once.
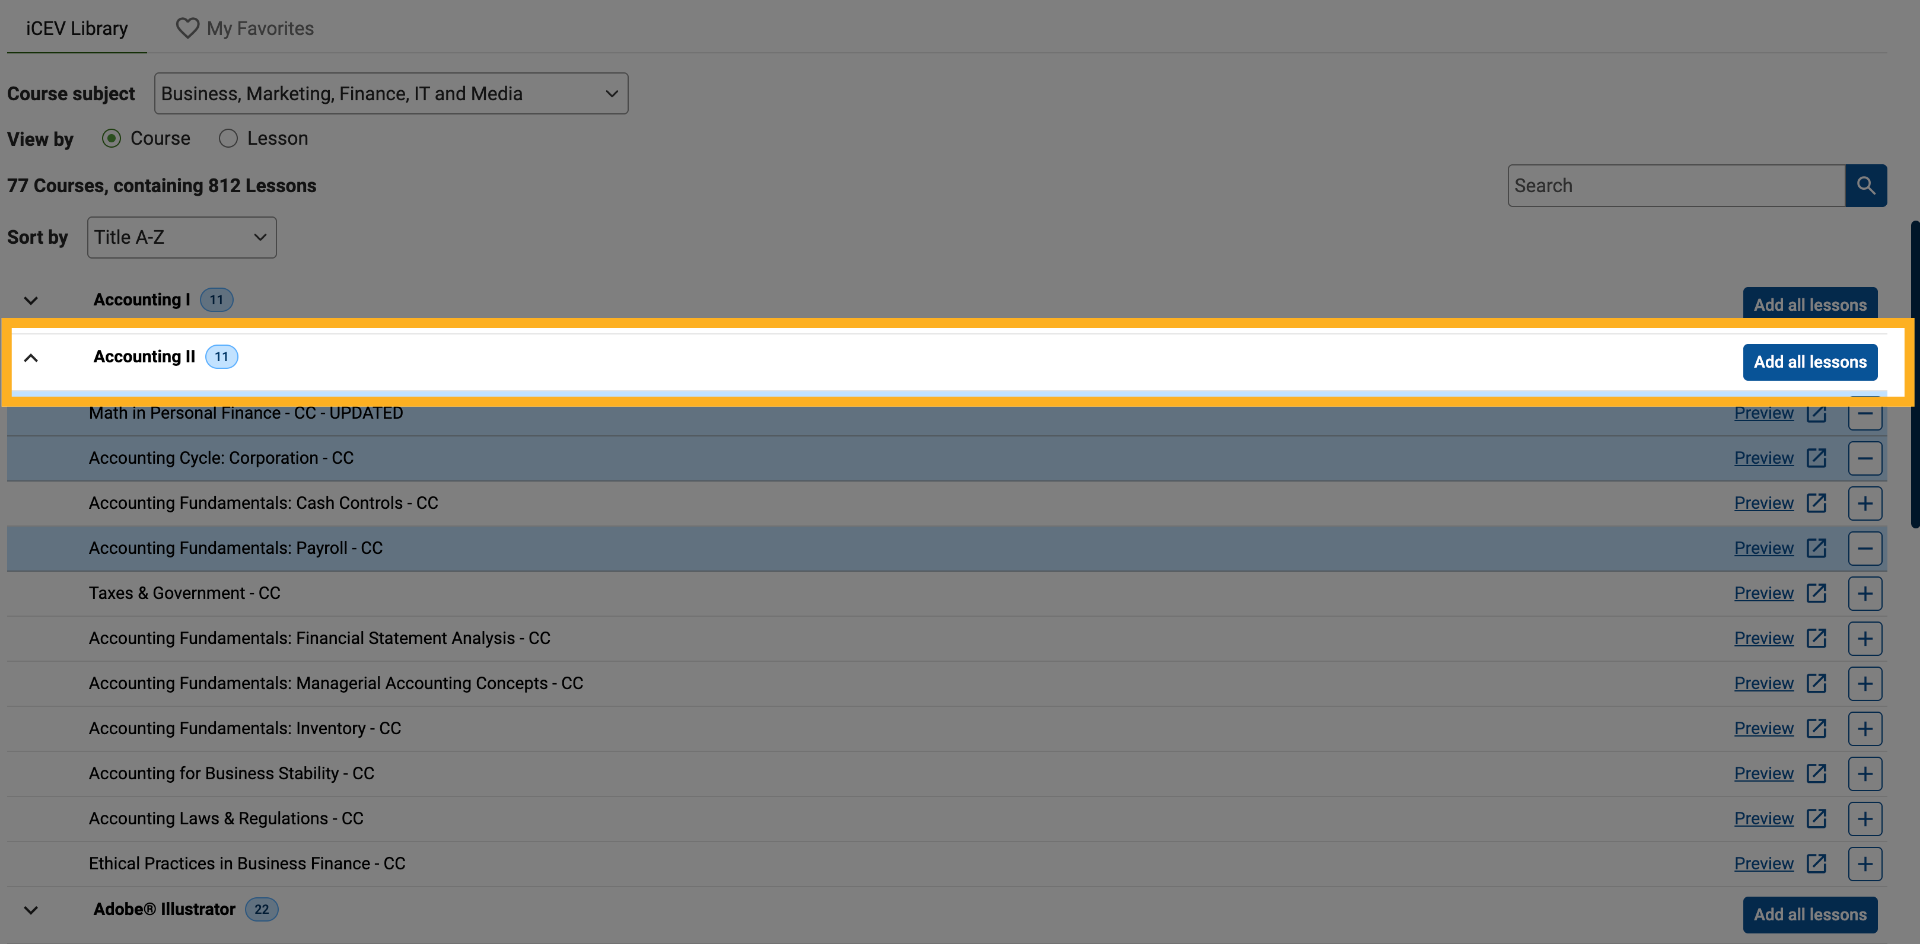
15. Add an Entire Course of Lessons
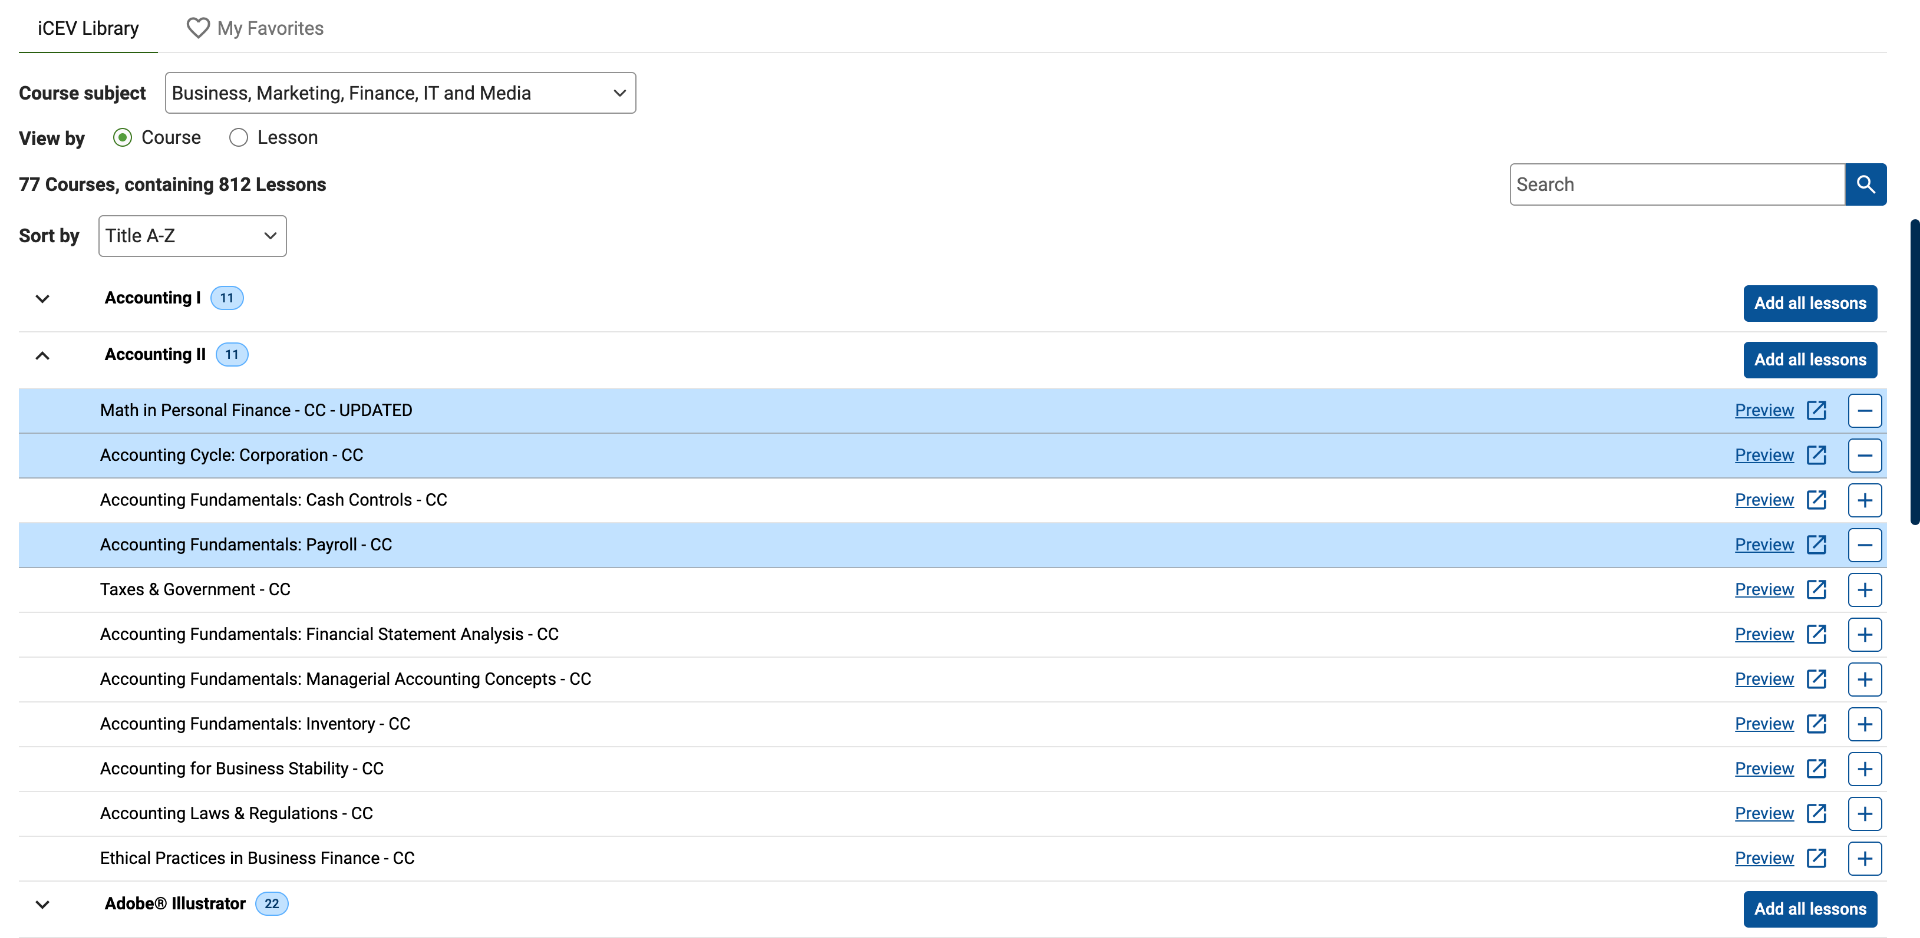
If you want to add every lesson from a course:
-
Locate the desired course.
-
Click Add All Lessons.
All lessons from that course will automatically be added to your lesson queue.
16. Remove Individual Lessons
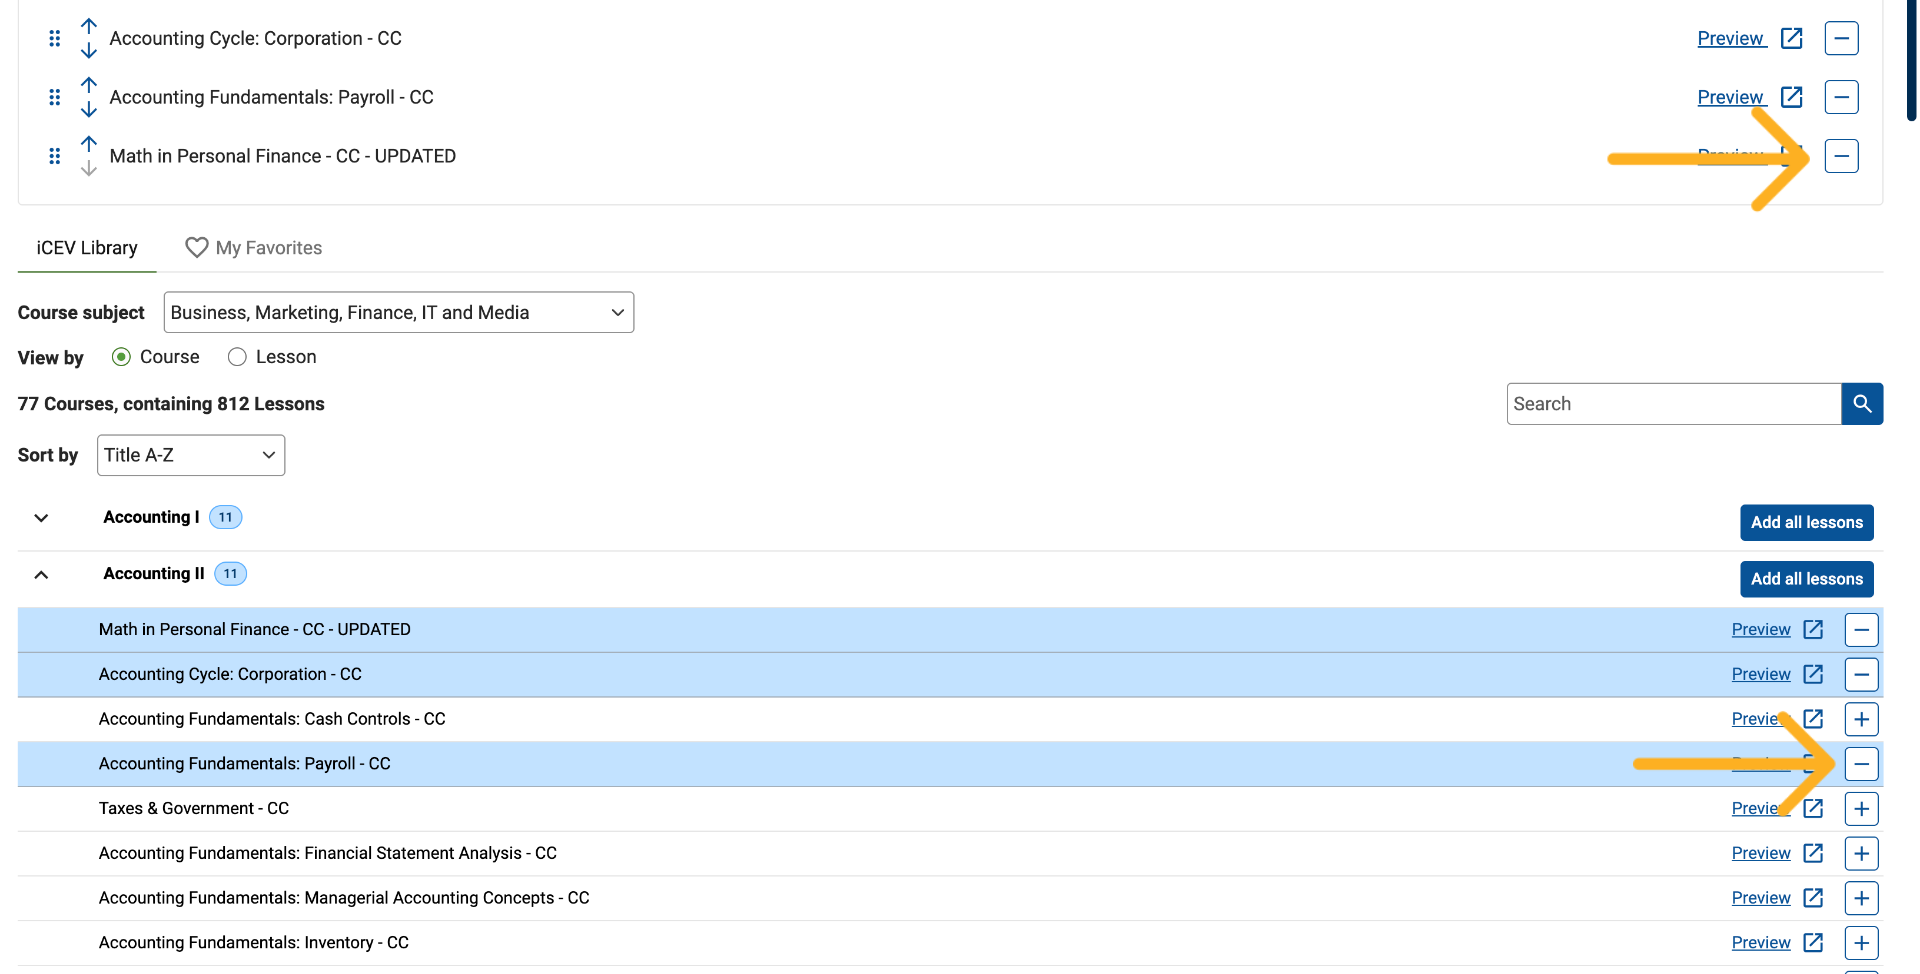
You can remove a lesson in either of the following ways:
-
Click the Remove (-) button from the lesson list.
-
Click the Remove (-) button within the Added Lessons queue.
Removing the lesson from either location removes it from your customized course.
17. Remove All Added Lessons
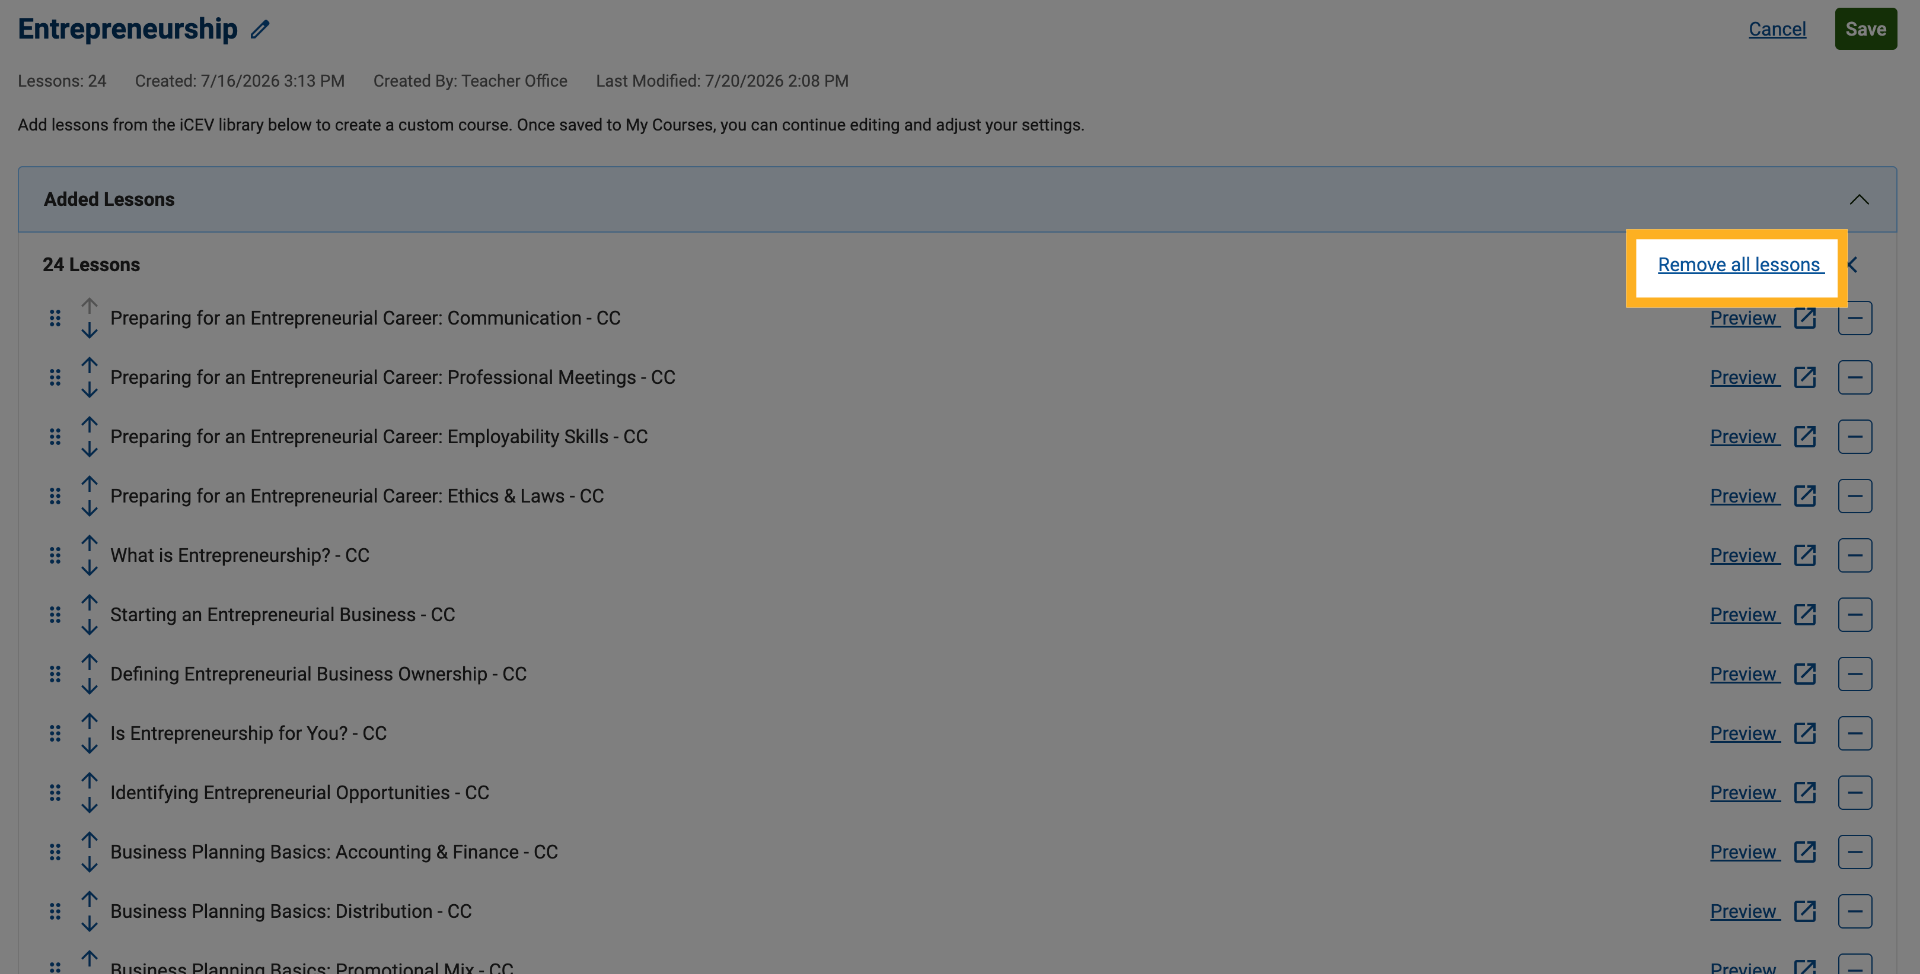
To clear your lesson selections completely, click Remove All Lessons above the lesson queue.
18. Add Lessons from Favorite Courses
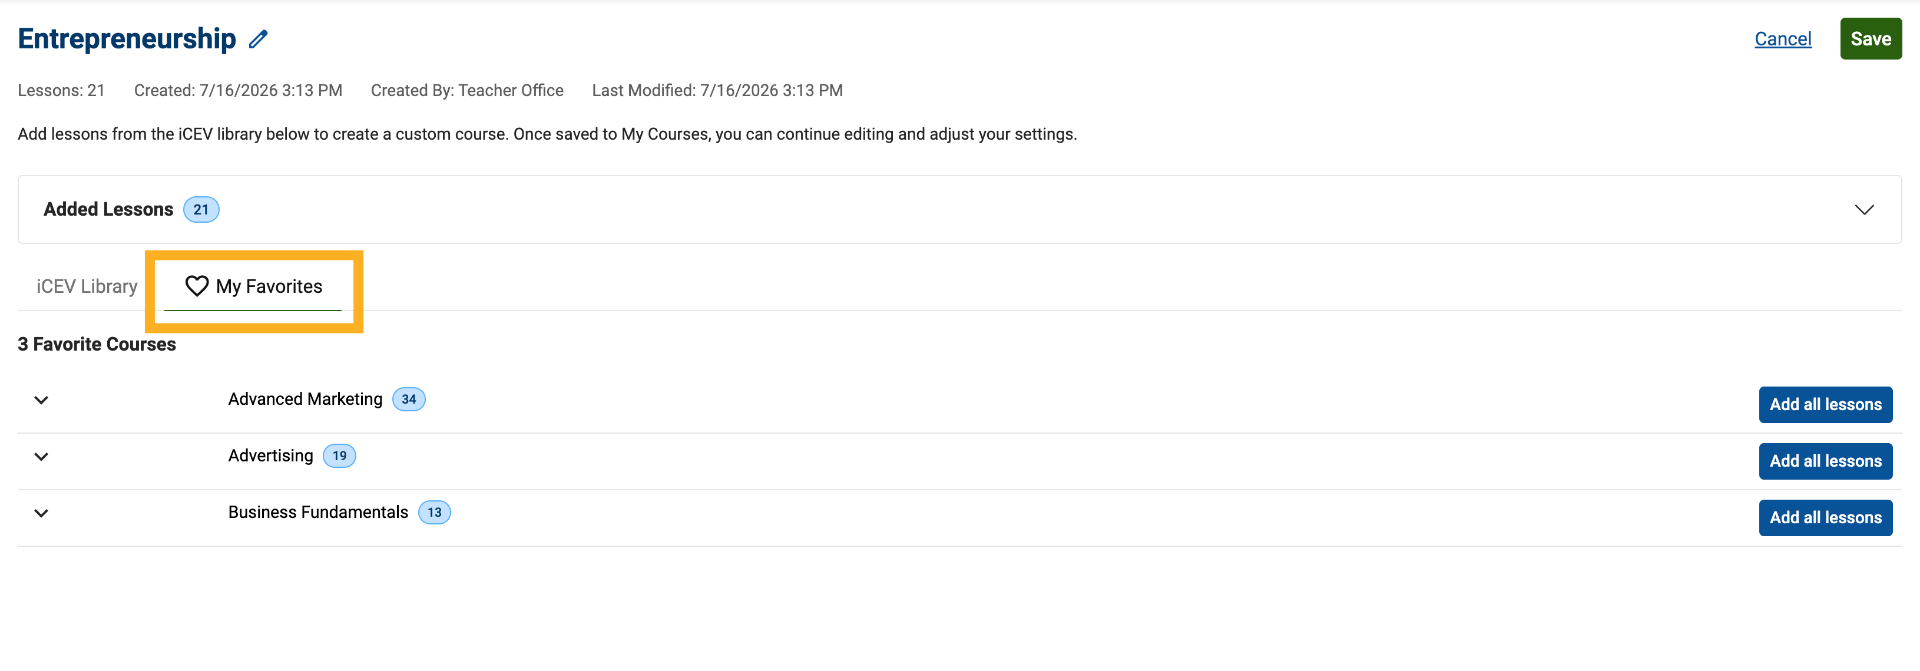
If you have previously marked courses as favorites, you can access them through the My Favorites tab.
While individual lessons cannot be favorited from the customization workflow, favorite courses provide a quick way to locate and add lesson content to your custom course.
19. Review Your Lesson Queue
Before saving, review the Added Lessons queue at the top of the page.
From this area, you can:
-
Preview lessons
-
Remove lessons
-
Confirm lesson selections
-
Make final adjustments to your course
When you have finished building your course, save your changes.
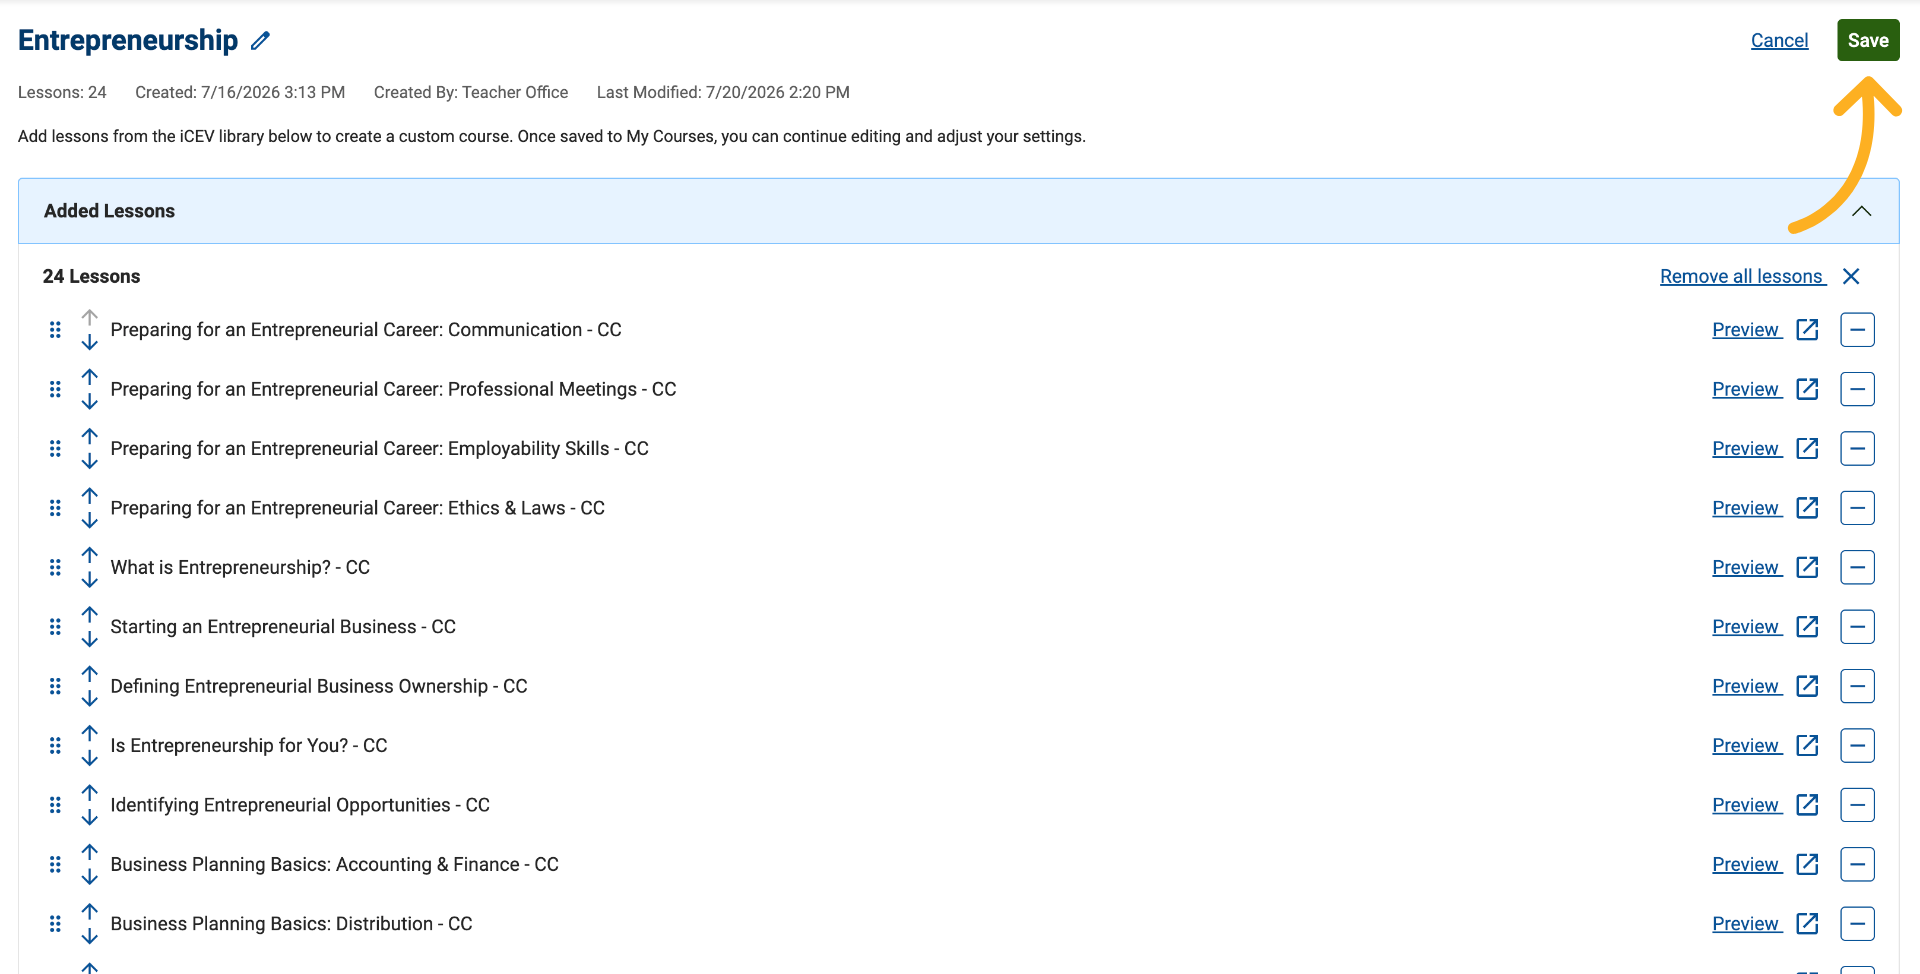
20. Save Your Customized Course
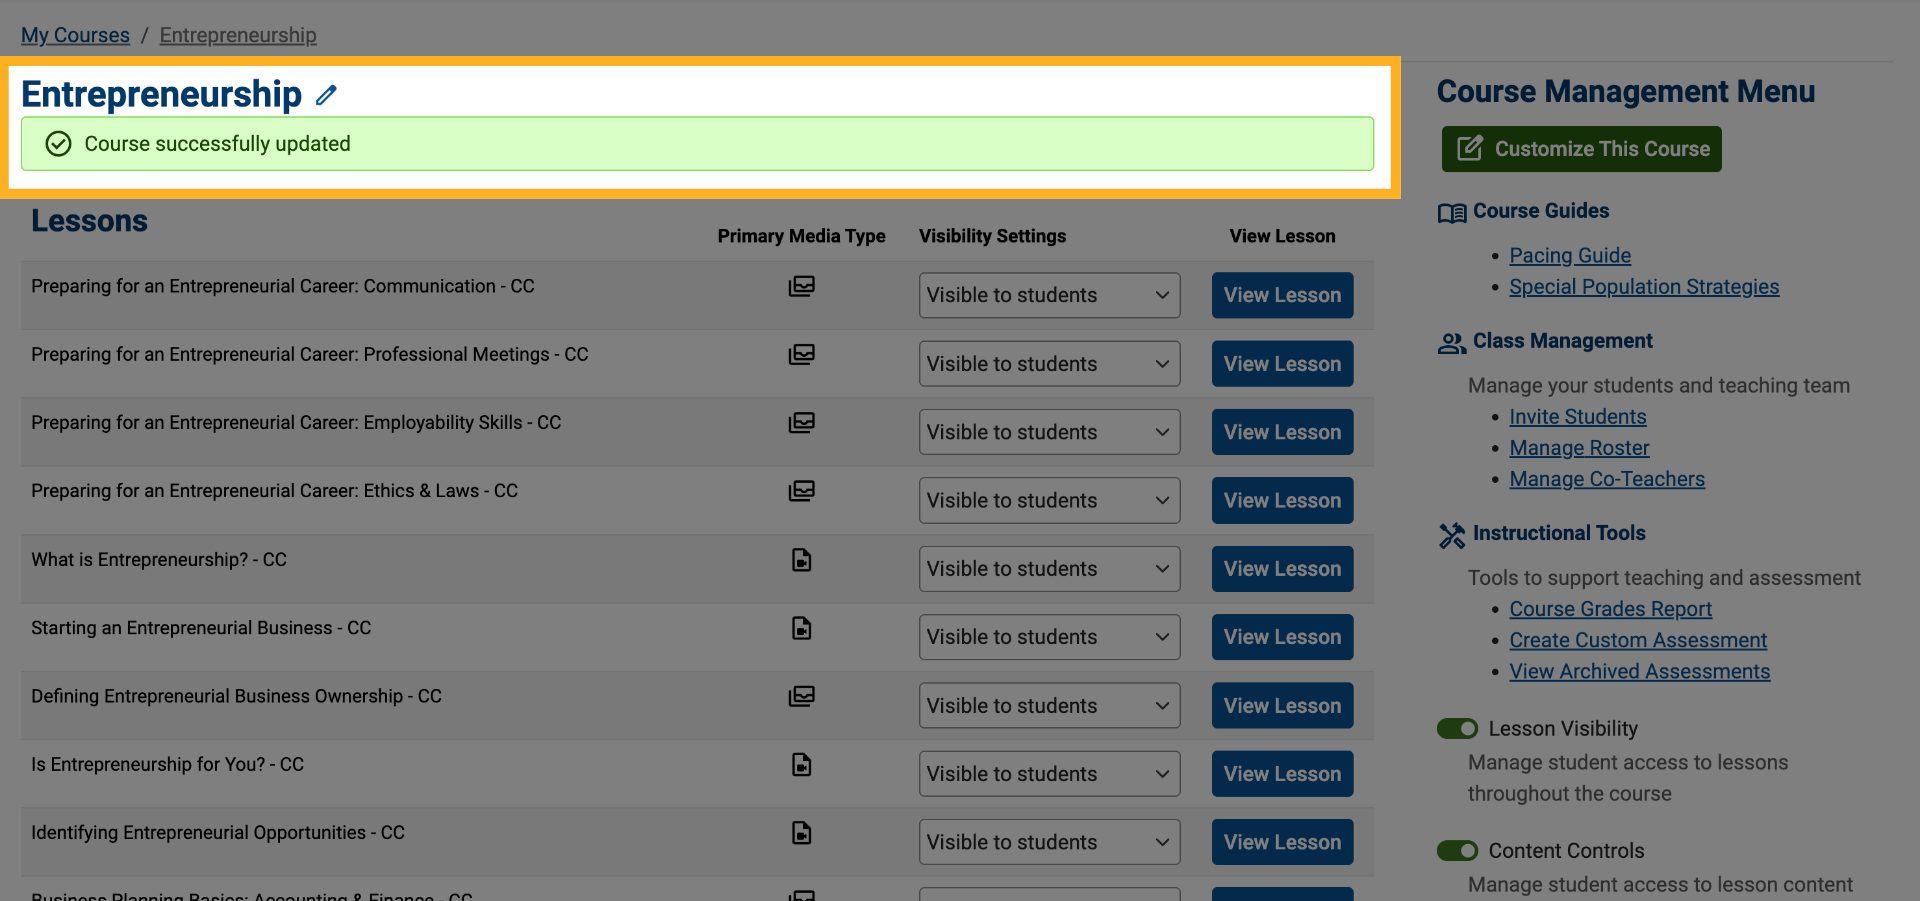
After saving, you'll be taken back to your course page with an alert letting you know that your course has successfully updated.