CTE Curriculum
Prepare learners with CTE curriculum aligned to industry standards.


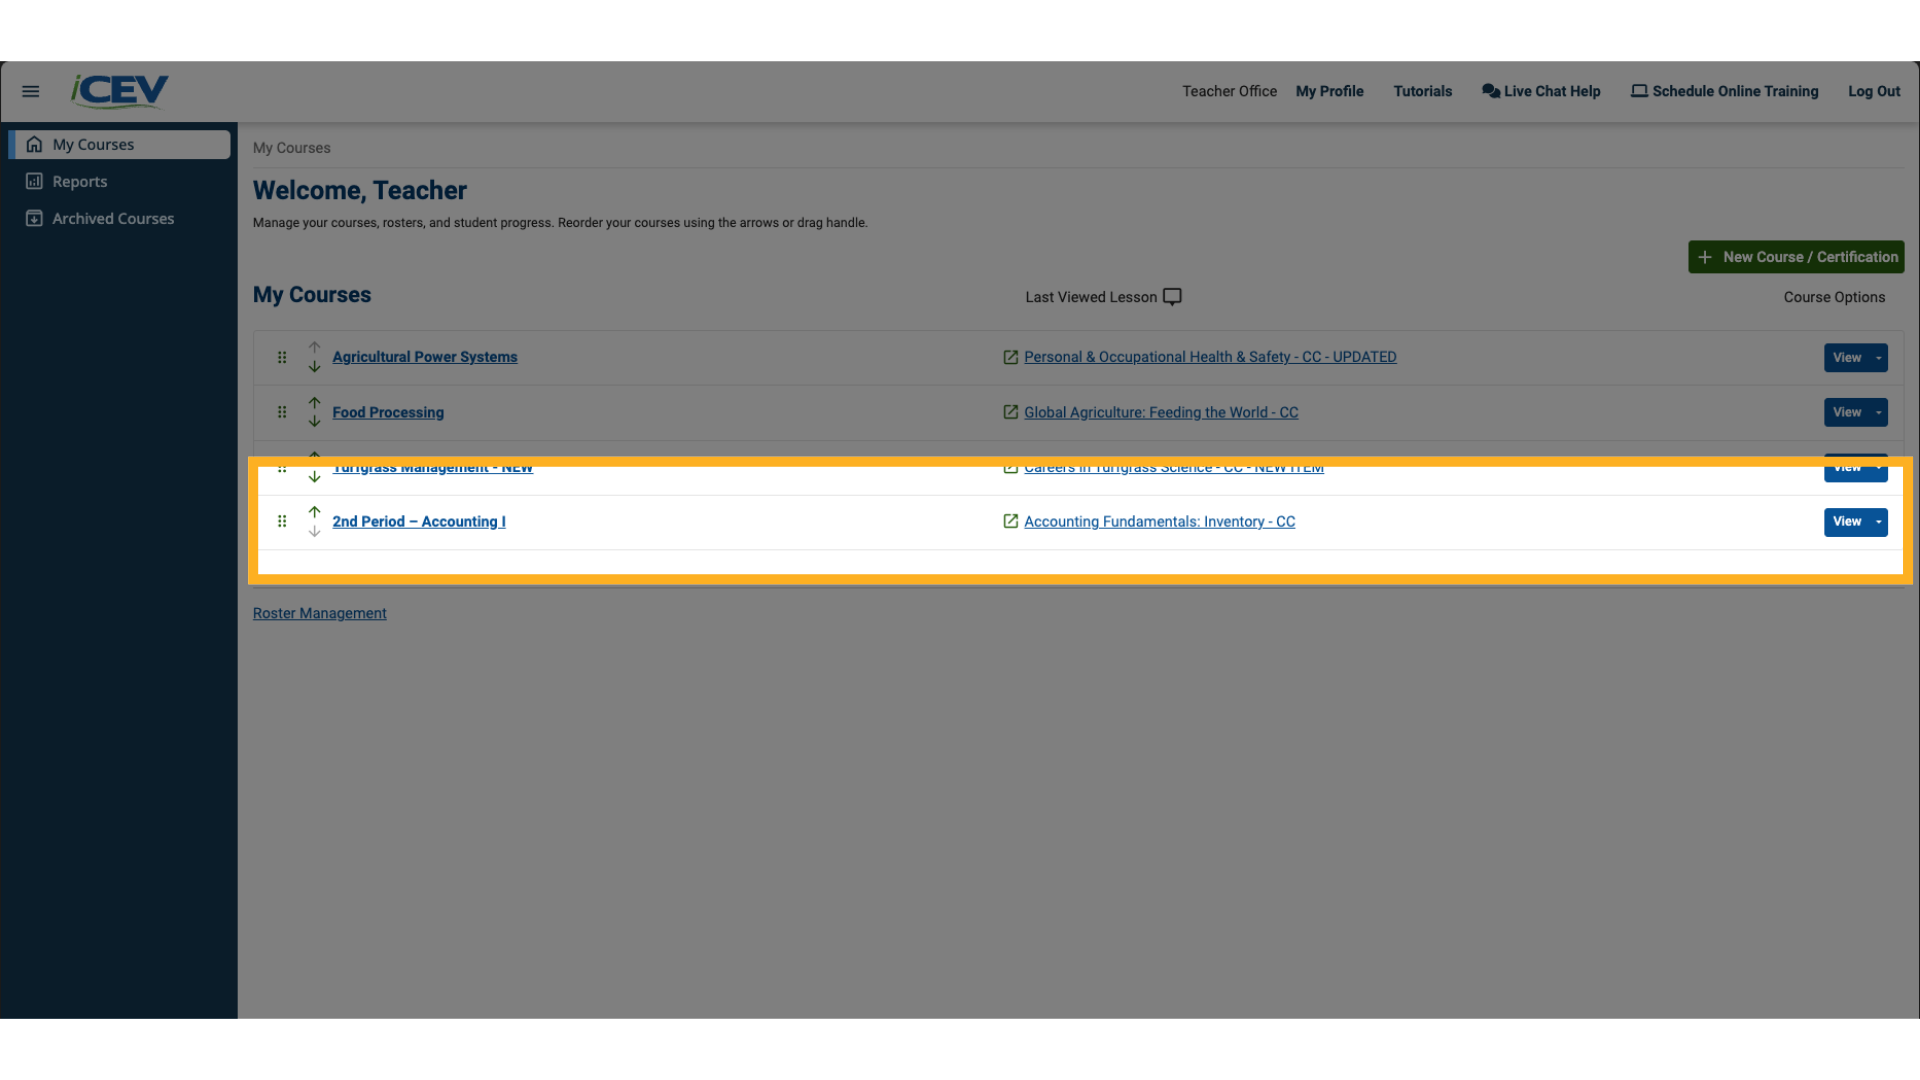
1. Starting a New Course
-
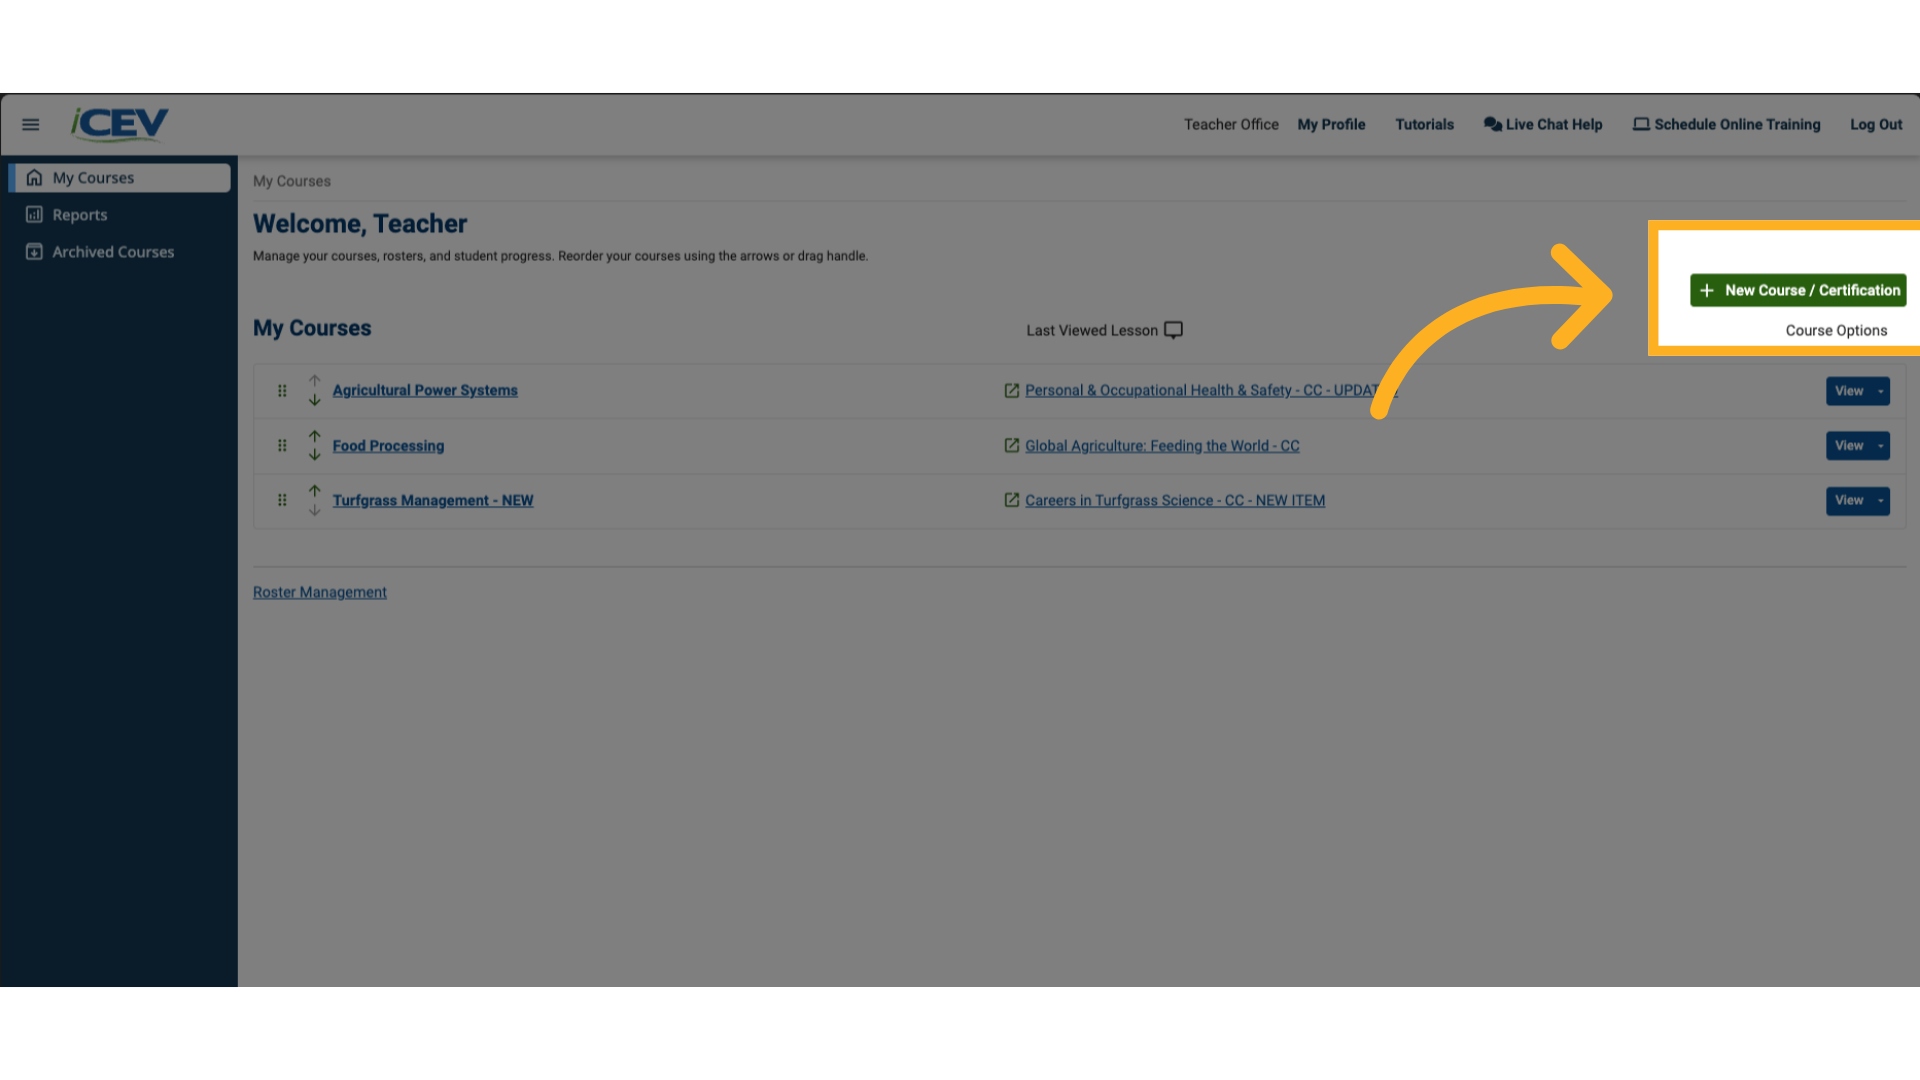
Navigate to your My Courses page.
-
Click the +New Course / Certification button in the top-right corner.
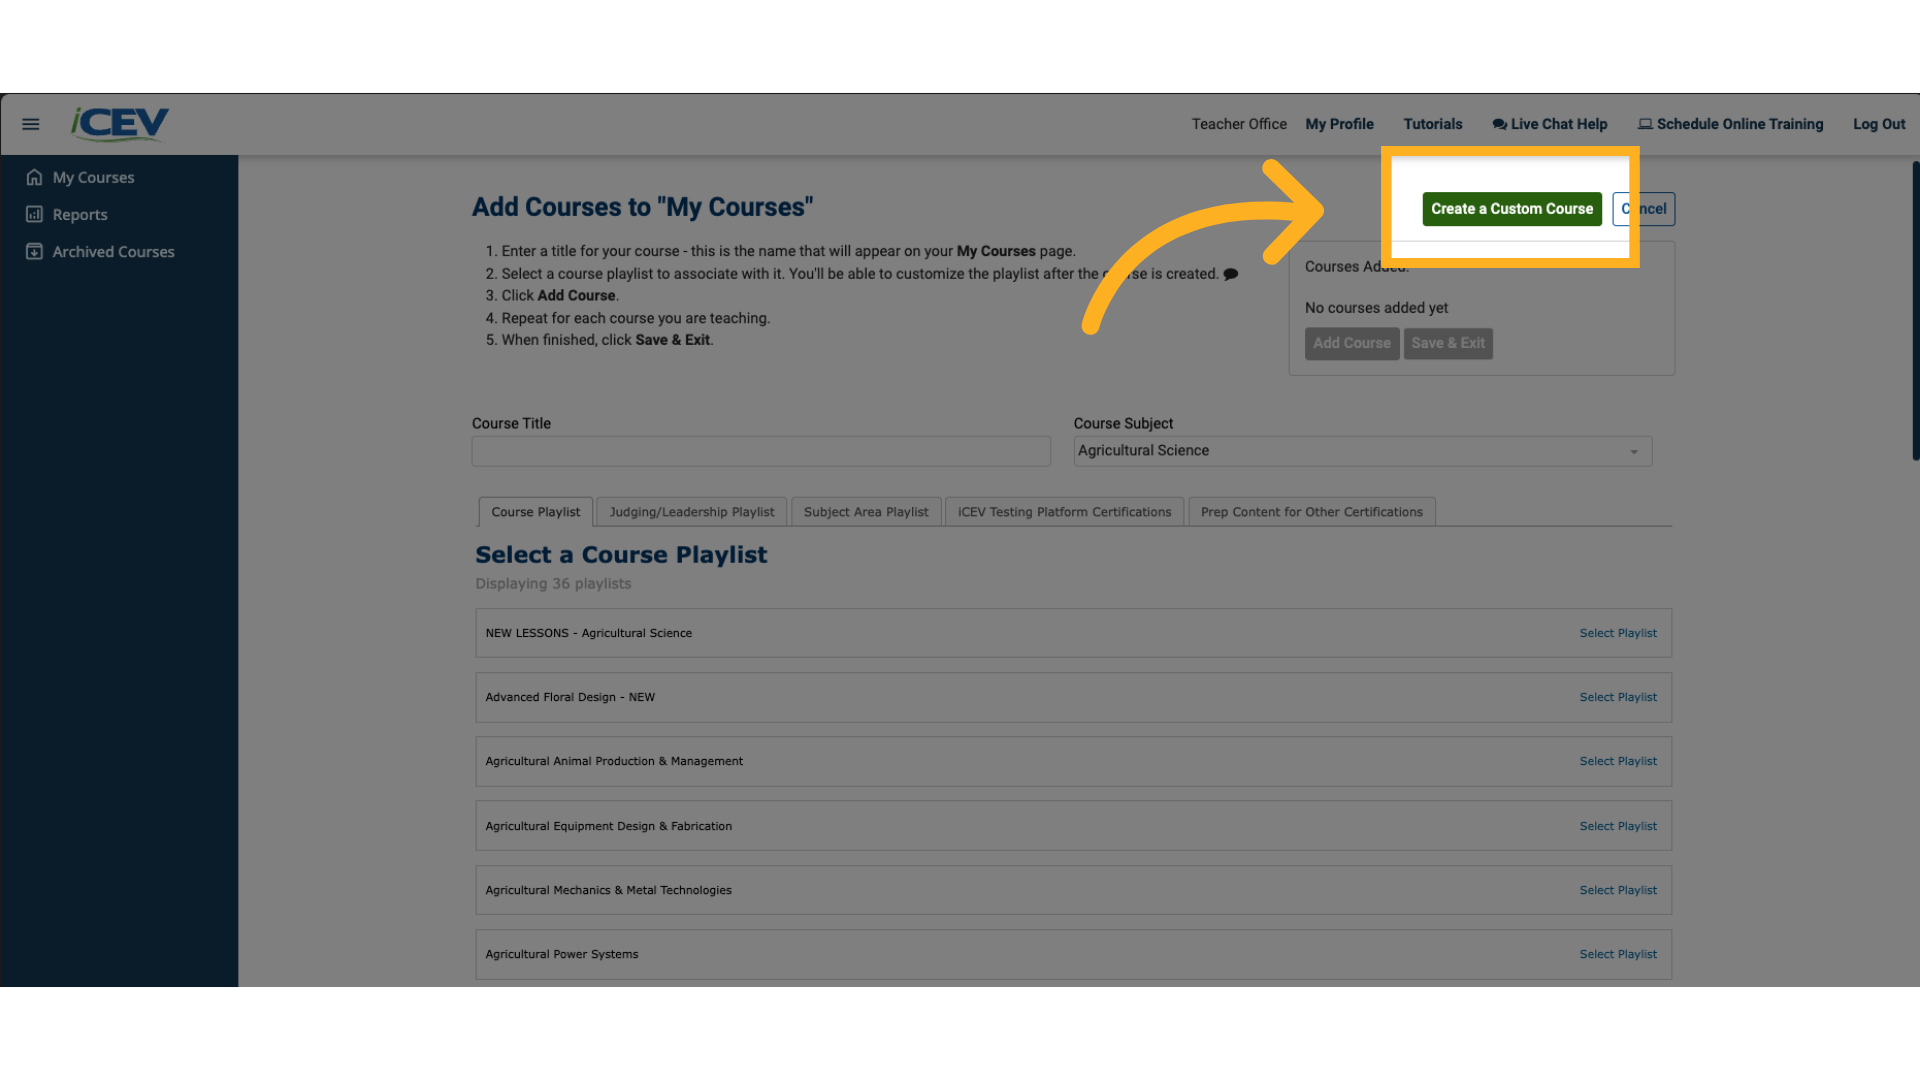
2. Choosing to Build a Custom Course
-
On the course creation screen, click Create a Custom Course in the top-right corner.
3. Naming Your Course
-
Enter a Course Title—this is how your course will appear on your dashboard.
-
Example: 2nd Period – Accounting 1
-
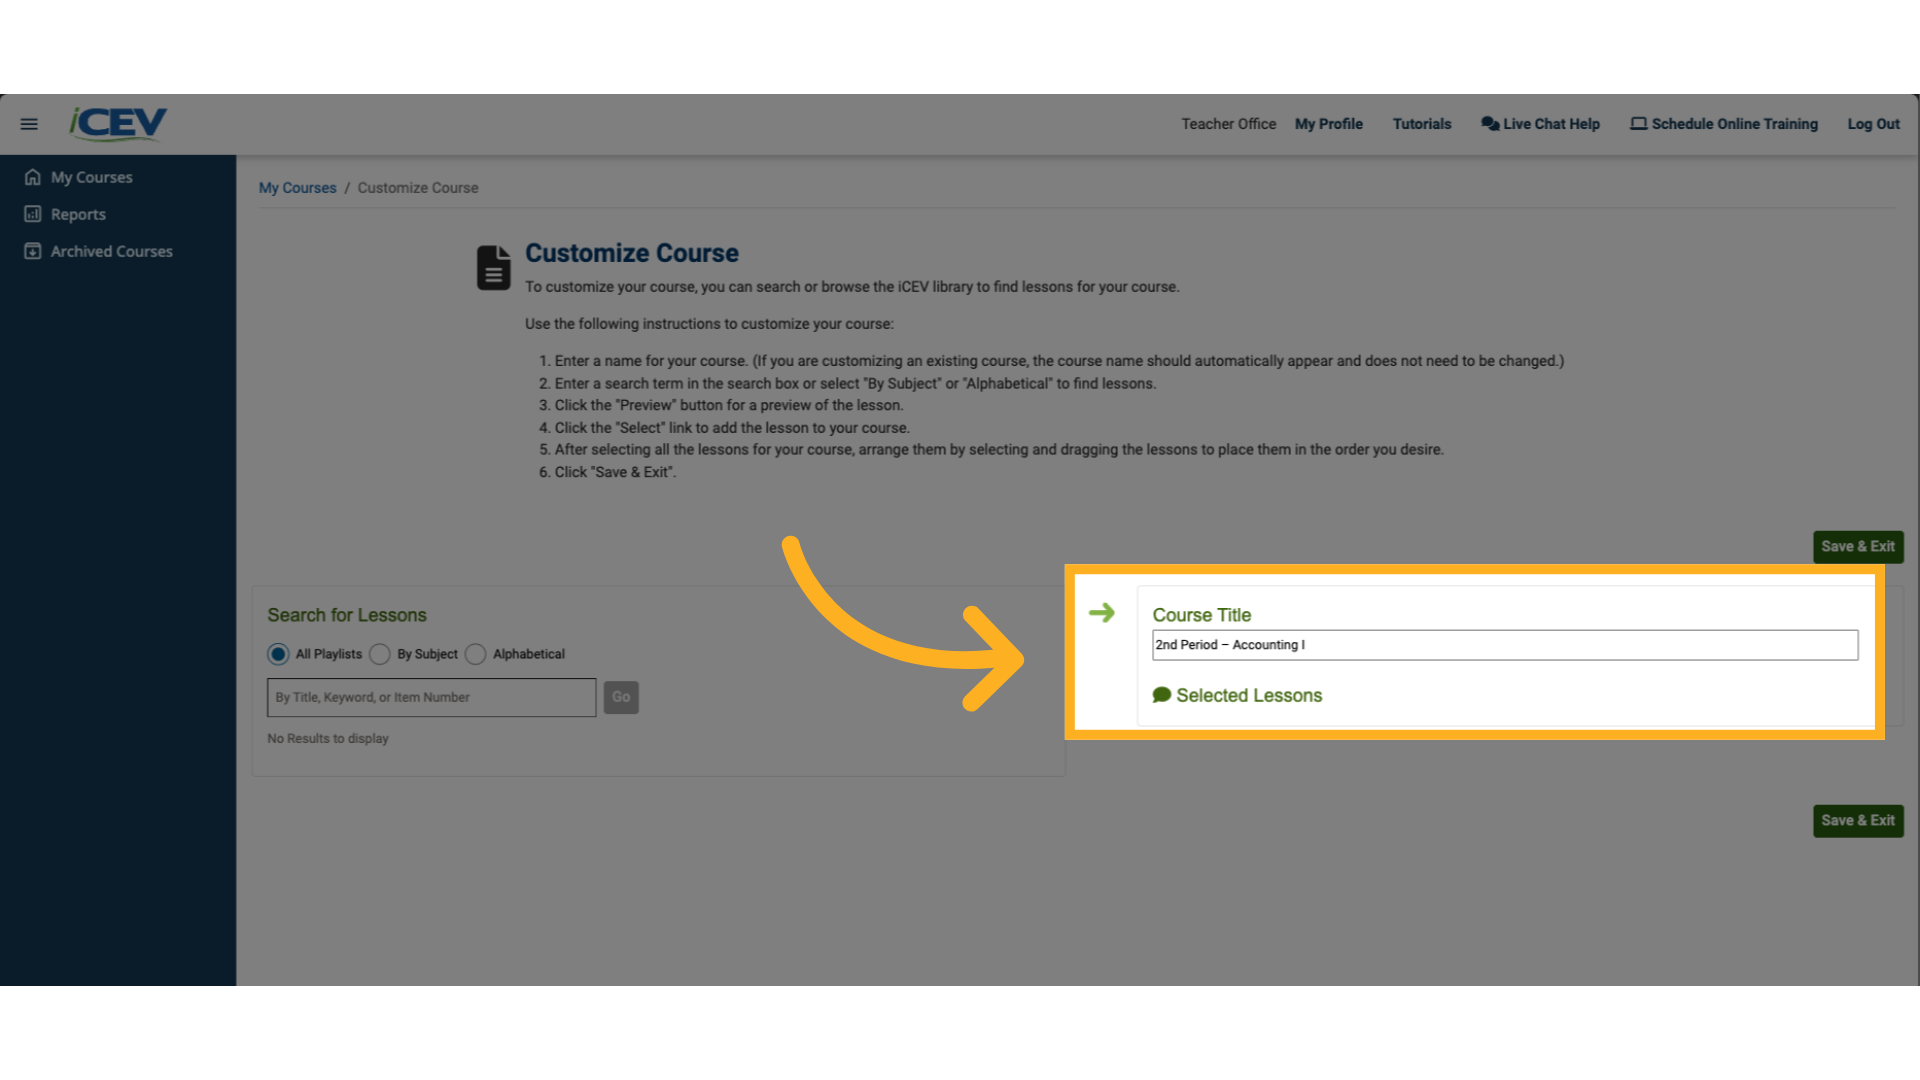
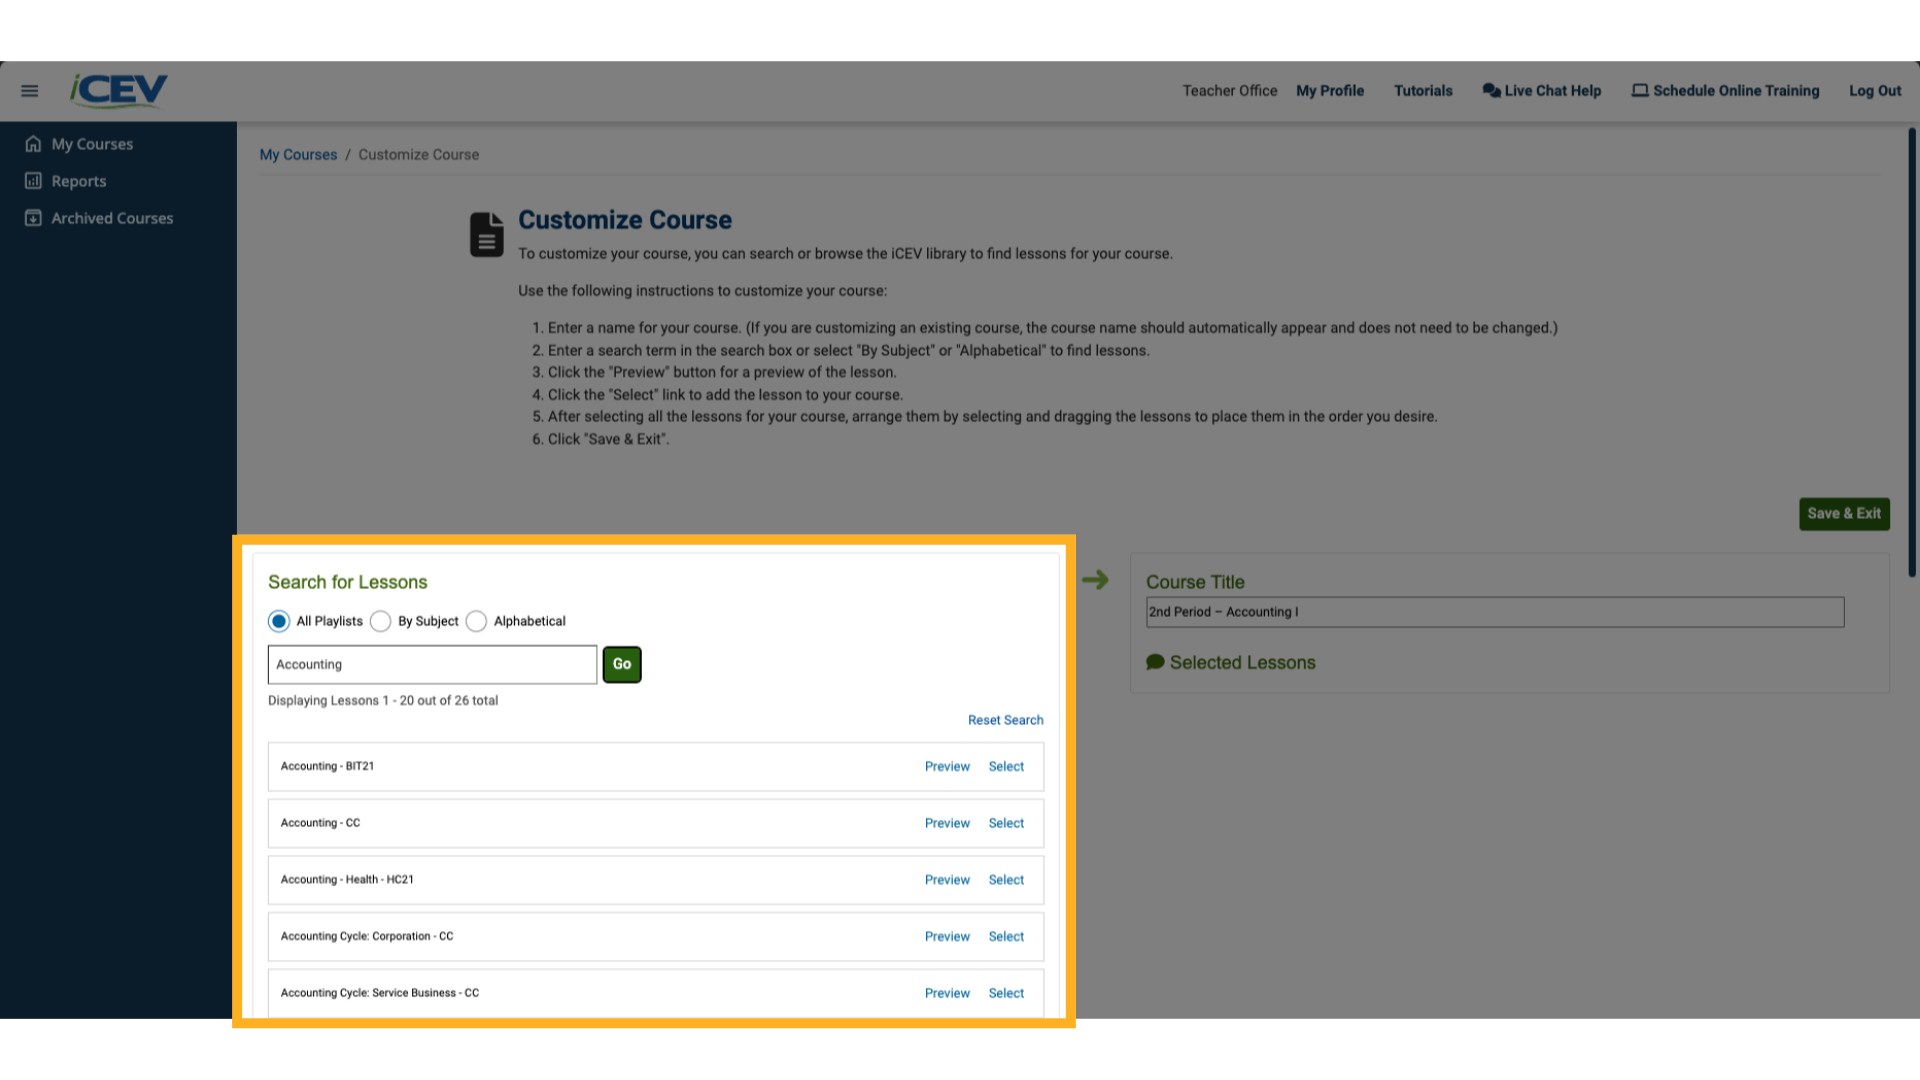
4. Searching for Lessons
-
Use the Search for Lessons box to browse by:
-
Playlist
-
Cluster
-
Alphabetically
-
-
Or type a keyword into the search bar and click Go.
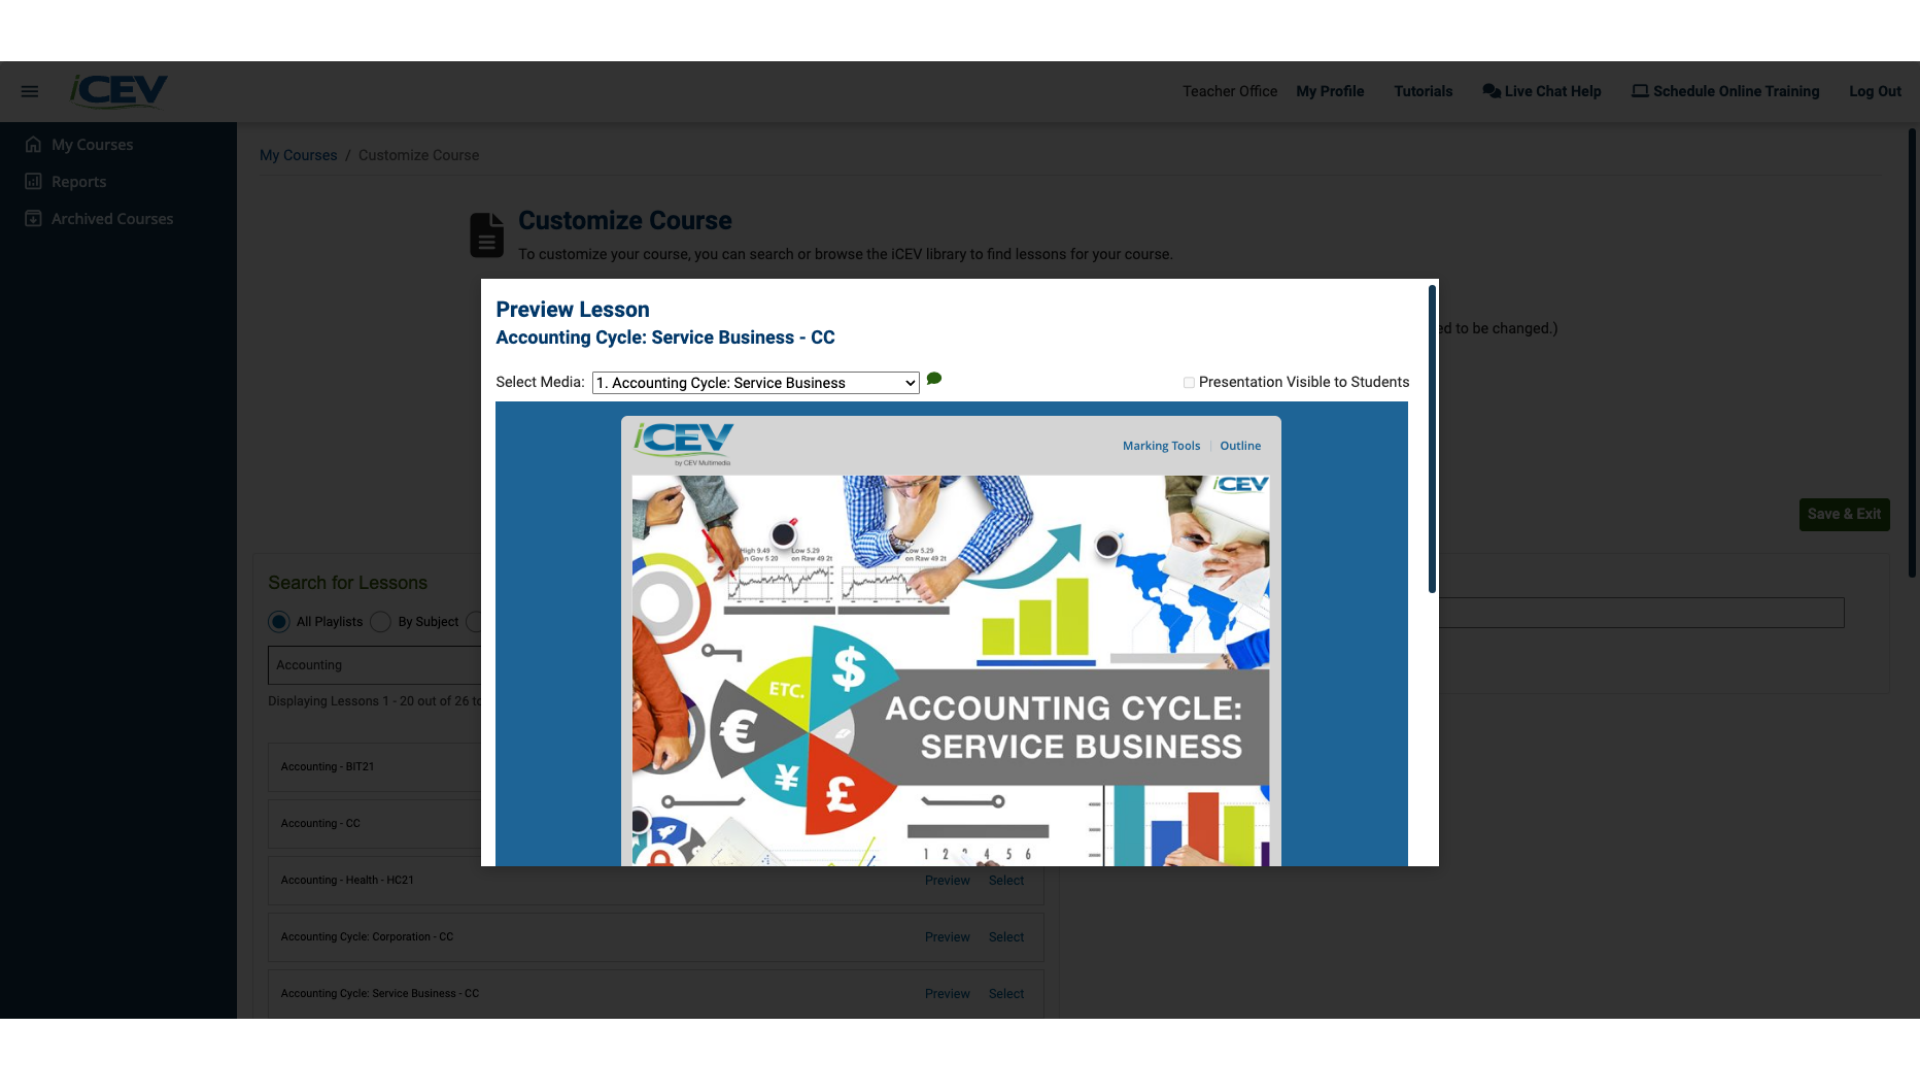
5. Selecting Lessons
-
From the search results:
-
Click Preview to review a lesson.
-
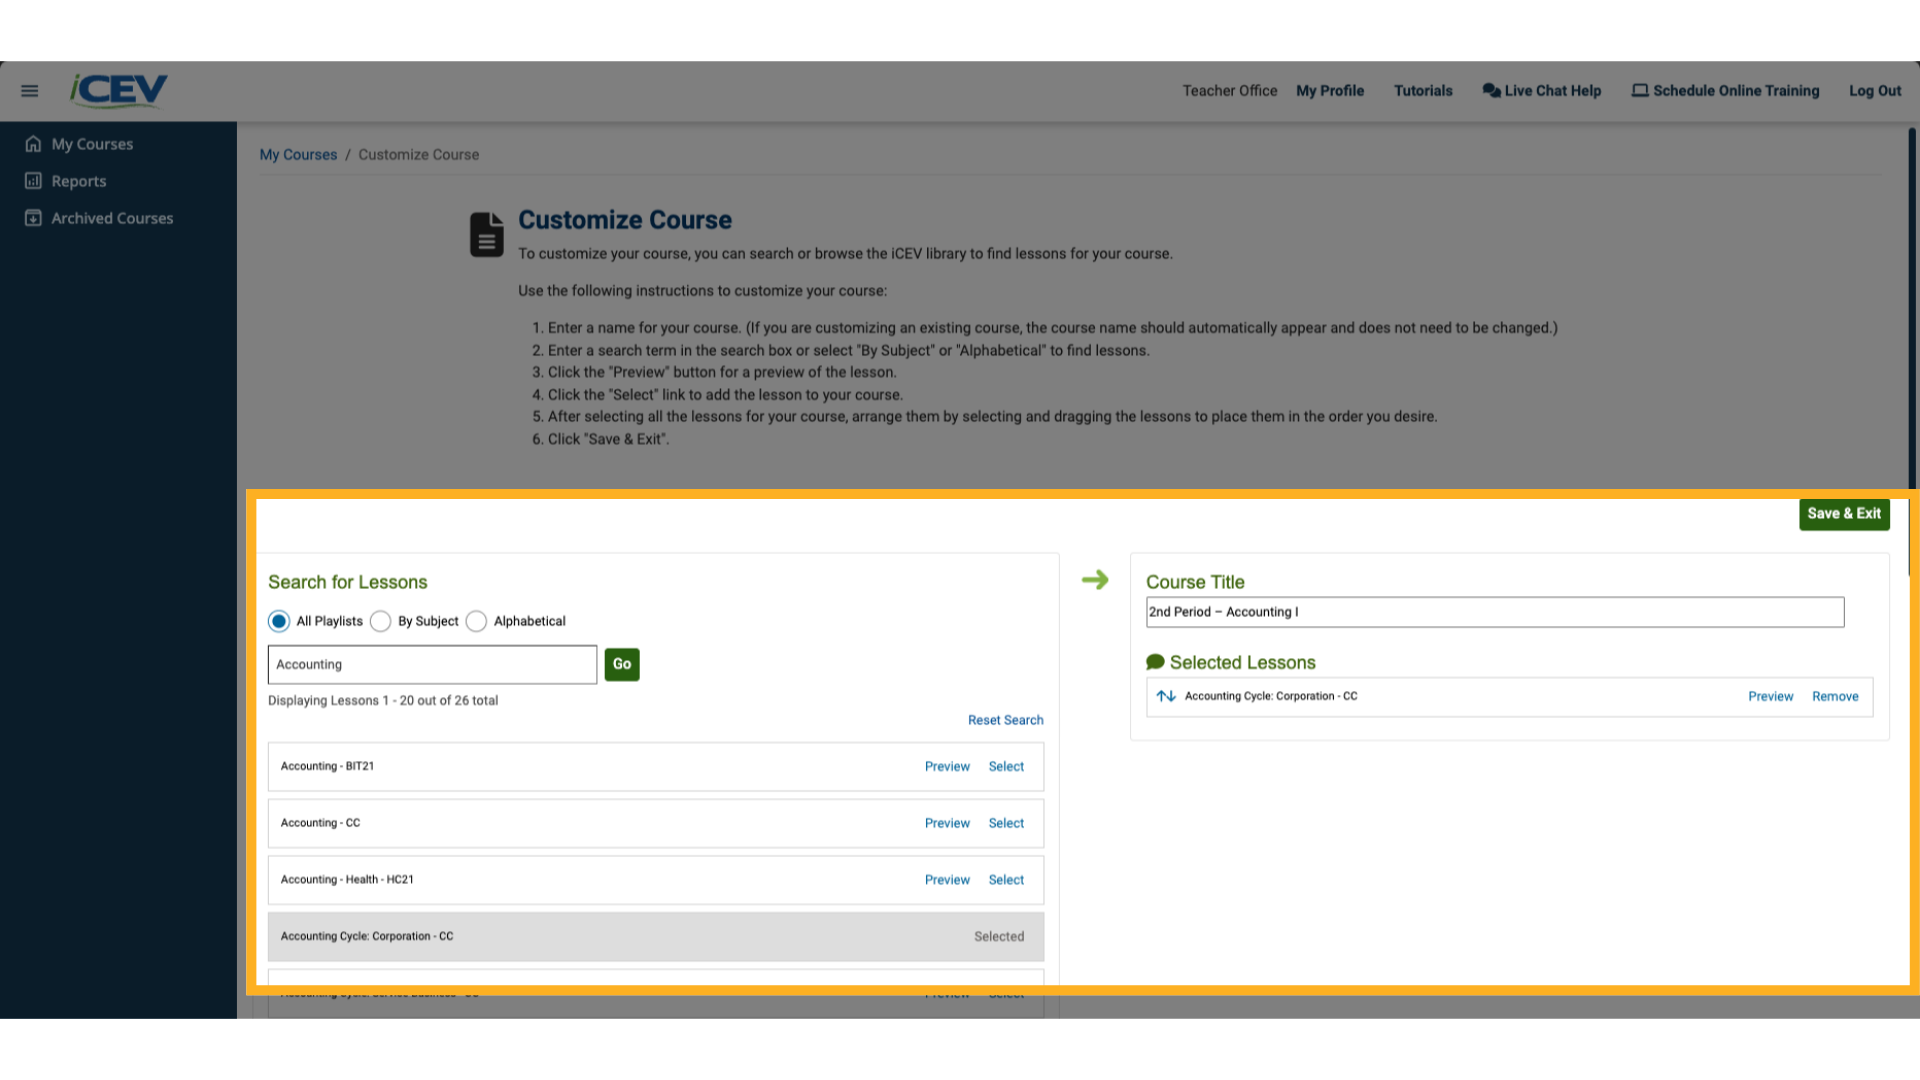
6. Adding the Lesson
-
Click Select when you’re ready to add it to your course.
7. Adding More Lessons (Optional)
-
Repeat the search and selection process to continue building your course.
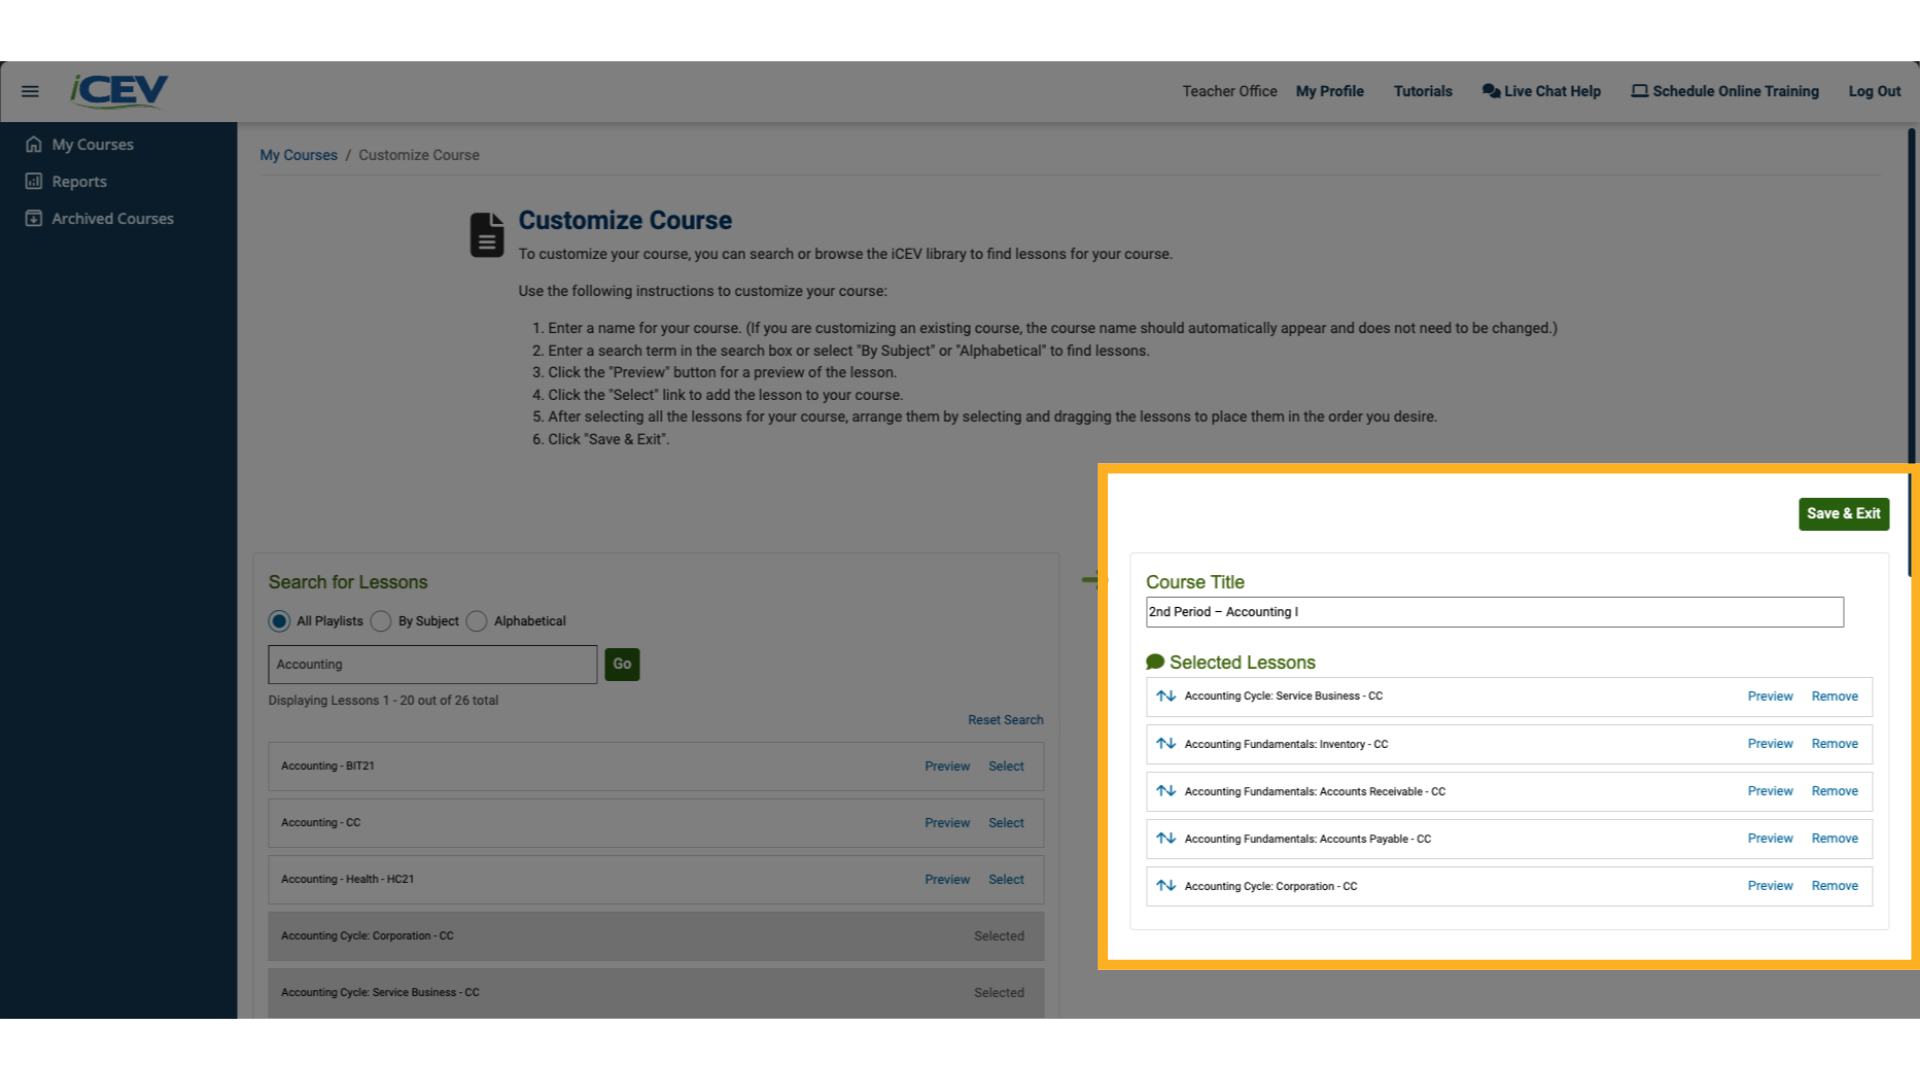
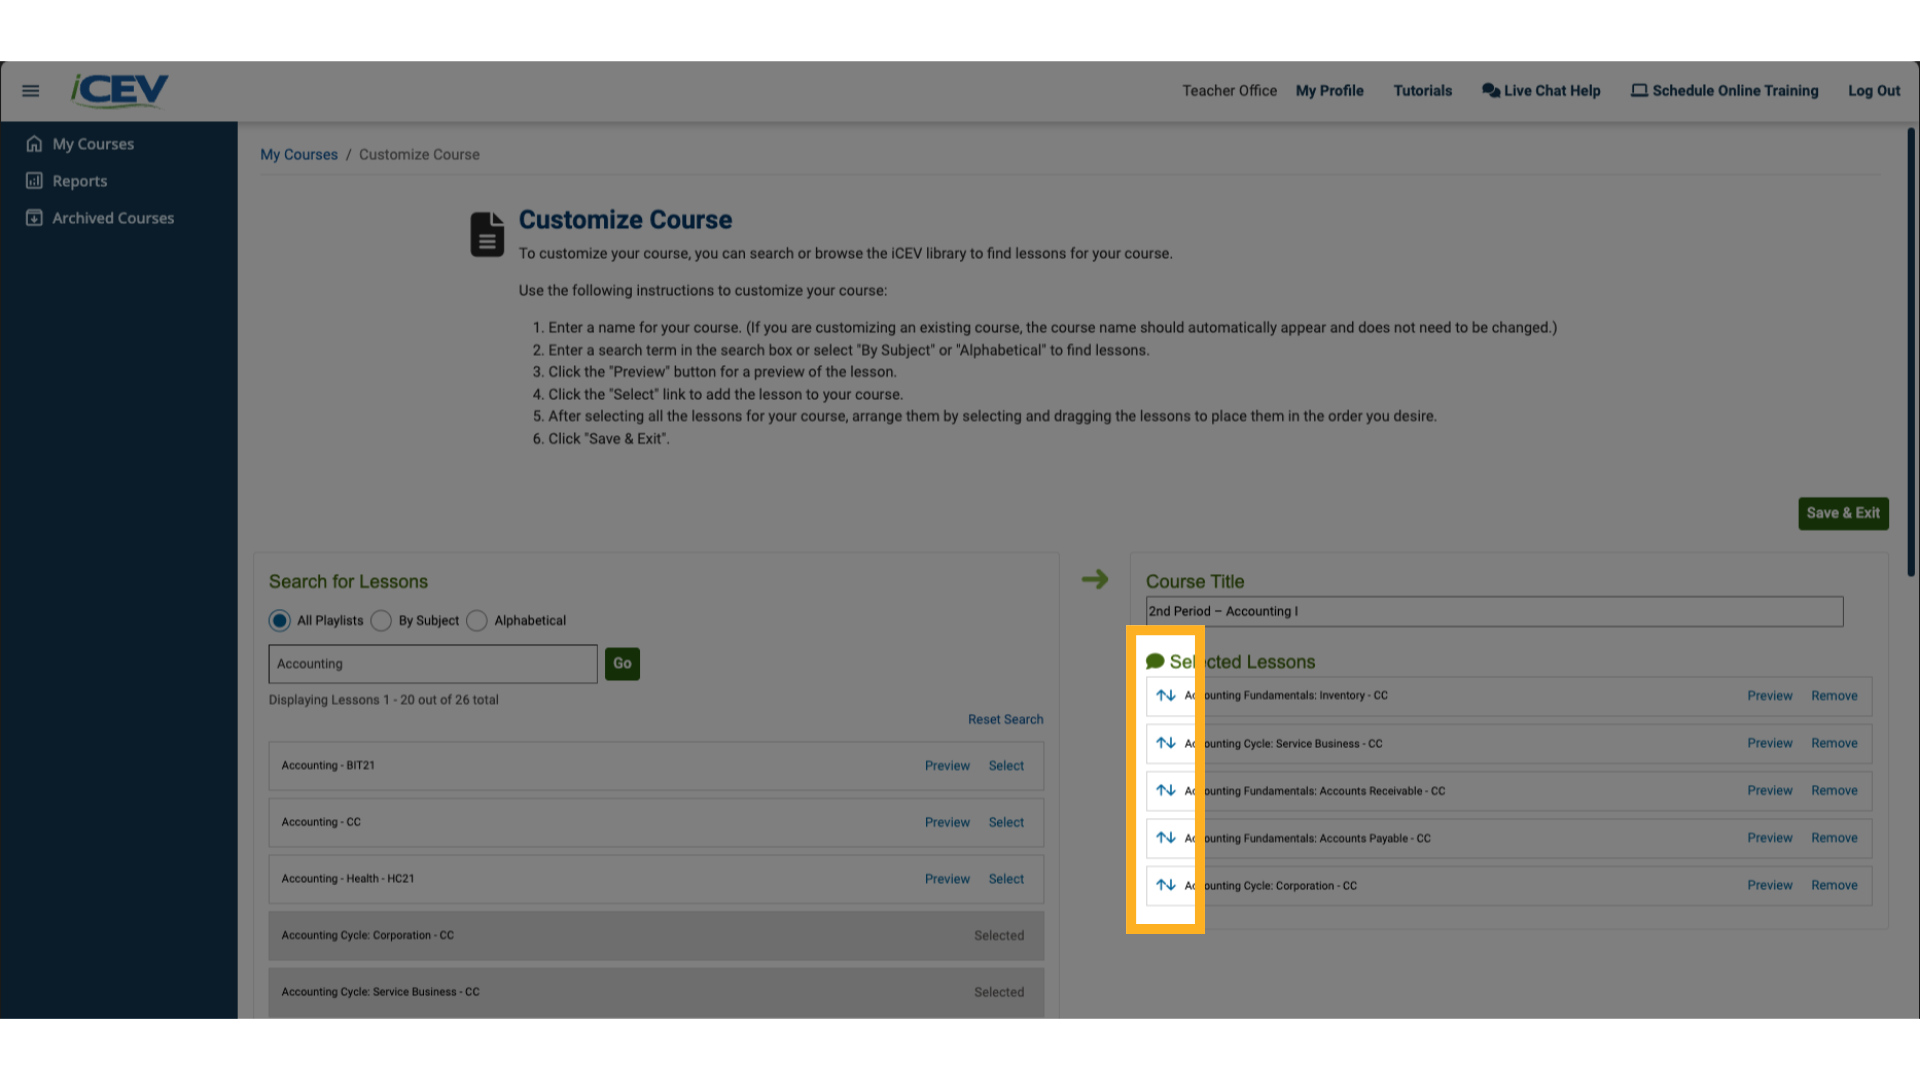
8. Reordering Lessons
-
Use the drag-and-drop arrows to rearrange lessons into your preferred order.
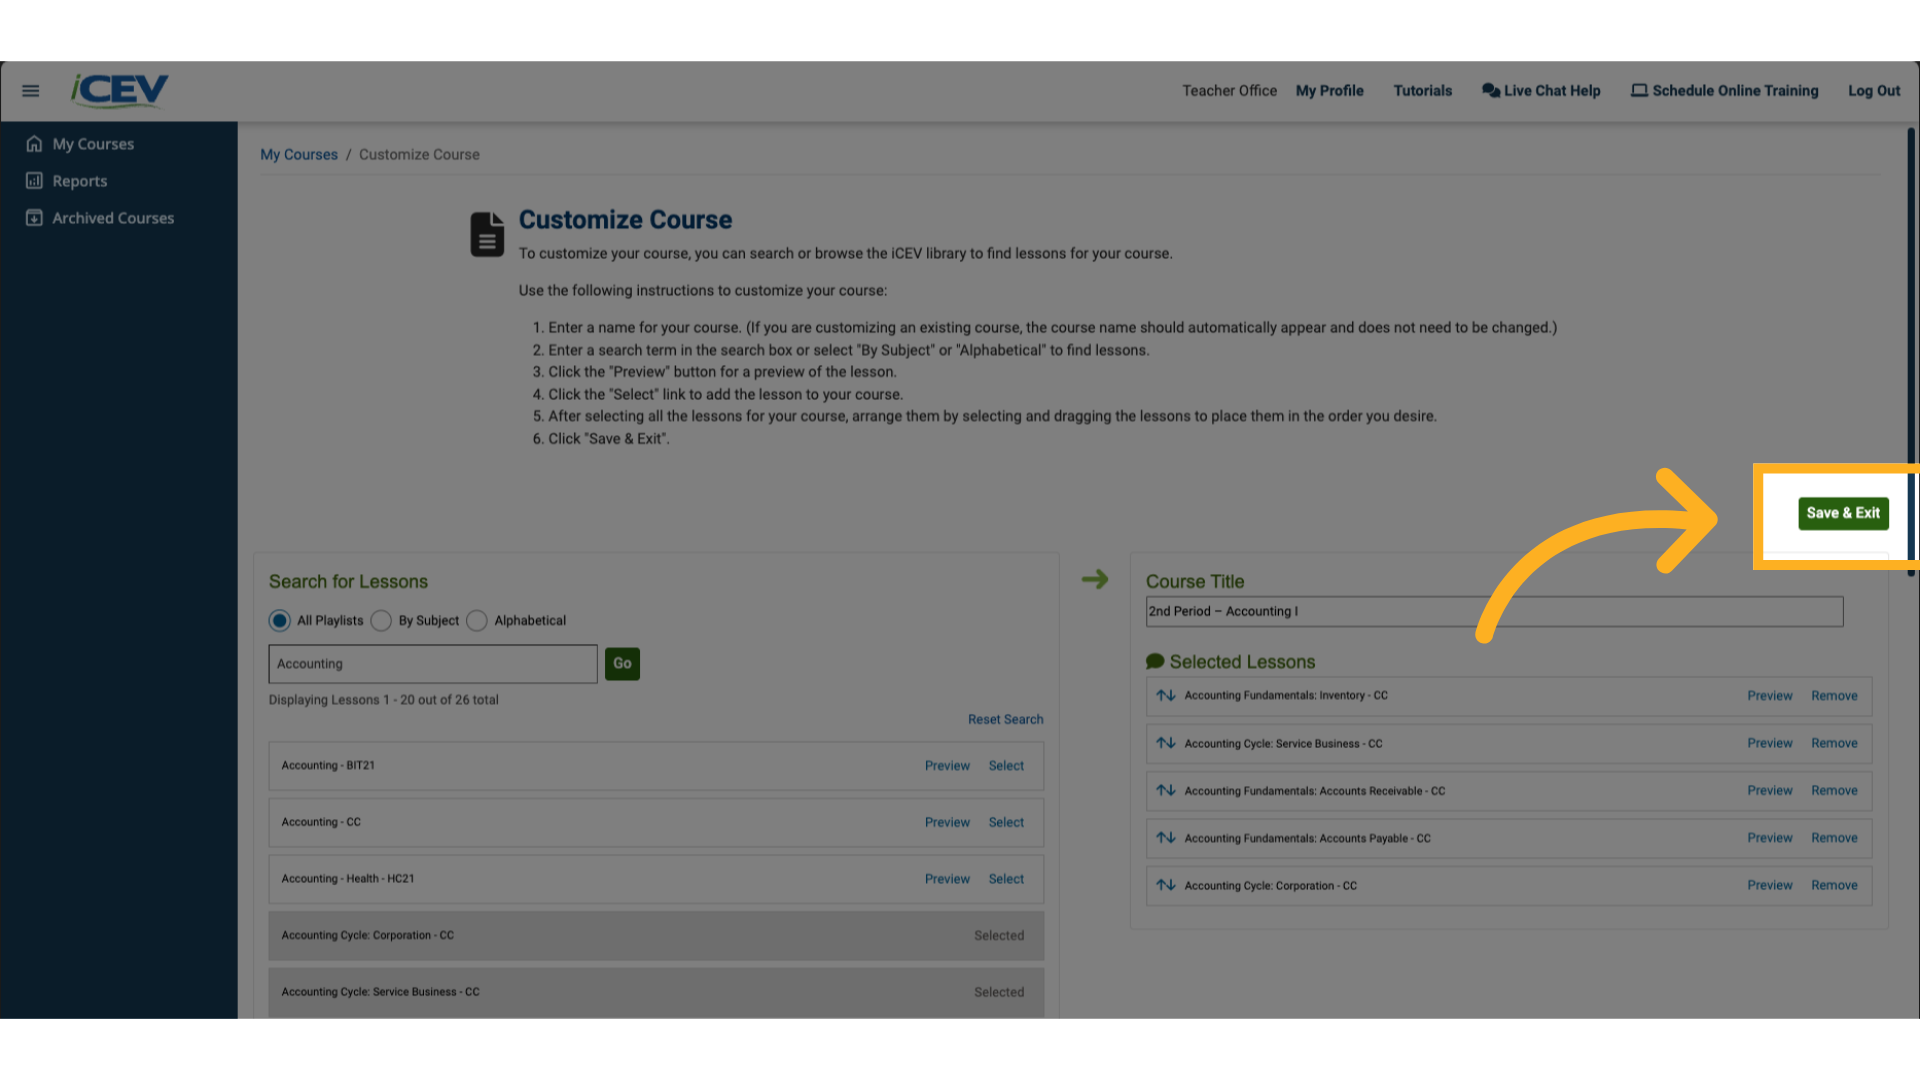
9. Saving Your Custom Course
-
When you're finished, click Save & Exit in the top-right corner.
10. Your My Courses Page
-
Your custom course will now appear on your My Courses page—ready for use and further customization.